Can You Spray Paint Metal Patio Furniture?
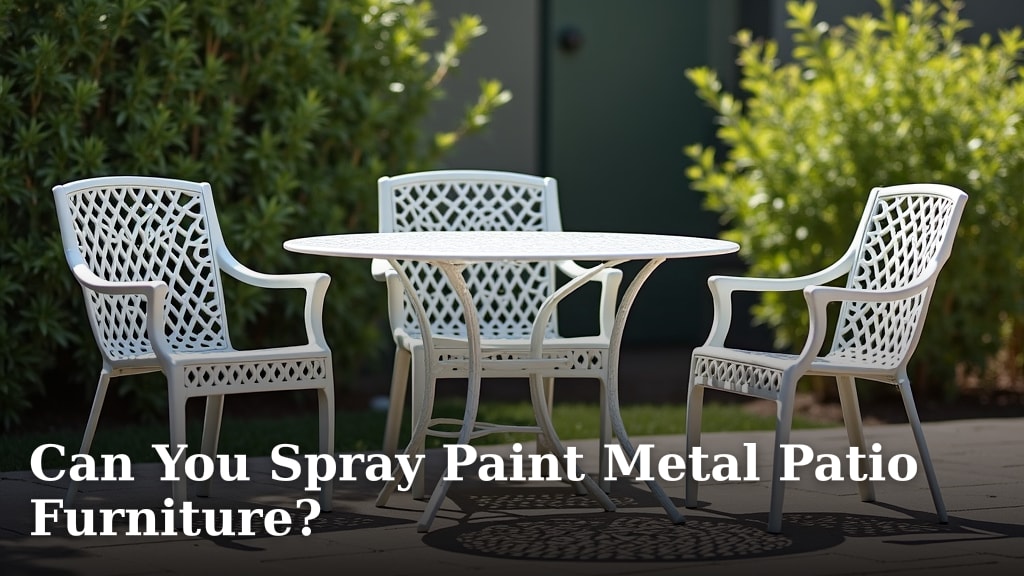
Yes, you can absolutely spray paint metal patio furniture to give it a fresh new look. It’s a cost-effective way to revitalize tired pieces and extend their lifespan. You can achieve a smooth, durable finish with the right preparation.
Many homeowners choose spray paint for its ease of use and professional appearance. You can transform your outdoor space without buying all new furniture. We found that choosing the correct type of paint is key for lasting results.
- Spray paint is great for metal patio furniture.
- Proper cleaning and sanding are a must.
- Always use a primer designed for metal.
- Apply multiple thin coats for the best finish.
- Allow for full curing time before use.
Ready to give your patio furniture a fabulous facelift? Let’s walk through exactly how to spray paint metal patio furniture, step by step.
Giving Your Metal Patio Furniture a New Lease on Life
Transforming your metal patio furniture with a fresh coat of spray paint is a rewarding project. It’s an easy way to update your outdoor space without breaking the bank. Let’s explore how to achieve a beautiful, durable finish.
Understanding Different Types of Metal
Before you grab that spray can, it’s helpful to know what kind of metal you’re working with. Different metals might require slightly different preparation. Most patio furniture is made of steel, aluminum, or wrought iron.
Steel and Wrought Iron Furniture
Steel and wrought iron are strong and heavy metals. They are prone to rust if not properly protected. You’ll often see rust spots on older pieces. This means extra attention to rust removal is necessary during preparation.
Aluminum Furniture
Aluminum is a lighter, rust-resistant metal. It doesn’t rust in the same way as steel, but it can oxidize, forming a white, powdery residue. This oxidation needs to be cleaned off for proper paint adhesion. Aluminum is a popular choice for its durability and lower maintenance.
Gathering Your Essential Supplies
Preparation is truly key for a lasting finish. Having all your tools ready beforehand makes the process much smoother. Think of it like cooking: you wouldn’t start a recipe without all the ingredients. We found that gathering your supplies prevents interruptions and keeps you focused.
- Drop cloths or old newspapers: To protect your work area from overspray.
- Wire brush and sandpaper (various grits): For rust removal and surface scuffing.
- Mild detergent and water: For thorough cleaning.
- Rags or old towels: For drying and wiping.
- Painter’s tape: To mask off areas you don’t want painted.
- Metal-specific primer: Essential for paint adhesion and rust prevention.
- Metal-specific spray paint: Look for exterior, rust-inhibiting formulas.
- Clear topcoat (optional): For added durability and shine.
- Safety gear: Gloves, eye protection, and a respirator mask.
Preparing Your Furniture for Painting
This is where the magic (or mess!) really happens. Proper prep takes time, but it’s time well spent. Skimping on preparation can lead to paint peeling, chipping, or bubbling down the road. We found this step is critical for success.
Step 1: Cleaning Your Furniture Thoroughly
Start by giving your furniture a good wash. Mix some mild detergent with water. Use a scrub brush or sponge to clean off all dirt, grime, and cobwebs. Pay close attention to crevices. Rinse thoroughly with a hose and let it dry completely. Any remaining moisture can cause paint issues.
Step 2: Removing Old Paint and Rust
Now, let’s tackle the old finish. If there’s loose or peeling paint, use a wire brush or sandpaper to remove it. For rust spots, a wire brush is your best friend. For stubborn rust, you might need a rust converter product. Make sure the surface is as smooth as possible. We found that good surface preparation directly impacts paint adhesion.
Even if the old paint isn’t peeling, a light sanding with fine-grit sandpaper (around 180-220 grit) will create a “tooth” for the new paint to grip. This is called scuff sanding. Wipe away all dust with a clean, damp cloth, then let it dry again.
Step 3: Masking and Protecting Your Area
Move your furniture to a well-ventilated area, preferably outdoors on a non-windy day. Lay down drop cloths or old newspapers to protect your lawn or patio. Use painter’s tape to cover any parts you don’t want to get paint on, such as glides or decorative accents. Imagine you’re wrapping a present – you want it neat and tidy.
Choosing the Right Spray Paint Products
Not all spray paints are created equal, especially for outdoor metal. Selecting the correct products ensures your project lasts. You’re looking for something that can withstand the elements.
| Product Type | Key Features to Look For | Why It Matters |
|---|---|---|
| Primer | Rust-inhibiting, Dries quickly, Designed for metal | Creates a strong bond for topcoat, prevents rust |
| Spray Paint | Exterior grade, Rust-preventative, UV resistant | Withstands weather, prevents future rust, maintains color |
| Clear Topcoat (Optional) | Exterior grade, UV resistant, Gloss or Matte finish | Adds extra protection, enhances durability and desired look |
Many experts say that using a primer specifically for metal is non-negotiable (NACE International). It acts as a barrier and helps the paint stick better. For your topcoat, choose an exterior-grade spray paint. Look for terms like “rust-proof,” “all-weather,” or “outdoor use.”
Applying Primer and Paint Like a Pro
Now for the fun part! This is where your furniture starts to get its new look. Remember the saying, “slow and steady wins the race.” Patience here will pay off with a professional-looking finish.
Applying the Primer
Shake your primer can well for at least a minute after the mixing ball starts rattling. Hold the can about 8-12 inches away from the surface. Apply a light, even coat using a sweeping motion. Don’t try to cover everything in one go. You’re aiming for a thin, consistent layer. Let it dry according to the manufacturer’s instructions. A second light coat might be beneficial, especially on heavily rusted areas.
Applying the Spray Paint
Once the primer is dry, it’s time for color! Shake your paint can thoroughly. Again, hold the can 8-12 inches away. Apply the paint in multiple thin coats, rather than one thick one. This prevents drips and runs. Overlap each pass slightly. Allow adequate drying time between coats, usually 15-30 minutes, depending on humidity. Three to four thin coats often give the best coverage and durability. We found that impatience here leads to a less attractive finish.
Adding an Optional Clear Topcoat
If you want extra protection or a specific sheen (gloss, semi-gloss, or matte), apply a clear topcoat. This step is optional but highly recommended for items that see a lot of use or are exposed to harsh weather. Apply it just like the paint, in thin, even coats, after your colored paint has dried fully (check can instructions). It’s like putting a shield on your newly painted furniture.
Allowing for Proper Curing Time
You’re almost there! This final step is crucial. Drying time is how long the paint feels dry to the touch. Curing time is how long it takes for the paint to fully harden and reach its maximum durability. Many people rush this, but it’s a mistake.
Your paint might feel dry in a few hours, but it could take 24-72 hours or even longer to fully cure. This depends on the product, temperature, and humidity. Always refer to the paint can’s instructions. Using your furniture too soon can lead to scratches, dents, or peeling. Give it the time it needs to become truly resilient. Think of it as letting cement fully set before you walk on it.
Checklist for a Successful Project
- Clean furniture thoroughly and let it dry completely.
- Remove all rust and loose paint, then scuff sand.
- Use a metal-specific, rust-inhibiting primer.
- Apply multiple thin coats of paint, not one thick one.
- Allow proper drying time between each coat.
- Let the furniture fully cure before using it.
Troubleshooting Common Spray Paint Issues
Even with the best intentions, things can sometimes go a little sideways. Don’t worry, many issues are fixable!
Drips and Runs
Drips and runs usually happen when you apply too much paint at once, or hold the can too close. If the paint is still wet, you can sometimes dab it gently with a brush or cloth to smooth it. If it’s dry, you’ll need to lightly sand the drip down and then reapply a thin coat of paint. This is why thin coats are so important!
Rough or Bumpy Finish
A rough finish can be caused by spraying too far away, causing the paint to dry before it hits the surface. It can also happen if there’s dust on the surface. Ensure your area is clean and hold the can at the recommended distance. If it’s already rough, let it dry, then lightly sand with very fine-grit sandpaper (400 grit) and repaint.
Fading or Peeling
Fading typically happens over time if the paint isn’t UV-resistant or if a clear topcoat wasn’t used. Peeling often indicates poor surface preparation – rust or dirt wasn’t fully removed, or no primer was used. The solution for both? Unfortunately, it usually means sanding down and starting over with proper prep and suitable products. It’s more work, but it ensures a lasting fix.
Conclusion
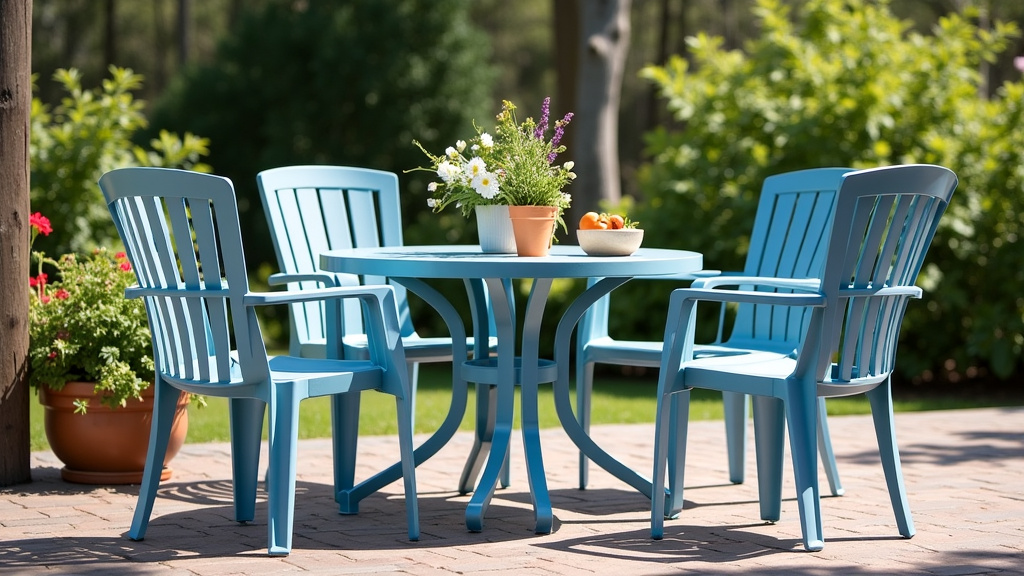
You now have all the tools and knowledge needed to confidently spray paint your metal patio furniture. We found that attention to detail during prep work is truly what makes the difference. By taking your time and using the right products, you can achieve a finish that looks professionally done. Your revitalized furniture will extend its life and enhance your outdoor living space. Go ahead, give your patio a refresh; you’ll be glad you did!
Frequently Asked Questions
How long does spray paint typically last on outdoor metal furniture?
The lifespan of spray paint on outdoor metal furniture can vary. With proper preparation, high-quality exterior paint, and a clear topcoat, you can expect it to last for several years. Exposure to harsh weather and heavy use will affect its durability over time.
Can I spray paint over rust if I use a rust-inhibiting primer?
While rust-inhibiting primers help prevent new rust, it’s always best to remove as much existing rust as possible. Painting directly over loose or flaky rust will lead to poor adhesion and premature peeling. Prepare the surface thoroughly for the best results.
Is it better to use a brush or spray paint for metal patio furniture?
Spray paint is often preferred for metal patio furniture because it provides a smoother, more even finish. It can also get into intricate designs and crevices more easily than a brush. Using a brush might leave brush strokes and require more effort for uniform coverage.
Do I need to sand aluminum patio furniture before painting?
Yes, you should still scuff sand aluminum patio furniture. While aluminum doesn’t rust, it can oxidize. Lightly sanding creates a “tooth” for the primer and paint to grip. This ensures better adhesion and a more durable finish.
What should I do if the spray paint starts to drip while I’m applying it?
If you notice a drip while the paint is still wet, you can sometimes gently blot it with a foam brush or rag. If it has already started to dry, let it cure completely. Then, lightly sand the dried drip smooth with fine-grit sandpaper and reapply a thin coat of paint over the area.