
How To Spray Paint Aluminum Patio Furniture?
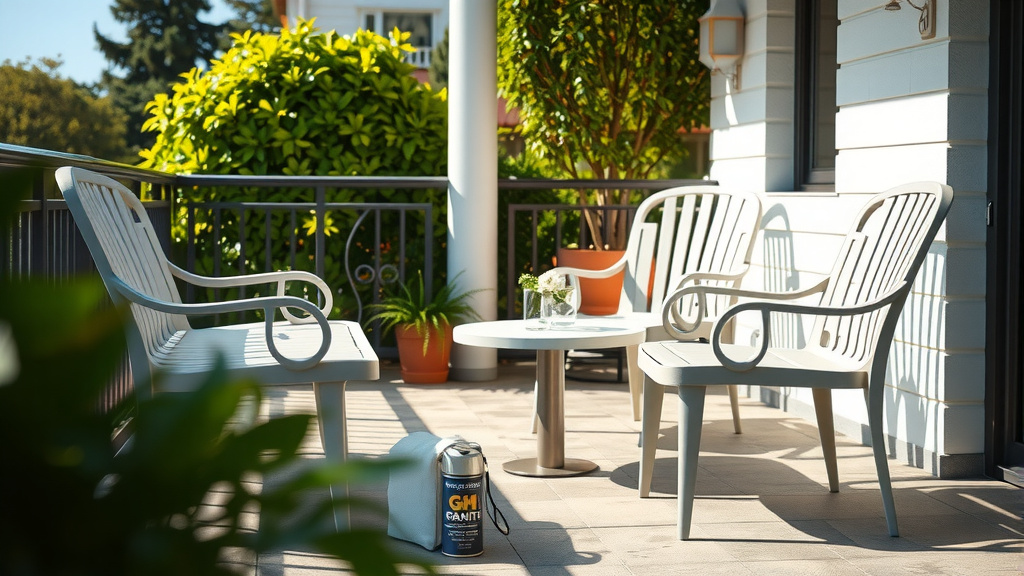
To spray paint aluminum patio furniture effectively, thoroughly clean the surface, lightly sand it for adhesion, apply a self-etching or rust-inhibiting primer, and then finish with several thin, even coats of exterior-grade spray paint designed for metal.
Always work in a well-ventilated area, keeping the spray can about 8-12 inches away, and allow ample drying time between each coat for a durable, professional-looking finish.
- To revitalize your aluminum patio furniture, proper preparation is key.
- Clean, sand, and prime the surface for the best paint adhesion.
- Choose a spray paint specifically made for exterior metal or aluminum.
- Apply several light coats instead of one heavy one to prevent drips.
- A clear topcoat can add extra durability and UV protection.
How To Spray Paint Aluminum Patio Furniture?
Spray painting aluminum patio furniture involves careful surface preparation, applying the right primer, and layering thin coats of exterior-grade paint for a lasting, refreshed look.
This process can give your old outdoor pieces a beautiful new life.
Why Consider Spray Painting Your Aluminum Furniture?
Do you look at your aluminum patio set and sigh? Often, it just needs a fresh coat of paint. Revitalizing your furniture isn’t as hard as you might think.
It’s an amazing way to give your outdoor space a whole new vibe without buying brand new pieces. Think of the savings!
Many homeowners find this a cost-effective solution to refresh their outdoor decor. You can change colors with the seasons or simply restore a faded finish.
Essential Preparations for a Smooth Finish
Just like baking a cake, preparation is everything. You wouldn’t skip mixing ingredients, right? The same goes for painting.
Proper prep work ensures your paint sticks well and looks fantastic for years to come. This is the foundation of a successful project.
Cleaning Your Furniture Thoroughly
Before any paint touches the metal, your furniture needs a serious scrub. Why? Dirt, grime, and old residues are paint’s worst enemies.
They prevent the new paint from adhering properly, leading to peeling down the line. We found that a simple mix of warm water and dish soap works wonders.
Use a stiff brush to get into all the nooks and crannies. Rinse thoroughly with a hose and allow the furniture to dry completely, perhaps even overnight (Mayo Clinic).
Light Sanding is Your Friend
After cleaning, a light sanding might seem like extra work, but it’s really a secret weapon. Aluminum can be very smooth, which isn’t ideal for paint adhesion.
Sanding creates tiny “teeth” for the primer and paint to grip onto. Use a fine-grit sandpaper, around 220-grit, to scuff the surface gently.
Don’t press too hard; you just want to dull the shine. Wipe off any sanding dust with a clean, damp cloth afterwards.
Masking Off What You Don’t Want Painted
Are there parts you want to keep paint-free, like glides, feet, or intricate hardware? This is where masking tape and newspaper or plastic sheeting come in.
Carefully cover any areas you wish to protect. Take your time here; a little precision now saves a lot of cleanup later.
Good quality painter’s tape will give you crisp lines and remove cleanly without leaving residue. It’s like putting on a painter’s mask for your furniture.
Choosing the Right Paint for Aluminum
Picking the correct paint is just as important as the prep work. Not all spray paints are created equal, especially when it comes to outdoor metal.
You need something tough, weather-resistant, and designed to bond with aluminum. Don’t grab just any can from the shelf.
What Kind of Spray Paint Works Best?
For aluminum patio furniture, you’ll want an exterior-grade spray paint that’s suitable for metal. Many brands offer paints specifically for outdoor use and often include rust inhibitors.
We found that paints labeled “for metal” or “rust-preventative” provide excellent durability. Look for options that boast good adhesion to aluminum surfaces.
Consider a paint-and-primer in one product if you’re looking to save a step, but a separate primer is often superior.
Primer: A Non-Negotiable Step
Think of primer as the bridge between your clean aluminum and the new paint. It creates an ideal surface for the topcoat to stick to, preventing chipping and peeling.
For aluminum, a self-etching primer or a direct-to-metal primer is highly recommended. These primers are formulated to chemically bond with slick surfaces.
Applying primer ensures better color uniformity and longer-lasting results for your finished project. Skipping this step often leads to regrets later on.
| Paint Type | Best Use For Aluminum | Key Benefit |
|---|---|---|
| Exterior Enamel Spray Paint | General outdoor use, good color range | Durable, weather-resistant finish |
| Direct-to-Metal Spray Paint | Good adhesion to metal, often rust-inhibiting | Bonds well without specific metal primer |
| Paint & Primer in One | Convenience, light duty projects | Fewer steps, decent protection |
| Self-Etching Primer | Essential first coat for bare aluminum | Excellent adhesion to slick surfaces |
The Spray Painting Process: Step-by-Step
Now for the fun part! With your furniture prepped and paint chosen, it’s time to bring on the color. Patience is key here, remember thin coats are your friends.
Rushing can lead to drips and an uneven finish, which nobody wants after all that hard work. Let’s make this project shine.
Setting Up Your Workspace
Choose an outdoor area or a very well-ventilated garage. Lay down drop cloths or old newspapers to protect the ground from overspray.
Make sure there’s no wind if you’re outside, as wind can carry paint mist and cause uneven application. Always wear protective gear, like gloves and a mask (OSHA guidelines suggest).
Applying the Primer
Shake your primer can vigorously for about a minute. Hold the can 8-12 inches from the furniture surface.
Apply in light, even, sweeping motions, overlapping each pass slightly. Avoid holding the can in one spot to prevent drips. We found that two thin coats of primer are better than one thick coat.
Allow the first coat to dry according to the manufacturer’s instructions, typically 15-30 minutes, before applying the second.
Laying Down Your Color Coats
Once the primer is fully dry, it’s time for your chosen color. Shake the paint can well. Use the same technique as with the primer: light, even, sweeping passes.
Apply several thin coats rather than one heavy one. This is crucial for a smooth, professional finish and to avoid runs.
Allow each color coat to dry to the touch before applying the next, usually 30-60 minutes. Many experts say 2-3 thin coats achieve the best results.
Adding a Clear Topcoat (Optional, But Recommended)
For extra protection against UV rays, scratches, and general wear and tear, consider applying a clear topcoat. This adds an extra layer of durability.
A clear coat can also enhance the sheen, whether you chose a matte, satin, or gloss finish. Apply it using the same thin-coat technique after your color coats have fully dried.
It’s like putting a clear shield on your hard work. This can significantly extend the life of your paint job.
Common Mistakes to Avoid
Even with the best intentions, it’s easy to make small errors. Knowing what to watch out for can save you time and frustration.
Remember, we all learn from our experiences, but learning from others’ mistakes is even better. Let’s make sure your project goes smoothly.
Applying paint too thickly is the most common mistake, leading to drips and unevenness. Forgetting to clean or sand properly results in poor adhesion.
Painting in humid or windy conditions can cause paint to dry unevenly or pick up debris. Always check the weather.
- Your Spray Painting Essentials Checklist:
- Dish soap and stiff brush
- Fine-grit sandpaper (220-grit)
- Clean cloths
- Painter’s tape
- Newspaper or plastic sheeting
- Self-etching or direct-to-metal primer
- Exterior-grade spray paint for metal
- Optional: Clear topcoat
- Protective gloves and mask
Maintenance After Painting
You’ve done the work, and your furniture looks fabulous! To keep it looking great, a little ongoing care goes a long way. Think of it as guarding your investment.
Proper maintenance helps prolong the life of your new paint job. It’s not much different from caring for new furniture.
When cleaning painted furniture, use mild soap and water, avoiding harsh chemicals or abrasive scrubbers. These can dull or damage your new finish.
For minor chips or scratches that might occur over time, keep a can of your touch-up paint handy. A quick touch-up can prevent larger areas from deteriorating.
Conclusion
Transforming your aluminum patio furniture with spray paint is a rewarding project that can dramatically enhance your outdoor living space. By following these steps—thorough cleaning, proper priming, selecting the right paint, and applying thin, even coats—you can achieve a durable, beautiful finish.
This DIY approach not only saves you money but also gives you the satisfaction of breathing new life into cherished pieces. So grab your supplies, put on some music, and get ready to enjoy your refreshed patio for seasons to come. Your outdoor oasis awaits!
Is sanding always necessary for aluminum patio furniture before painting?
Yes, light sanding is almost always necessary. Aluminum is a very smooth surface, and sanding creates a “tooth” for the primer and paint to grip onto, ensuring much better adhesion and preventing future chipping or peeling. A fine-grit sandpaper (around 220-grit) is usually sufficient.
Can I use any outdoor spray paint on aluminum?
While some outdoor spray paints might adhere, it’s best to choose one specifically formulated for metal or that explicitly states good adhesion to aluminum. Using a specialized direct-to-metal or rust-preventative exterior paint, especially with a self-etching primer, provides the most durable and long-lasting results.
How many coats of paint should I apply to aluminum furniture?
For the best results, aim for two to three thin, even coats of spray paint after the primer has fully dried. Applying multiple thin coats is far better than one thick coat, as it prevents drips, provides a smoother finish, and builds up the durability of the paint layer.
How long does spray paint take to dry on aluminum furniture?
Drying times vary based on the specific product, humidity, and temperature. Generally, touch-dry time for spray paint is 15-60 minutes, but it’s crucial to allow several hours (often 4-24 hours) between coats for full re-coat adhesion. The paint usually takes 24-48 hours to fully cure before light use, and up to 7 days for maximum hardness.
What if I get drips or uneven spots during painting?
If you notice drips or uneven spots, let the paint dry completely. Once dry, you can lightly sand the affected area with fine-grit sandpaper to smooth it out, then wipe away dust and reapply a very thin coat of paint. Addressing drips immediately when wet can sometimes make them worse.
