Can You Spray Paint Plastic Patio Chairs?
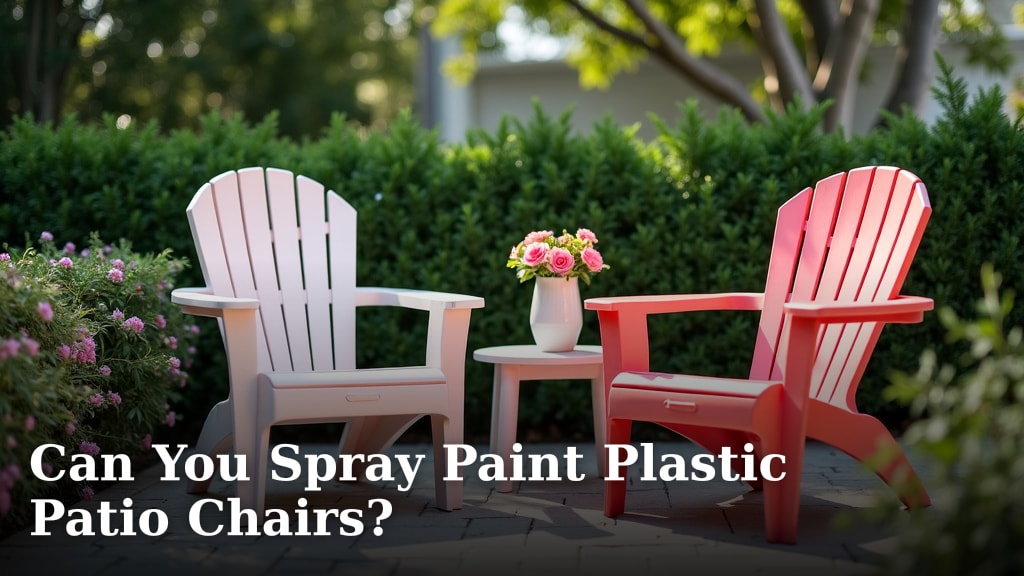
Yes, you absolutely can spray paint plastic patio chairs to give them a fresh new look. We found that with the right preparation and paint, your old chairs can appear brand new. It’s a fantastic way to revitalize your outdoor space on a budget.
You might be surprised how easy it is to transform faded plastic furniture. Choosing the correct type of paint is key for a lasting finish. Many experts say that proper cleaning and light sanding will make all the difference for your plastic furniture makeover.
- Spray paint can refresh plastic chairs.
- Proper preparation ensures lasting results.
- Use paint specifically for plastic.
- It’s a budget-friendly DIY project.
- Transform faded furniture easily.
Ready to give your outdoor furniture a vibrant update? Let’s walk through everything you need to know about spray painting your plastic patio chairs, step by step.
Revitalizing Your Plastic Patio Chairs with Paint
You can absolutely refresh your plastic patio chairs with a fresh coat of paint. It’s a great way to save money and give your outdoor space a whole new feel. We’ve found that with a little care, your chairs can look brand new again.
Why Bother Painting Your Plastic Chairs?
Think about it: those faded, sun-beaten plastic chairs don’t do much for your backyard oasis, do they? Painting them offers several big advantages. First, it’s incredibly cost-effective. Buying new outdoor furniture can be expensive, but a few cans of spray paint are much kinder to your wallet.
Second, it’s a chance to personalize your space. You’re not stuck with the limited color options offered by manufacturers. Want a vibrant teal or a sophisticated charcoal? Go for it! Third, it’s a surprisingly eco-friendly choice. Instead of sending old chairs to the landfill, you’re giving them a second life. It’s all about sustainability, even in your backyard.
Choosing the Right Paint: Your Project’s Foundation
This is where your project really takes shape. Not all spray paints are created equal, especially when it comes to plastic. Using the wrong kind can lead to chipping, peeling, and a whole lot of frustration. You want a paint that adheres well and stands up to the elements. We found that choosing the right paint is one of the most critical steps for success.
Spray Paint Specifically for Plastic
Look for cans clearly labeled “for plastic” or “plastic adhesion.” These paints contain special additives that help them bond to the slick surface of plastic. Many brands offer a wide range of colors in this type of paint. They are formulated to be flexible, which is important because plastic can expand and contract with temperature changes. This flexibility helps prevent cracking.
All-in-One Paint + Primer
Sometimes you’ll see spray paints advertised as “paint + primer in one.” These can be a good option for plastic, saving you a step. However, even with these, we often find that a separate plastic-specific primer can provide even better adhesion and durability, especially for heavily faded or slick plastics. It’s like building a strong foundation for your house; a good primer makes everything else stick better.
Avoid Regular Spray Paint (Unless Primed Properly)
Resist the urge to just grab any old spray paint. Standard spray paints designed for wood or metal will likely chip and peel from plastic very quickly. The surface of plastic is just too different for them to bond effectively. If you absolutely love a color that isn’t plastic-specific, you’ll need to use a dedicated plastic primer first. This creates a bonding layer for the topcoat.
Preparing Your Chairs: The Secret to a Lasting Finish
Okay, so you’ve got your paint. Now, this next part is arguably the most important: preparation. Many experts say that 90% of a successful paint job is in the prep work. If you skimp here, your beautiful new paint job won’t last. Think of it like getting ready for a big party – you wouldn’t just roll out of bed, would you? Your chairs need to be ready to shine!
Cleaning Your Chairs Thoroughly
Your chairs have probably seen a lot of action, from muddy paws to spilled drinks. They need a good scrub. You can use a mild detergent and warm water. We found that a simple dish soap works wonders. Don’t forget to get into all the nooks and crannies.
- Remove loose dirt and debris with a brush or hose.
- Mix warm water with a few drops of dish soap in a bucket.
- Use a sponge or soft brush to scrub all surfaces.
- Pay attention to any mold, mildew, or stubborn stains.
- Rinse the chairs completely with clean water.
- Allow them to dry completely. Any moisture will prevent paint from sticking.
Light Sanding for Better Adhesion
This step might surprise you, but it makes a huge difference. Plastic chairs often have a smooth, sometimes slightly waxy surface. Paint has a hard time sticking to perfectly smooth surfaces. A light sanding creates tiny “teeth” for the paint to grip onto. Many guidelines point to this as a critical step for durable results (Home Depot project guides).
What Grit Sandpaper to Use
You don’t need heavy-duty sandpaper. Something in the range of 220-grit to 320-grit fine-grain sandpaper is perfect. The goal isn’t to remove plastic, but just to scuff the surface. Gently sand all the areas you plan to paint. A light touch is all that’s needed.
Cleaning After Sanding
After sanding, you’ll have a fine dust all over your chairs. You must remove this! Use a damp cloth to wipe them down, or even better, a tack cloth (a slightly sticky cloth designed to pick up fine dust). Let them dry fully again before moving on. This ensures your surface is truly clean and ready for paint.
Applying a Plastic Primer (Optional, but Recommended)
Even if your paint says “paint + primer,” adding a dedicated plastic primer can really boost the longevity of your project. We found that this extra step often means the difference between a good job and a great, long-lasting job. A good primer creates an even, adhesive base for your topcoat.
Choosing Your Primer
Look for a spray primer specifically designed for plastic. They often come in gray, white, or clear. Gray is great if you’re using a dark topcoat, while white is better for lighter colors. Apply it in thin, even coats, following the directions on the can. Don’t try to get full coverage on the first pass; several thin coats are always better than one thick, drippy one.
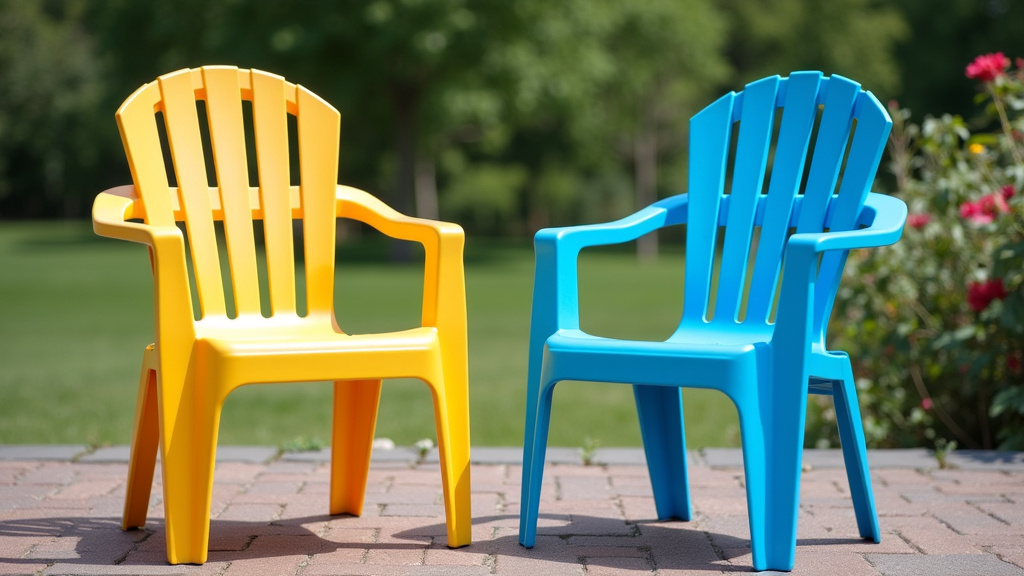
The Spray Painting Process: A Step-by-Step Guide
Now for the fun part! You’ve prepped your chairs, chosen your paint, and you’re ready to transform them. Remember, patience and thin coats are your best friends here. Don’t rush it; a little extra time will prevent drips and give you a much smoother, more professional-looking finish.
Setting Up Your Work Area
Spray painting creates a fine mist that can travel. Choose an outdoor, well-ventilated area. Lay down drop cloths, old newspapers, or cardboard to protect your grass, patio, or driveway from overspray. You might even consider doing this on a slightly breezy day (but not windy!) to help disperse the fumes and dry the paint faster.
Here’s a quick checklist for your setup:
- Good ventilation (outdoors is best).
- Drop cloths or cardboard to protect surfaces.
- Gloves to protect your hands.
- A mask or respirator to avoid inhaling fumes (highly recommended).
- Safety glasses to protect your eyes.
- A comfortable spot to work without bending over too much.
Applying the Paint: Thin Coats Are Key
Shake your spray paint can vigorously for at least a minute before you start, and periodically during painting. This mixes the pigments evenly. Hold the can about 8-12 inches away from the chair surface. Don’t hold it too close, or you’ll get drips. Don’t hold it too far, or the paint will dry before it reaches the surface, leading to a gritty texture.
Technique for Even Coverage
Use a sweeping motion, moving your arm back and forth across the chair. Overlap each pass by about 50%. It’s like coloring a picture, you want even strokes. Don’t try to cover everything in one go. You’ll apply multiple thin coats rather than one thick one. This prevents drips and allows the paint to cure properly.
| Issue | Cause | Solution |
|---|---|---|
| Drips/Runs | Too much paint in one spot; holding can too close. | Use lighter coats; keep can moving; hold further away. |
| Uneven Color | Not shaking can enough; inconsistent spray pattern. | Shake can thoroughly; maintain consistent distance and speed. |
| Gritty Texture | Holding can too far away; painting in windy conditions. | Hold closer (8-12 inches); avoid windy days. |
| Paint Peeling | Poor surface preparation (not clean/sanded); wrong paint. | Clean and sand properly; use plastic-specific paint/primer. |
Drying and Curing: Patience is a Virtue
After your first coat, let it dry for the time recommended on the can, usually about 15-30 minutes. This is called “tack-free” drying. Once it’s dry to the touch, apply your next thin coat. You’ll likely need 2-3 coats for full, even coverage. Flip the chairs to get all angles, including the undersides and legs.
Once all coats are applied, the chairs will feel dry to the touch within an hour or two. However, the paint isn’t fully hardened or “cured” yet. This process can take 24-72 hours, or even longer for some paints. During this time, avoid heavy use. Many experts suggest keeping them out of direct sunlight during the initial cure to prevent bubbling. A fully cured paint job will be much more durable and resistant to scratches and chips.
Conclusion
You now have all the tools to successfully spray paint your plastic patio chairs. Remember, preparation is paramount – cleaning and light sanding will make or break your project. Choosing a plastic-specific paint or primer ensures lasting adhesion.
By taking your time and applying several thin coats, you’ll achieve a smooth, professional finish. Give your chairs ample time to cure for maximum durability. We’re confident you can transform your outdoor space with this budget-friendly DIY.
Grab your supplies and get ready to enjoy your refreshed patio furniture!
Frequently Asked Questions
How long does spray paint on plastic chairs typically last?
With proper preparation and the right type of paint, you can expect your spray-painted plastic chairs to look good for 2-3 years, or even longer. Exposure to harsh sun and weather conditions can shorten this lifespan. Regular cleaning can help maintain the finish.
Can I use a brush or roller instead of spray paint on plastic chairs?
While technically possible, using a brush or roller on plastic patio chairs is generally not recommended. It’s very difficult to achieve a smooth, even finish due to the chair’s contours and the nature of plastic. Spray paint offers superior adhesion and a much more uniform appearance for this material.
What if my plastic chairs have deep scratches or gouges?
For minor imperfections, light sanding can help blend them. For deeper scratches or gouges, you might consider using a plastic filler or repair epoxy designed for outdoor use before sanding and painting. Make sure the filler is fully cured and sanded smooth for the best results.
Do I need to apply a clear coat or sealant after painting?
Many modern spray paints designed for plastic already have good outdoor durability. However, applying a clear, UV-resistant sealant can add an extra layer of protection against fading and wear. We found this step often extends the life of your paint job, especially in sunny climates.
What’s the best temperature range for spray painting plastic chairs?
For optimal results, spray paint when the temperature is between 50°F and 85°F (10°C and 30°C). Avoid painting in direct hot sun or high humidity, as this can affect paint drying and adhesion. Check the specific temperature recommendations on your paint can for best practices.