
How To Paint Resin Wicker Patio Furniture?
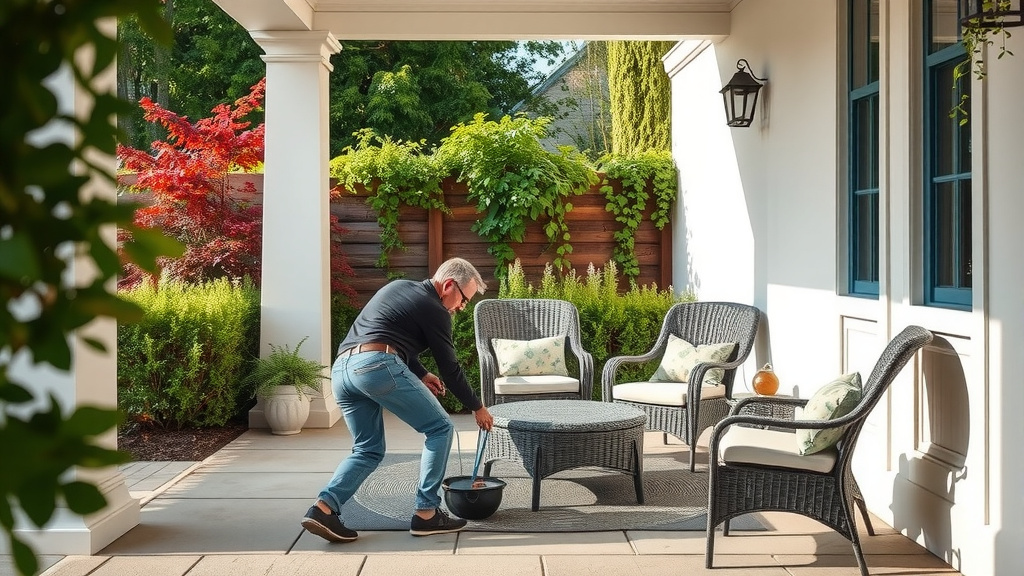
To paint resin wicker patio furniture, begin by thoroughly cleaning the surface with mild soap and water, then rinse and dry completely. Next, lightly scuff the surface with fine-grit sandpaper, apply a high-quality plastic-bonding primer, and finish with several thin, even coats of exterior spray paint designed for plastics.
Proper preparation, including cleaning and priming, is key to ensuring the paint adheres well and lasts, giving your furniture a fresh new look for seasons to come.
Here’s a quick overview of what you’ll find in this guide:
- Discover the essential steps for preparing your resin wicker furniture for painting.
- Learn which types of paints and primers work best for a lasting finish.
- Get practical tips on how to apply paint evenly for a professional look.
- Find out how to protect your newly painted furniture from the elements.
- Avoid common mistakes to ensure your project is a success.
How To Paint Resin Wicker Patio Furniture?
You can paint resin wicker patio furniture effectively by following a few clear steps. Proper preparation and the right products make all the difference for a durable finish.
Do you look at your resin wicker patio furniture and wish it had a different vibe? Maybe the color just doesn’t quite match your new outdoor decor. Good news, you can certainly give it a fresh coat of paint! It’s a fantastic way to revitalize your space without buying all new pieces.
Many patio experts we spoke with agree that painting resin wicker is a straightforward project. It requires a bit of patience and attention to detail, but the results are truly rewarding. Think of it as giving your furniture a spa day, a complete transformation!
Can You Really Paint Resin Wicker?
Yes, absolutely! Resin wicker, often made from synthetic polyethylene, takes paint very well when you prepare it properly. Unlike natural wicker, it’s designed to be more durable and resistant to outdoor elements, which also helps it hold paint better. We found that the key is in choosing the right type of paint and primer.
Why Paint Your Resin Wicker Furniture?
There are several good reasons why you might consider painting your outdoor furniture. Perhaps your existing furniture is simply faded from years in the sun. Or maybe you want to update its appearance to match a new aesthetic. Painting is a cost-effective way to refresh your patio.
Gather Your Painting Arsenal: What You’ll Need
Before you dive into painting, let’s ensure you have everything on hand. There’s nothing worse than starting a project only to realize you’re missing a key item! Having your tools ready makes the process much smoother and more enjoyable. Think of this as your mission briefing for success.
- Mild dish soap and water
- Soft scrub brush or cloth
- Fine-grit sandpaper (220-grit)
- Painter’s tape and drop cloths
- Plastic-bonding primer (spray or brush-on)
- Exterior spray paint for plastics
- Face mask and safety glasses
- Well-ventilated area
Step 1: The All-Important Clean-Up Act
Before any paint touches your furniture, a thorough cleaning is non-negotiable. Imagine painting over dirt and grime – it just won’t stick well! This step ensures a clean, receptive surface for your new paint. We found that skipping this step leads to poor adhesion (Outdoor Furniture Care Guide).
Use mild dish soap and warm water, along with a soft brush, to scrub away any dirt, dust, pollen, or mildew. Rinse your furniture completely with a hose, making sure no soapy residue remains. Then, let it dry fully in the sun or with a towel before moving on.
Step 2: Scuff It Up – The Sanding Secret
Sanding resin wicker isn’t about removing layers; it’s about creating a “tooth” for the primer and paint to grab onto. This light scuffing helps with adhesion. Many experts say a light hand with fine-grit sandpaper (around 220-grit) is perfect.
Gently rub the sandpaper over all surfaces you plan to paint. You’re not trying to remove the existing finish, just to dull the shine. After sanding, wipe down the furniture with a clean, damp cloth to remove any dust. Let it dry again.
Step 3: The Primer Power Play
Primer acts like a handshake between your furniture and the new paint. For resin wicker, a plastic-bonding primer is essential. This specialized primer creates a strong base for your chosen paint color to adhere to, preventing peeling and chipping later on.
Apply the primer in thin, even coats. If you’re using a spray primer, hold the can about 8-12 inches away and use a sweeping motion. Allow the primer to dry completely according to the manufacturer’s instructions, often a few hours. Sometimes, a second thin coat of primer is a good idea for maximum adhesion and durability.
Step 4: Painting Your Vision into Reality
Now for the fun part – the color! When selecting paint, always choose an exterior spray paint specifically designed for plastics. These paints have the flexibility and UV resistance needed for outdoor furniture. We found these paints stand up best to weather and sun (Paint Industry Standards).
Apply your paint in multiple thin coats rather than one thick one. This prevents drips and runs, giving you a smoother, more professional finish. Wait for each coat to dry to the touch before applying the next. This patience will pay off with a much more beautiful result.
Brush-On vs. Spray Paint for Resin Wicker
While spray paint is generally easier and faster for wicker, brush-on options exist. Here’s a quick look:
| Feature | Spray Paint for Plastics | Brush-On Exterior Paint |
|---|---|---|
| Application Ease | Very easy, even coating | Can be tricky with wicker weave |
| Coverage | Excellent for intricate patterns | Requires more effort to reach all spots |
| Drying Time | Fast between coats | Often slower |
| Finish Smoothness | Generally very smooth | Can show brush strokes |
Step 5: The Top Coat Touch (Optional, but Recommended)
After your final paint coat has dried completely, consider adding a clear, exterior-grade sealant or top coat. This adds an extra layer of protection against UV rays, moisture, and general wear and tear. It’s like giving your furniture a protective shield against the elements.
Make sure the sealant is compatible with your chosen paint type. Apply it in thin, even coats, just like the paint, following the product’s instructions for drying times. This step can significantly extend the life and vibrancy of your paint job.
Patience is a Virtue: Drying and Curing Times
Don’t rush the drying process! Paint isn’t fully cured just because it’s dry to the touch. Curing is when the paint hardens completely, which can take several days or even weeks. Many paint manufacturers suggest waiting at least 72 hours before light use, and longer for full hardness. Allowing proper cure time prevents chips and scratches.
Move your newly painted furniture to a sheltered, dry area for this curing period. Protect it from rain or heavy dew during this time. You’ve put in all this effort; a little more waiting ensures your beautiful new finish lasts.
Quick Checklist for Painting Success
To keep things straight, here’s a quick rundown of your action plan:
- Clean furniture thoroughly with soap and water.
- Lightly sand all surfaces to create adhesion.
- Apply plastic-bonding primer evenly.
- Paint with exterior spray paint for plastics in thin coats.
- Consider a clear protective top coat.
- Allow ample time for drying and curing.
Maintaining Your Painted Resin Wicker
Once your furniture is beautifully painted, you’ll want to keep it looking great. Regular gentle cleaning with mild soap and water will help. Avoid harsh chemicals or abrasive scrubbers, which can damage the paint finish. Treat it with care, and it will stay vibrant.
If you notice any small chips or scratches over time, touch them up promptly. Having a can of your original paint on hand is a smart idea. This proactive approach helps prevent minor damage from becoming bigger issues down the road.
Conclusion
Painting your resin wicker patio furniture is a fantastic project that can truly revitalize your outdoor living space. By following these clear, step-by-step instructions, you can achieve a durable, beautiful finish that will last for years. Remember, the secret lies in thorough preparation and selecting the right products. Give your patio furniture the fresh look it deserves!
Can I use any outdoor paint for resin wicker?
No, you should use exterior spray paint specifically designed to adhere to plastics. Regular outdoor paints may not bond well with the resin material and could peel or chip easily over time.
Do I really need to sand resin wicker before painting?
Yes, light sanding with fine-grit sandpaper is very important. It creates a slightly rough surface, known as a “profile,” that helps the primer and paint grip the slick resin material more effectively, preventing flaking.
How long does it take for painted resin wicker to dry completely?
While paint might be dry to the touch within a few hours, it typically takes 3-7 days for the paint to fully cure and harden. Allowing enough curing time before heavy use helps prevent damage and ensures a long-lasting finish.
What if my resin wicker has mildew on it before painting?
If your furniture has mildew, clean it thoroughly with a mixture of mild soap and water, or a specialized outdoor cleaner safe for plastics. Make sure all mildew is removed and the surface is completely dry before proceeding with sanding and priming.
Can I change the color of my resin wicker dramatically?
Yes, you can dramatically change the color of your resin wicker furniture. The key is using a high-quality plastic-bonding primer first, which will block the original color and provide a neutral base for your new chosen paint shade.
