
How To Paint Resin Patio Furniture?
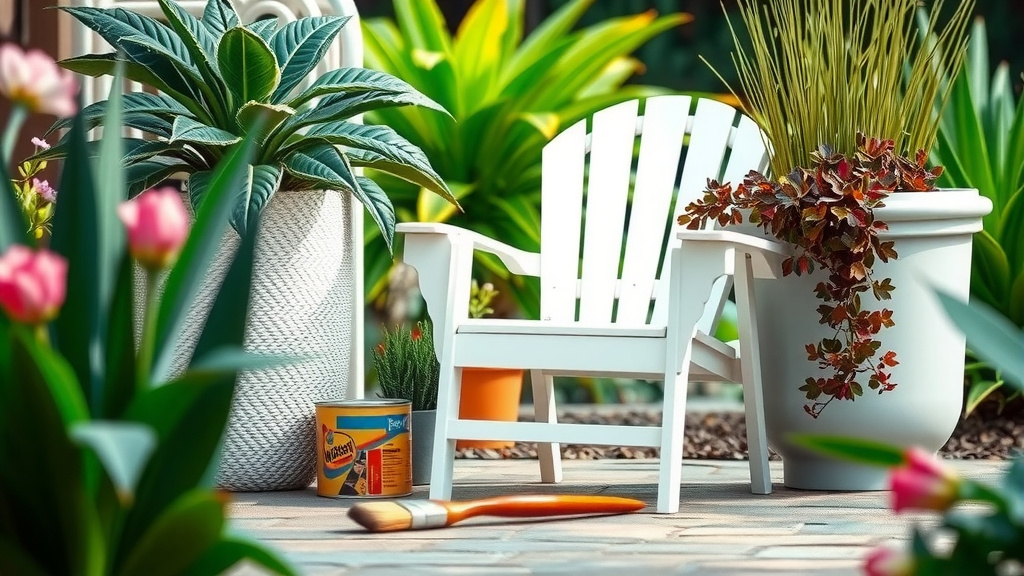
You can successfully paint resin patio furniture by first cleaning it thoroughly, lightly sanding the surface for adhesion, applying a high-quality primer formulated for plastics, and then finishing with paint designed for outdoor use.
The key to a lasting finish when you paint resin patio furniture is proper preparation, including choosing the right materials and allowing adequate drying time between coats.
Here’s a quick summary if you’re looking for the essential steps:
- Clean First: Always start with a very clean surface.
- Light Sand: A gentle scuff with sandpaper helps paint stick.
- Prime It: Use a primer made for plastic or outdoor use.
- Paint Smart: Apply thin, even coats of outdoor-grade paint.
- Seal It Well: A clear topcoat protects your new finish.
How To Paint Resin Patio Furniture?
Giving your resin patio furniture a fresh coat of paint can really transform your outdoor space. It’s a rewarding project, and with the right steps, you can achieve a durable, beautiful finish.
Why Bother Painting Old Resin Furniture?
Perhaps your once-bright chairs are looking faded, or maybe you just want a new color scheme. Painting them is a smart way to update your patio without buying all new pieces. It saves money and reduces waste, too!
Is Painting Resin Furniture Really Possible?
Yes, absolutely! Many people think resin can’t be painted, but that’s not true. The trick is to use the correct types of paint and prepare the surface properly. We found that success often comes down to these initial steps.
Gathering Your Essential Supplies
Before you start, make sure you have everything you need. A quick trip to the hardware store can save you interruptions later. Think of it like cooking; having all your ingredients ready makes the process smooth.
Choosing the Right Paint for Resin
This is where many go wrong. You need paint specifically made for outdoor use and ideally, one that adheres well to plastic. Many experts say that spray paint formulated for plastics is often the easiest to use. Acrylic latex paints designed for exterior use can also work well, applied with a brush or roller.
Primer: Your Best Friend for Adhesion
Do you really need primer? Yes! A good primer creates a sticky surface for your paint to grab onto. Look for a primer that bonds to plastic. It’s a non-negotiable step for a long-lasting finish, research often connects proper priming with paint durability (Consumer Reports).
Essential Prep Tools
You’ll need some basics: mild soap, water, a scrub brush or sponge, fine-grit sandpaper (around 220-grit), painter’s tape, drop cloths or old newspapers, and tack cloths. Don’t forget safety gear like gloves and a mask, especially if you’re spraying paint.
Prepping Your Furniture for Paint
Preparation is the most important part of this project. Skipping steps here means your paint job won’t last. Think of it as laying a strong foundation for a house.
Clean It Thoroughly
First, wash your furniture with mild soap and water. Get rid of all dirt, grime, and mildew. We found that a good scrub with a stiff brush and a rinse with a garden hose works wonders. Let it dry completely – absolutely no moisture!
Sanding for Better Adhesion
Lightly sand the entire surface with fine-grit sandpaper. This isn’t about removing material, but about creating a slightly rough texture. This rough surface gives the primer something to grip. Wipe away any dust with a tack cloth after sanding.
Protecting Your Surroundings
Painting can be messy. Lay down drop cloths or old newspapers to protect your lawn, deck, or garage floor. If your furniture has parts you don’t want to paint, cover them with painter’s tape.
Priming: The Foundation for Success
This step makes all the difference. Applying primer correctly ensures your topcoat sticks and looks even.
Application Tips for Primer
Apply a thin, even coat of your chosen plastic-bonding primer. If you’re using spray primer, hold the can about 8-12 inches away and use steady, sweeping motions. Avoid heavy coats that might drip or run. Two thin coats are always better than one thick one.
Drying Time is Key
Always follow the manufacturer’s instructions for drying time between coats and before applying paint. Rushing this step can lead to a sticky, peeling mess. Patience really pays off here!
Painting Your Resin Furniture
Now for the fun part – adding color! This is where your vision comes to life.
Layer by Layer for a Smooth Finish
Apply your outdoor paint in thin, even coats. Just like with primer, multiple thin coats are superior to one thick layer. This reduces drips and creates a more durable finish. Allow each coat to dry according to the paint manufacturer’s recommendations before applying the next.
Here’s a look at common paint types for resin furniture:
| Paint Type | Pros | Cons |
|---|---|---|
| Spray Paint (for plastics) | Easy application, smooth finish, wide color range, good adhesion to plastic. | Can be harder to control in windy conditions, requires good ventilation. |
| Exterior Acrylic Latex Paint | Brush/roller application, good durability, easy cleanup with water, more precise. | May require more coats, can show brushstrokes if not applied carefully. |
| Oil-Based Exterior Paint | Very durable, excellent hard finish, good for high-traffic areas. | Longer drying times, cleanup requires mineral spirits, strong fumes. |
Are you feeling overwhelmed by all the steps? It’s really not too bad once you get going. Just take it one step at a time.
Sealing for Long-Term Durability
Once your paint is fully dry, a clear topcoat is a smart addition. This adds an extra layer of protection against the elements, scuffs, and fading. Think of it as a clear shield for your hard work.
Picking a Good Sealer
Choose an exterior-grade clear sealer or polyurethane. Make sure it’s compatible with your paint type. Apply it in thin, even coats, just like your paint. This final step will significantly extend the life of your painted furniture, we found that sealed furniture often lasts years longer (Homeowner Magazine). Always let the sealer cure fully before using your furniture.
Here’s a quick checklist to avoid common painting mishaps:
- Don’t skip cleaning the furniture.
- Never forget to lightly sand the surface.
- Always use a primer suitable for plastic.
- Avoid painting on a very windy or humid day.
- Don’t apply paint or primer too thickly.
- Ensure full drying time between all coats.
Maintenance After Painting
Once your beautiful furniture is ready, a little care goes a long way. Clean it gently with mild soap and water. Avoid harsh chemicals or abrasive scrubbers that could scratch the new finish. Storing it away or covering it during harsh weather will also help keep it looking new for longer.
Conclusion
Painting resin patio furniture is a fantastic weekend project that can breathe new life into your outdoor living space. By following these straightforward steps—proper cleaning, light sanding, priming, thin coats of quality outdoor paint, and a protective sealer—you can achieve a durable and beautiful result. You’ll be enjoying your “new” patio furniture for many seasons to come!
Can I paint over existing paint on resin furniture?
Yes, you can often paint over existing paint on resin furniture, but proper preparation is still key. Make sure the old paint is not peeling or chipping. If it is, you’ll need to sand it down to a smooth, stable surface before cleaning, priming, and applying your new coats.
How long does painted resin furniture typically last outdoors?
With proper preparation, quality materials, and a good sealer, painted resin furniture can last several years outdoors. The lifespan depends on sun exposure, weather conditions, and how well it’s maintained. Regular cleaning and occasional touch-ups can extend its life even further.
What kind of weather is best for painting resin furniture?
The ideal weather for painting resin furniture is a dry, calm day with moderate temperatures, typically between 50-80°F (10-27°C), and low humidity. Avoid painting in direct sunlight, strong winds, or extremely humid conditions, as these can affect paint adhesion, drying time, and overall finish quality.
Is it better to brush or spray paint resin patio furniture?
Both brushing and spray painting have their advantages. Spray paint often gives a smoother, more even finish with less effort, especially on intricate designs. Brushing allows for more precise application and control, and it’s generally better for larger, flatter surfaces or when working in areas where overspray is a concern. The best choice often comes down to personal preference and the specific item you’re painting.
How do I prevent the paint from peeling or chipping off my resin furniture?
To prevent peeling or chipping, focus on meticulous surface preparation: thoroughly clean the furniture, lightly sand it to create tooth for adhesion, and always use a high-quality primer designed for plastics. Apply paint in thin, even coats, allowing full drying time between each. Finally, protect your paint job with an exterior-grade clear sealer.
