
How To Winterize Patio Furniture?
To winterize patio furniture, you need to clean, inspect, repair, and properly store it away from harsh winter elements like snow and ice. This thoughtful preparation protects your investment and ensures your outdoor pieces are ready for spring.
You can effectively winterize patio furniture by first cleaning all surfaces, drying items completely, making any small repairs, and then using appropriate covers or storing pieces indoors. Different materials require specific care steps, so plan accordingly.
- Clean every piece of furniture thoroughly to remove dirt and grime.
- Make any small repairs now, before winter sets in.
- Ensure everything is completely dry to prevent mold and mildew.
- Store cushions and fabrics indoors in a dry, safe spot.
- Protect outdoor stored items with breathable, waterproof covers.
How To Winterize Patio Furniture?
Winterizing patio furniture involves a few straightforward steps to shield your outdoor pieces from winter’s wrath. This process helps extend the life of your beautiful furniture, keeping it looking great for many seasons to come.
Why Winterize Your Patio Furniture?
Think of winterizing as a yearly check-up and protective layer for your patio furniture. The cold, wet, and sometimes icy conditions can cause materials to crack, fade, or rust prematurely. Skipping this step often leads to costly replacements or significant repairs later, as many experts attest.
Even furniture marketed as “all-weather” benefits immensely from winter protection. While it might resist damage, true preservation requires a bit more effort. We found that a little care now prevents a lot of heartache next spring.
Assessing Your Furniture’s Needs
Before you even think about covers or storage, take a moment to look at your specific furniture. What is it made of? How old is it? Understanding the materials will guide your winterizing strategy. Different materials require unique approaches.
A metal dining set needs different care than a wooden Adirondack chair. Cushions and fabrics have their own special requirements. Consider these factors before diving into the general cleaning steps.
Before You Begin: A Quick Checklist
Getting organized before you start makes the process much smoother. Grab a few essentials, and you will be ready to tackle the task. This ensures you have everything you need on hand.
- Cleaning supplies (mild soap, brushes, cloths)
- Repair kit (touch-up paint, wood glue)
- Protective covers (sized for your furniture)
- Storage space (garage, shed, or basement)
- Vacuum or brush for cushions
General Steps for All Patio Furniture
No matter the material, some steps are universal for winterizing all patio furniture. These initial actions lay the foundation for good protection. Start with these basics, and you will be on the right track.
Clean Everything Thoroughly
Dirt, pollen, and debris can trap moisture and promote mildew growth during storage. A good cleaning is your first line of defense. Use a mild soap and water solution to wipe down all surfaces. For stubborn grime, a soft brush helps lift it away, we found.
Don’t forget the crevices and undersides of your furniture. Accumulated gunk in these hidden spots can be very damaging. A careful cleaning now prevents a bigger headache in the spring.
Repair Minor Damage Now
Notice a small scratch on your metal table? Is a wicker strand loose? Now is the time to address these issues. Small problems can become big ones over winter, as moisture seeps into cracks or expands existing damage. Prompt repairs protect integrity.
Applying touch-up paint to metal prevents rust from spreading. Gluing down loose wood or wicker stops further unraveling. It’s like patching a tiny hole in a boat before a storm hits.
Drying is Critical
After cleaning, every piece of furniture must be completely dry before covering or storing. Any lingering moisture is an open invitation for mold, mildew, and corrosion. Give items ample time to air dry in the sun. If you are in a hurry, towels can help speed things up.
Consider bringing items into a garage or well-ventilated area for a day or two if your climate is damp. We often recommend this extra step for thorough moisture removal, according to many outdoor living resources.
Winterizing Specific Furniture Materials
Each material has its own unique characteristics and vulnerabilities. Knowing how to treat each type ensures maximum protection. Let’s look at the special considerations for common patio furniture materials.
Metal Furniture: Rust Prevention is Key
For iron, steel, or aluminum furniture, rust is the primary enemy. After cleaning and drying, inspect for any chipped paint or scratches. Apply a rust-inhibiting primer and then touch-up paint to these areas. Rust can spread quickly once it starts.
Some experts also suggest applying a coat of clear car wax to metal surfaces for an extra layer of protection. This acts as a barrier against moisture and air. Cover metal furniture with breathable covers if storing outdoors.
Wood Furniture: Nourish and Protect
Wood furniture needs special attention to prevent drying, cracking, and rot. Clean it gently, then apply a fresh coat of wood sealant or oil. Teak oil, for example, replenishes natural oils and provides a protective barrier. Always follow product instructions.
If you have painted wood furniture, check for peeling paint and touch it up. Storing wood indoors is often the best option, but if stored outdoors, ensure it has good airflow to prevent moisture buildup underneath covers.
Wicker and Rattan: Handle with Care
Natural wicker and rattan are beautiful but very susceptible to moisture and extreme temperatures. They can become brittle and crack. Clean them with a soft brush or vacuum, and a damp cloth. Avoid soaking them.
If possible, bring natural wicker and rattan indoors for the winter. For synthetic resin wicker, which is more durable, cleaning and covering should suffice. Regardless, protect them from direct contact with snow and ice.
Plastic and Resin: Simple and Sturdy
Plastic and resin furniture are generally the easiest to winterize. They are quite weather-resistant, but cold can still make them brittle, leading to cracks. Clean them with soap and water, then dry thoroughly. This simple care is often enough.
Consider stacking plastic chairs to save space, and covering them if storing outdoors. While they might withstand winter, protecting them from extreme temperature swings prevents long-term material fatigue.
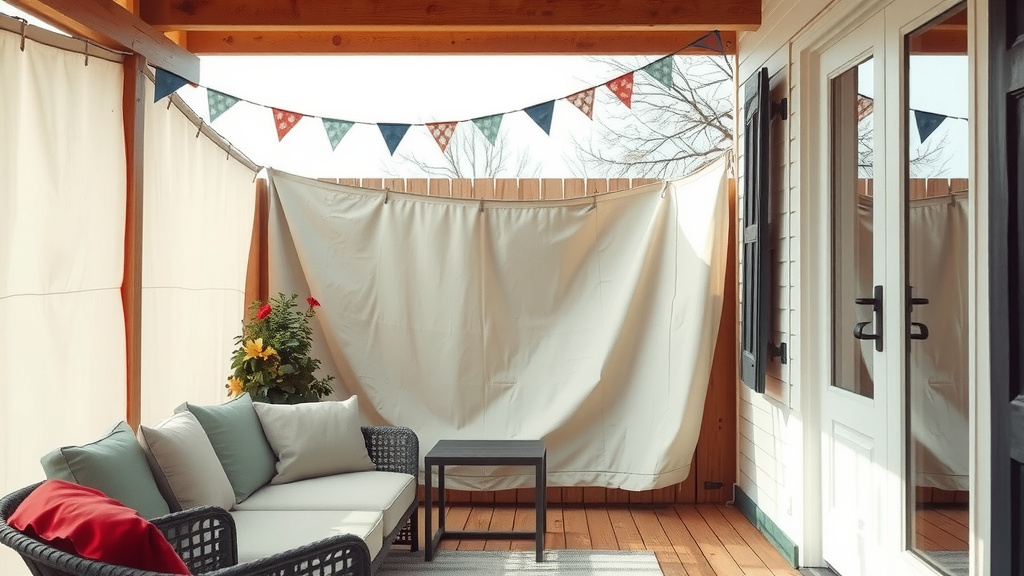
Cushions and Fabrics: Indoor Retreat
Cushions and outdoor fabrics absolutely need to be stored indoors. They are magnets for mold, mildew, and pests if left outside. Remove all cushions, throw pillows, and umbrellas from your patio set.
Clean them according to their care labels – usually a spot clean or a gentle machine wash. Ensure they are completely dry before storing them in airtight bags or containers. A spare room, attic, or basement is perfect for their winter hibernation.
Storage Solutions for the Cold Months
Once your furniture is clean, repaired, and treated, the next step is deciding where and how to store it. Your options depend on available space and the type of furniture you have. Smart storage protects best.
Choosing the Right Cover
If indoor storage isn’t an option, high-quality covers are your best friend. Look for covers that are waterproof yet breathable. This design prevents moisture from getting in while allowing air circulation to stop condensation and mold. Investing in good covers pays off.
Ensure covers fit snugly but aren’t too tight, allowing some airflow. Secure them so they don’t blow off in winter winds. Proper covers protect against snow, ice, and harsh UV rays, which can still be present on sunny winter days.
Indoor vs. Outdoor Storage
Here’s a quick look at the benefits of different storage methods. Knowing the trade-offs helps you make the best decision for your specific situation. Consider your climate and furniture materials.
| Storage Method | Pros | Cons | Best For |
|---|---|---|---|
| Indoor Storage | Maximum protection from elements, pests | Requires space (garage, shed, basement) | All materials, especially wood, natural wicker, cushions |
| Outdoor Covered | Convenient, saves indoor space | Still exposed to temperature extremes, potential humidity under cover | Durable metals, synthetic wicker, plastic (with good covers) |
| Outdoor Uncovered | No effort | High risk of damage, fading, rust, mold | Not recommended for any furniture type |
Conclusion
Winterizing your patio furniture isn’t just a chore; it’s an investment in its longevity and beauty. By taking the time to clean, repair, treat, and properly store your pieces, you are ensuring they will be ready to welcome spring with you. A little effort now means a lot of enjoyment later. Your future self will thank you for taking these steps!
How do I store my patio furniture for winter without a garage?
If you lack a garage, you can store furniture in a shed, basement, or even a spare room. For outdoor storage, use high-quality, breathable, waterproof covers specifically designed for patio furniture. Ensure good air circulation underneath the covers to prevent mold.
Can I leave my outdoor cushions outside if they are covered?
It’s generally not recommended to leave outdoor cushions outside, even with covers. They can still absorb moisture, leading to mold, mildew, and a musty smell. Pests can also nest in them. Store cushions indoors in a dry, sealed container if possible.
What is the best type of cover for patio furniture?
The best patio furniture covers are made from heavy-duty, weather-resistant materials like woven polyester or vinyl, with a breathable lining. Look for features like elastic hems, buckles, or drawstrings for a secure fit, and vents to allow airflow and prevent condensation.
Should I disassemble my patio furniture before storing it?
You can disassemble larger pieces, especially tables or chairs, if it helps save space or makes them easier to move. This is particularly useful for indoor storage. Make sure to keep all hardware organized in a labeled bag to avoid losing anything.
How often should I clean my patio furniture during the summer?
Cleaning frequency depends on usage and local conditions. A light cleaning every few weeks with soap and water keeps dirt from building up. A deeper clean once a month or after heavy use helps maintain its appearance and material integrity.


