
How To Restore Powder Coated Aluminum Patio Furniture?
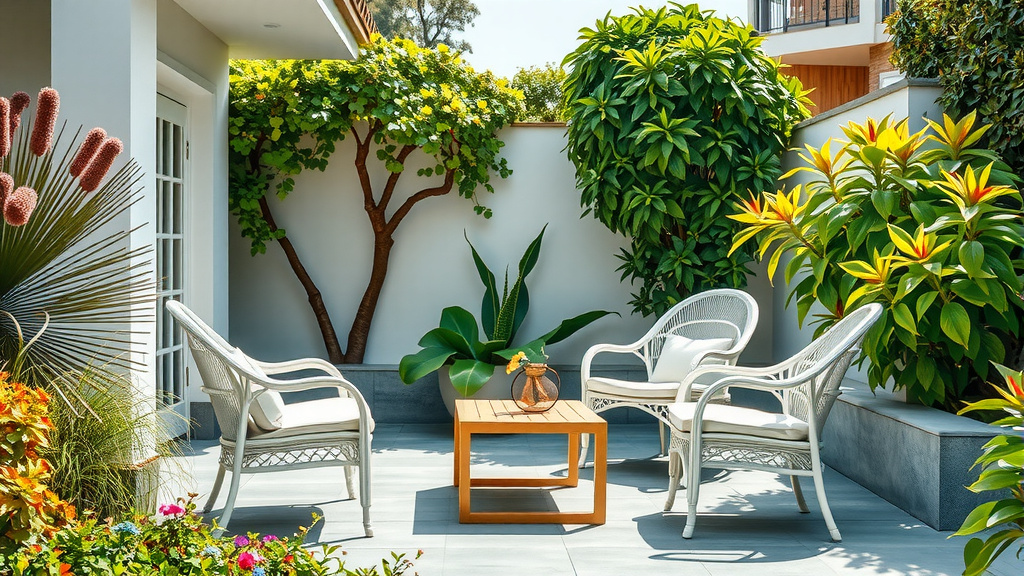
To restore powder-coated aluminum patio furniture, you will thoroughly clean the surface, lightly sand any chipped or peeling areas, repair minor imperfections, apply a suitable primer, and then finish with a durable outdoor-grade paint or a specialized powder coat touch-up kit.
This process rejuvenates your outdoor pieces, protecting them from further damage and extending their lifespan, making your patio beautiful again.
Here’s a quick guide to bringing your patio furniture back to life:
- Thoroughly clean all surfaces to remove dirt and grime.
- Address any existing rust or peeling paint by gently sanding.
- Apply a high-quality metal primer to ensure paint adhesion.
- Choose an outdoor-appropriate paint for a fresh, lasting finish.
- Allow ample drying time between coats and before use for durability.
How To Restore Powder Coated Aluminum Patio Furniture?
Restoring powder-coated aluminum patio furniture involves a series of careful steps from cleaning to painting, ensuring it looks fresh and lasts for many more seasons.
Why Give Your Patio Furniture a Makeover?
You love your patio furniture, right? It’s where memories are made. Over time, sun, rain, and use can make it look a bit sad. Restoring it doesn’t just make it look good; it saves you money and reduces waste. Think of it as giving your beloved pieces a second lease on life!
Is Restoring Powder Coated Furniture Worth the Effort?
Absolutely! Many experts say that restoring quality aluminum furniture is often more cost-effective than buying new. We’ve found that with a little elbow grease, you can achieve results comparable to professional services, all from your backyard.
Gathering Your Restoration Arsenal
Before you dive in, gather all your supplies. Having everything ready means a smoother, more efficient restoration process. You wouldn’t start a road trip without packing, would you?
Here’s a look at some must-have tools for your restoration project:
| Tool/Material | Purpose | Tip for Use |
|---|---|---|
| Mild Detergent & Water | Initial cleaning | Use a soft brush for crevices. |
| Fine-grit Sandpaper (220-320) | Roughing up surface, smoothing | Sand lightly, avoid deep scratches. |
| Aluminum-specific Primer | Paint adhesion, rust prevention | Apply thin, even coats. |
| Outdoor-grade Spray Paint | Topcoat finish | Choose rust-inhibiting formulas. |
| Painter’s Tape | Masking areas | Use high-quality tape for sharp lines. |
| Clean Rags | Drying, wiping | Keep several handy. |
Prioritizing Safety First!
You’ll be working with cleaners and paints, so protecting yourself is key. Always wear gloves, eye protection, and a mask, especially when sanding or spraying paint. Your health is worth it!
The Step-by-Step Restoration Journey
Let’s walk through the process together. Each step builds on the last, bringing you closer to beautiful, like-new furniture.
1. Cleaning is Key to a Fresh Start
The first step is often the most overlooked. Thoroughly clean your furniture with a mild detergent and water. Scrub away all dirt, grime, and mildew. We found that a good wash sets the stage for paint adhesion (Consumer Reports).
2. Inspect and Assess Any Damage
Once clean, take a good look. Are there chips, scratches, or areas where the powder coat is peeling? Identifying these spots helps you know where to focus your sanding and repair efforts. Think of it as a doctor checking a patient.
3. Gentle Sanding for Smoothness
Use fine-grit sandpaper (220-320) to lightly scuff the entire surface. This provides “tooth” for the new paint to grip. For areas with peeling paint or deep scratches, sand a bit more firmly to smooth them out. Remember, you’re not stripping the entire finish, just preparing it.
4. Repairing Minor Flaws with Care
For small dents or deeper scratches, you might use a metal filler specifically designed for outdoor use. Apply it, let it dry, and then sand it smooth. This step ensures a seamless finish before painting.
5. Priming for Perfection and Durability
Applying a good quality etching primer designed for aluminum is a game-changer. Research often connects proper priming with significantly better paint adhesion and rust resistance (NACE International). It’s like building a strong foundation for your house.
6. Choosing the Right Paint for Outdoors
You need paint that can stand up to the elements. Look for outdoor-grade, rust-inhibiting spray paint specifically formulated for metal or aluminum. We’ve found that a “satin” or “semi-gloss” finish often looks best and is easier to clean.
7. The Painting Process: Take Your Time
Apply several thin, even coats of paint rather than one thick one. This prevents drips and provides a more durable finish. Hold the can about 8-12 inches away and use a steady, sweeping motion. Patience pays off here, trust us!
8. Curing and Drying with Patience
Allow each coat to dry completely before applying the next, and give the final coat plenty of time to cure before using the furniture. This might take 24-72 hours, depending on humidity. Rushing this step can lead to a sticky finish.
9. Reassembly and Enjoying Your Hard Work
Once everything is fully cured, reattach any cushions or hardware. Stand back and admire your handiwork! It’s rewarding, isn’t it? You’ve transformed your old furniture into something beautiful again.
Common Restoration Mistakes to Avoid
Steer clear of these common pitfalls to ensure your restoration project is a success:
- Skipping the Cleaning: Dirt and grease stop paint from sticking properly.
- Not Priming: Primer is essential for adhesion on aluminum.
- Applying Thick Coats: Leads to drips, unevenness, and longer drying times.
- Rushing Drying Time: Can result in a soft, easily damaged finish.
- Using Indoor Paint: Won’t hold up to outdoor weather conditions.
Maintaining Your Refreshed Furniture
To keep your restored furniture looking its best, clean it regularly with mild soap and water. Consider storing cushions indoors during harsh weather. A little ongoing care keeps those pieces shining for years.
Conclusion
Restoring your powder-coated aluminum patio furniture is a rewarding project that combines practical skills with a touch of creativity. By following these steps – from meticulous cleaning and careful sanding to priming and painting – you can revive your outdoor living space without breaking the bank. You’ll not only extend the life of your furniture but also enjoy a fresh, inviting patio ready for countless moments of relaxation and entertainment. Give it a try; you might surprise yourself with the amazing results!
How do I prepare powder-coated aluminum for repainting?
To prepare powder-coated aluminum for repainting, start by thoroughly cleaning the surface to remove all dirt and grease. Then, lightly scuff the entire surface with 220-320 grit sandpaper to create a profile for the new paint to adhere to. Make sure to wipe away any sanding dust before priming.
What kind of primer should I use on aluminum patio furniture?
For aluminum patio furniture, you should use an etching primer or a self-etching primer. These primers contain acids that chemically bond with the aluminum surface, creating a much stronger and more durable base for the topcoat paint to adhere to, which is crucial for outdoor longevity.
Can I paint over flaking powder coating?
No, you should not paint directly over flaking or peeling powder coating. Painting over unstable surfaces will lead to the new paint also flaking off quickly. You must first sand away all loose and flaking areas until you reach a stable, well-adhered surface, then clean and prime properly.
How long does restored powder-coated furniture last?
With proper preparation, quality materials, and regular maintenance, restored powder-coated aluminum furniture can last for many years, often rivaling the lifespan of new pieces. The durability largely depends on the quality of paint used and how well it’s protected from harsh elements.
Is it better to spray paint or brush paint patio furniture?
For a smooth, factory-like finish on powder-coated aluminum patio furniture, spray painting is generally preferred. It allows for thin, even coats without brush marks. However, if you’re working in a confined space or want more control, brushing can be effective, though it might require more effort to avoid streaks.
