
How To Paint Powder Coated Aluminum Patio Furniture?
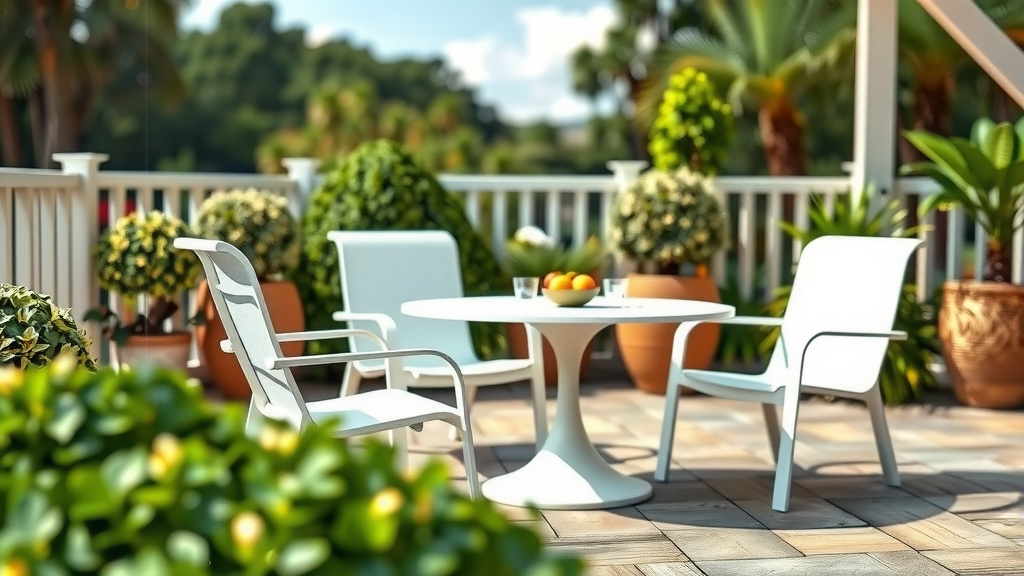
Painting powder-coated aluminum patio furniture requires careful preparation, including cleaning, sanding, and priming, to ensure the new paint adheres properly for a lasting finish.
You can successfully refresh your outdoor pieces by using an etching primer specifically designed for aluminum and a high-quality outdoor paint made for metal surfaces.
Here’s a quick overview of how to paint powder-coated aluminum patio furniture:
- Prepare the Surface: Start by thoroughly cleaning and degreasing your furniture.
- Scuff Sand: Lightly sand the entire surface to create adhesion for the new paint.
- Prime Right: Apply an etching primer, which is crucial for aluminum’s smooth surface.
- Paint Thin Coats: Use multiple thin, even coats of exterior metal paint.
- Allow to Cure: Give the paint ample time to fully cure before putting your furniture back into use.
How To Paint Powder Coated Aluminum Patio Furniture?
Transforming your powder-coated aluminum patio furniture with a fresh coat of paint is absolutely doable, but it demands attention to detail and the right products to ensure a beautiful, long-lasting result.
Is Painting Powder Coated Furniture Even Possible?
Yes, it is definitely possible to paint powder-coated aluminum furniture. Powder coating is incredibly durable, almost like a thin layer of plastic baked onto the metal.
Because of this, you cannot just paint over it. The key lies in creating a surface texture that allows new paint to properly grip and bond.
Why Re-paint Your Patio Furniture?
Maybe your once vibrant patio set now looks a bit tired. Perhaps it has chips, scratches, or the color simply doesn’t match your new outdoor decor.
Repainting is a fantastic, cost-effective way to give your furniture a fresh, new lease on life. It saves you money compared to buying an entirely new set.
Getting Ready: What You’ll Need
Before you begin, gather all your supplies. Think of this as preparing your artist’s palette for a masterpiece.
Having everything within reach will make the process smoother and more enjoyable. You might even find some items already in your garage.
Your Essential Tool Checklist
- Drop cloths or tarps
- Safety gloves, glasses, and a respirator mask
- Mild degreaser (like a TSP substitute or strong dish soap)
- Clean cloths and sponges
- Fine-grit sandpaper (220-320 grit) or Scotch-Brite pads
- Tack cloths
- Etching primer suitable for aluminum
- High-quality exterior metal paint (spray cans or brush-on)
- Painter’s tape
- Optional: Wire brush for heavily chipped areas
Step-by-Step: The Painting Process
Now that you have your tools, let’s walk through the transformation. Each step builds on the last, so taking your time is crucial.
Think of it like baking a cake; skipping a step will not give you the desired outcome.
Step 1: Clean and Degrease Thoroughly
This is arguably the most important step. Any dirt, grime, or oily residue will prevent your new paint from sticking.
Use a mild degreaser mixed with water and scrub every inch of the furniture. Rinse it very well with clean water.
Ensure the furniture is completely dry before moving on. We found that residual moisture can cause adhesion issues down the line.
Step 2: Sanding for Success
Next, you will lightly sand the entire powder-coated surface. This isn’t about removing the old coating entirely.
Instead, you are creating tiny scratches for the primer to grip onto. Use fine-grit sandpaper or Scotch-Brite pads for this task.
Research often connects this scuffing step with improved mechanical adhesion (NIST research). After sanding, wipe the furniture clean with a tack cloth to remove all dust.
Step 3: Prime Time! Choosing the Right Primer
Aluminum is a non-porous metal, meaning paint struggles to adhere naturally. This is where etching primer becomes your best friend.
An etching primer chemically reacts with the aluminum, creating a micro-etched surface. This gives the subsequent paint layers something to firmly grab onto.
Apply one or two thin, even coats of etching primer. Allow ample drying time between coats as per the product instructions.
Step 4: Applying Your Top Coat
Once the primer is dry, it is time for the fun part: color! Choose a high-quality exterior paint specifically designed for metal surfaces.
Whether you choose spray paint or brush-on, apply multiple thin, even coats. Avoid thick coats, as they tend to run, drip, and take longer to dry.
Many experts say that thin coats build durability better than one thick application. Follow the manufacturer’s drying recommendations between coats.
Step 5: The Curing Period (Patience is a Virtue)
The paint may feel dry to the touch in a few hours, but it is not fully cured. Curing is when the paint hardens completely, achieving its maximum durability.
This process can take several days, or even a few weeks, depending on the paint type and environmental conditions.
Resist the urge to use your furniture too soon. Many experts say rushing the curing period often leads to premature chipping or scratching.
Common Pitfalls to Avoid (And How to Fix Them)
Even with careful planning, sometimes things go a little sideways. Don’t worry, we’ve all been there!
Knowing common issues can help you avoid them, or quickly fix them if they arise.
- Issue: Paint peeling quickly. This often means the surface wasn’t cleaned or sanded enough.
- Fix: Strip the failing paint, re-clean, sand more thoroughly, and re-prime/re-paint.
- Issue: Paint looking uneven or bumpy. This might be from applying coats too thickly or painting in dusty conditions.
- Fix: Lightly sand the affected area smooth, clean, and then apply another thin coat.
- Issue: Runs and drips. Too much paint applied at once.
- Fix: Let dry, then sand smooth and apply very thin, even coats.
Powder Coating vs. Painting: A Quick Look
You might wonder how your new paint job compares to the original powder coat. Here’s a simple comparison.
| Feature | Original Powder Coating | DIY Paint Job |
|---|---|---|
| Durability | Extremely high; factory-applied | High; depends on prep and paint quality |
| Application | Industrial process; specialized equipment | DIY-friendly; can be done at home |
| Finish Quality | Very smooth, uniform, baked-on | Excellent; can achieve near-factory look with care |
| Cost | Higher initial investment for new furniture | Lower cost; refreshes existing furniture |
Quick Project Checklist
Before you wrap up your project, quickly run through these points.
- Was the furniture completely clean and degreased?
- Did you scuff sand every surface properly?
- Was an etching primer used on the aluminum?
- Were paint coats applied thin and evenly?
- Have you allowed for adequate curing time?
Conclusion
Giving your powder-coated aluminum patio furniture a fresh coat of paint is a rewarding project. It takes patience and careful steps, but the outcome is worth it.
By thoroughly cleaning, sanding, priming with an etching primer, and applying thin coats of quality outdoor paint, you can enjoy beautifully refreshed furniture for seasons to come.
So, roll up your sleeves and transform your outdoor space with a little bit of color and elbow grease!
Can I use any outdoor paint on powder-coated aluminum?
No, you should not use just any outdoor paint. It is crucial to use a high-quality exterior metal paint that is designed to adhere to aluminum and withstand outdoor elements. Combining this with a proper etching primer is key for success.
How do I know if my furniture is aluminum or steel?
Aluminum is generally lighter than steel. You can also use a magnet; if it sticks, it’s steel (or contains steel parts like screws); if it does not stick, it is aluminum. This distinction is important for primer choice.
What if the old powder coat is peeling badly?
If the original powder coat is severely peeling or flaking, you should remove all loose material with a wire brush or scraper. Sand these areas smooth to feather the edges. You want a stable surface for your new paint layers.
Can I paint in humid weather?
High humidity can cause paint to dry slowly, lead to blushing (a milky film), or affect adhesion. It is generally best to paint on a dry day with temperatures between 50-85°F (10-30°C) and low humidity for optimal results.
How long should I wait between coats of paint?
Always refer to the paint manufacturer’s instructions for specific drying times between coats. Typically, this can range from 30 minutes to several hours. Applying the next coat too soon can lead to bubbling or an uneven finish.
