
How To Repair Powder Coated Aluminum Patio Furniture?
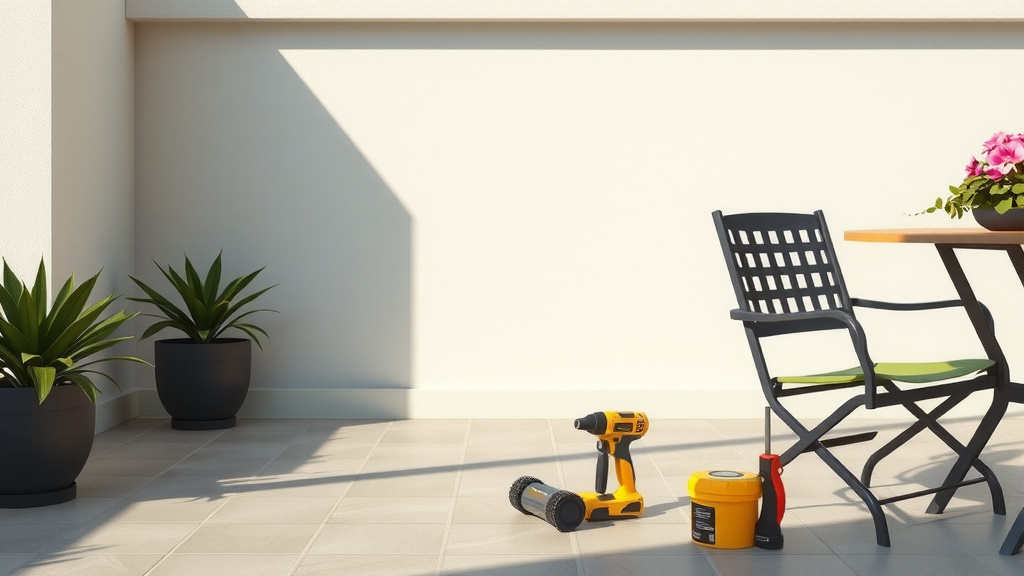
To repair powder coated aluminum patio furniture, you generally need to clean the area, gently sand away any loose coating, apply a suitable primer, then color-matched paint, and finish with a clear protective topcoat. This process can restore minor damage like scratches or chips effectively.
You can often perform these repairs yourself with a few common tools and materials, saving your outdoor furniture from rust and extending its lifespan.
Here’s a quick look at how to tackle those pesky chips and scratches:
- Clean First: Always start with a spotless surface to ensure paint adhesion.
- Gentle Sanding: Smooth rough edges and feather out the damage for a seamless repair.
- Prime Time: A good primer creates a strong bond for your new paint.
- Color Match: Choose paint that matches your furniture’s existing finish closely.
- Seal the Deal: A clear coat protects your hard work and adds shine.
How To Repair Powder Coated Aluminum Patio Furniture?
You can repair powder coated aluminum patio furniture by following a careful process of cleaning, preparing the surface, applying primer and paint, and then sealing. This thoughtful approach helps your furniture look great and last longer.
Why Repair Your Powder Coated Furniture?
Imagine your favorite patio chair, gleaming in the sun. Then you spot it: a little chip, a noticeable scratch. Doesn’t that just take the shine off your outdoor oasis? Repairing these imperfections is not just about looks. It is about protecting your investment.
Powder coating provides a strong barrier against the elements. When that barrier breaks, the aluminum beneath becomes vulnerable. While aluminum does not rust like steel, it can oxidize, which looks dull and weak over time. We find that early repairs save you from bigger problems.
Catching Damage Early Matters
Think of minor chips as tiny warning signs. Ignoring them is like leaving a small crack in your windshield; it just gets worse. Addressing minor issues quickly keeps them from spreading. Many experts suggest a quick repair prevents accelerated wear (Consumer Reports).
A small touch-up now can prevent you from needing a much more extensive — and expensive — restoration later. It is a bit like tending to your garden. You pull out weeds when they are small, not when they have taken over.
Spotting the Signs of Wear
You will typically see chips, scratches, or flaking. These are the usual suspects. Run your hand over the surface; does it feel smooth or rough? Check areas that get a lot of sun or contact, like armrests or table edges.
Sometimes, the color might start fading. This is often due to UV exposure over many seasons. Fading is harder to repair locally, but localized chips and scratches are often quite fixable. Look for any exposed metal underneath the coating.
Gather Your Repair Arsenal
Before you jump into fixing, gather all your supplies. It is like preparing for a cooking project; having everything ready makes the process smooth. What will you need?
Essential Supplies Checklist
- Mild detergent and water
- Clean cloths or rags
- Fine-grit sandpaper (220-grit and 400-grit)
- Painter’s tape
- Drop cloths or newspaper
- Rubbing alcohol or mineral spirits
- Self-etching primer (spray can recommended)
- Color-matched spray paint (specific for metal or outdoor use)
- Clear protective topcoat (spray can recommended)
- Safety glasses and gloves
- Mask (for ventilation)
Preparing for a Perfect Powder Coat Repair
Preparation is perhaps the most important step in any repair. Think of it as building a strong foundation for a house. Without it, your repair might not hold up.
Cleanliness is Key
First, clean the entire piece of furniture you plan to repair. Use a mild detergent and water, then rinse thoroughly. Make sure there is no dirt, grime, or old wax on the surface. We find that a clean slate is non-negotiable for good paint adhesion.
After cleaning, let the furniture dry completely. Then, use rubbing alcohol or mineral spirits on a clean cloth. Wipe down the specific areas you will be working on. This removes any remaining oils or residues. Remember, a clean surface means better paint adhesion.
Sanding for Success
Now, gently sand the damaged area. For small scratches, use 400-grit sandpaper to lightly feather the edges. The goal is to smooth any rough spots where the coating has chipped away. You want to blend the repair area into the surrounding good finish.
If you have larger chips or flaking, start with 220-grit sandpaper to remove loose bits. Then, switch to 400-grit to create a smooth, even surface. After sanding, wipe away all dust with a clean, damp cloth, then let it dry. Many experts emphasize the importance of sanding for proper adhesion (Paint Manufacturers Association).
The Repair Process: Step-by-Step
You have prepared the surface, now for the main event. This is where your patio furniture starts its journey back to its former glory. Patience is your best friend here.
Applying Primer with Care
Before painting, mask off any areas you do not want to paint with painter’s tape and newspaper. This protects the undamaged parts. Always work in a well-ventilated area.
Apply a thin, even coat of self-etching primer to the sanded area. Self-etching primers are ideal for aluminum as they help the paint bond better to the metal. Hold the can about 8-10 inches away and use sweeping motions. Let it dry according to the product instructions. Usually, two thin coats are better than one thick one.
Color Matching and Painting
Finding the exact color match can be tricky. Take a small, hidden piece of your furniture to a paint store if you are unsure. Many brands offer touch-up paints specifically designed for outdoor metal furniture.
When you are ready, apply thin, even coats of your color-matched spray paint. Again, hold the can 8-10 inches away and use consistent, sweeping motions. Allow each coat to dry completely before applying the next. This prevents drips and ensures an even finish. It is often said that several light coats create a more durable finish than one heavy coat.
Choosing the Right Paint Type
The type of paint you choose can impact the repair’s longevity and appearance. We found that specific outdoor-rated paints perform best.
| Paint Type | Best For | Pros | Cons |
|---|---|---|---|
| Aerosol Spray Paint (Outdoor Metal) | Small to medium repairs | Easy application, smooth finish | Harder to color match perfectly |
| Brush-On Touch-Up Paint | Very small chips, precise work | Exact color match possible, controlled application | Can leave brush marks |
| Automotive Paint | High durability, exact matching | Excellent weather resistance, wide color range | Can be more expensive, requires special tools |
The Final Protective Layer
Once your color coats are dry, apply a clear protective topcoat. This step is like adding an invisible shield. It protects your repair from UV rays, moisture, and everyday wear. A clear coat also helps blend the repaired area with the original finish, providing a uniform sheen.
Apply in thin, even coats, just as you did with the primer and color. Follow the drying times carefully. Let the final clear coat cure for at least 24-48 hours, or as recommended by the manufacturer, before using the furniture. Your patience here will be rewarded with a longer-lasting repair.
Maintenance Tips for Lasting Beauty
Repairing your furniture is a win, but ongoing care keeps it winning. Regular maintenance helps prevent future damage and keeps that powder coat looking fresh. What can you do?
Clean your furniture regularly with mild soap and water. Avoid harsh chemicals or abrasive scrubbers, as these can scratch or dull the finish. Many guidelines point to gentle cleaning as a good first step for longevity (Patio Furniture Association).
Consider using furniture covers during harsh weather or off-season storage. This protects against extreme temperatures, UV damage, and moisture. Store cushions indoors when not in use. These small habits make a big difference in the long run.
When to Consider Professional Help
Sometimes, a DIY repair just isn’t enough. If your furniture has extensive damage, like widespread flaking, severe bending, or large areas of exposed aluminum, it might be time for a pro. They have access to commercial-grade sandblasting, powder coating booths, and specialized paints.
A professional restoration can be more costly, but it can completely rejuvenate a beloved piece. If the item has sentimental value or is part of an expensive set, a professional might be your best bet. Think of it as sending your car to the mechanic for a major engine overhaul versus changing your own oil.
Conclusion
Repairing powder coated aluminum patio furniture is a rewarding project that extends the life and beauty of your outdoor pieces. By carefully cleaning, preparing, priming, painting, and sealing, you can effectively tackle chips and scratches. Remember, early intervention and proper technique are key to successful results. While some bigger jobs may call for professional help, many minor repairs are well within your reach. Enjoy your beautiful, restored patio furniture!
How do I prevent powder coat from chipping on patio furniture?
You can prevent powder coat chips by regularly cleaning your furniture, avoiding harsh impacts, using furniture covers during storage or bad weather, and checking for loose bolts or wobbles that might cause friction. Gentle handling and proper storage make a big difference.
Is it better to touch up or repaint powder coated furniture entirely?
For small, isolated chips or scratches, a touch-up is usually sufficient and more cost-effective. However, if the furniture has widespread damage, significant fading, or multiple areas of flaking, a full repaint or professional re-powder coating might provide a better, more uniform, and longer-lasting result.
What kind of paint do I use on powder coated aluminum?
You should use outdoor-rated spray paint designed for metal, preferably one with a self-etching primer base. Look for paints labeled as “all-purpose” or “for outdoor use” that offer good adhesion to aluminum and resistance to rust and UV rays. Automotive-grade paints can also work well.
Can I sand down powder coat?
Yes, you can lightly sand down powder coat, especially the damaged areas. Use fine-grit sandpaper (220-400 grit) to smooth rough edges and create a surface for the new paint to adhere to. Avoid aggressive sanding that might damage the underlying aluminum or create deep grooves.
How long does powder coat repair last?
The longevity of a powder coat repair depends on several factors, including the quality of the repair, the products used, and how well the furniture is maintained. A well-executed DIY repair can last several years, especially if the furniture is kept covered during harsh weather. Professional re-powder coating can last for many years, often comparable to the original finish.
