
How Do You Paint Wrought Iron Patio Furniture?
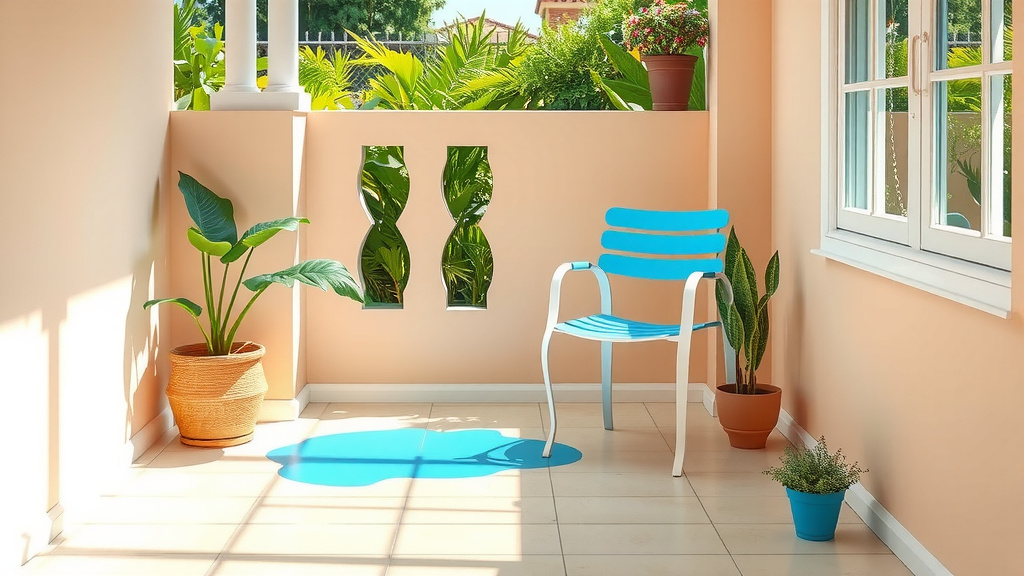
To paint wrought iron patio furniture, you should first meticulously clean the surfaces, remove any rust, and lightly sand for proper adhesion. Following this, apply a rust-inhibiting primer, then two thin, even coats of an oil-based or rust-resistant paint specifically formulated for metal.
Always allow sufficient drying time between each coat, and consider adding a clear protective topcoat to enhance durability against weather elements and daily use.
- Prepare your wrought iron furniture by cleaning and sanding it thoroughly.
- Apply a good quality rust-inhibiting primer to create a strong base and prevent future corrosion.
- Choose paint designed for metal, such as oil-based enamel or specialized rust-resistant options.
- Apply several thin, even coats of paint instead of one thick layer for a professional, smooth finish.
- Consider a clear topcoat to protect your newly painted furniture from the elements and wear.
How Do You Paint Wrought Iron Patio Furniture?
Painting your wrought iron patio furniture means giving it a new lease on life, transforming its appearance, and protecting it for years. The key steps involve careful preparation, proper priming, and applying thin, even coats of quality metal paint.
Why Paint Your Wrought Iron Furniture?
Is your patio furniture looking a little tired or showing signs of age? Painting it can be more than just a quick fix; it offers several great advantages. Think of it as a makeover that works double duty.
Refresh Its Look
Let’s face it, weathered patio furniture can really detract from your outdoor space. A fresh coat of paint can dramatically update the aesthetic of your entire patio or garden. You might even match it to your new cushions or outdoor décor!
Protect Against Rust
Wrought iron, while strong, is susceptible to rust when exposed to moisture and air over time. Painting creates a protective barrier against these elements. Many experts say a quality paint job can significantly extend the life of your furniture (Consumer Reports).
When’s The Best Time To Paint?
Timing is everything, right? You don’t want to paint on a super humid day or when it’s too cold. We found that the best conditions for painting outdoors are on a dry day with moderate temperatures, typically between 50-80°F (10-27°C). Avoid direct sunlight, which can make paint dry too quickly and cause brush marks.
Gathering Your Painting Arsenal
Before you jump in, let’s talk tools. Having the right supplies makes all the difference for a smooth painting process. Imagine trying to bake a cake without the right ingredients – it just doesn’t turn out well!
Essential Tools You’ll Need
- Wire brush or sandpaper (medium to fine grit)
- Stiff bristle brush
- Degreaser or mild detergent
- Clean rags or sponges
- Drop cloths or plastic sheeting
- Painter’s tape
- Rust-inhibiting primer
- Metal-specific paint (oil-based or rust-resistant)
- Paintbrushes (synthetic for water-based, natural for oil-based) or a paint sprayer
- Clear protective topcoat (optional, but recommended)
- Safety goggles and gloves
- Face mask (especially for sanding or spraying)
Choosing The Right Paint
Selecting the correct paint is critical for durability and appearance. We found that not all paints are created equal, especially when it comes to metal outdoor furniture. You need something tough.
| Paint Type | Pros | Cons | Best For |
|---|---|---|---|
| Oil-Based Enamel | Excellent durability, smooth finish, rust resistance. | Slower drying, strong fumes, requires mineral spirits for cleanup. | High-traffic furniture, harsh climates. |
| Rust-Resistant Spray Paint | Easy application, good coverage, wide color range. | Can be less durable than brushed paint, requires good technique to avoid drips. | Intricate designs, quick projects, less wear. |
| Latex (Water-Based) | Easy cleanup, low fumes, faster drying. | Less durable on metal than oil-based, needs good primer. | Mild climates, furniture with less exposure. |
Prepping Your Furniture For A Perfect Finish
Proper preparation is probably the most crucial step in painting wrought iron. Think of it like building a house; a strong foundation is everything. Skimp here, and your paint job might peel or chip quickly.
Cleaning Your Wrought Iron
First things first, let’s get it clean! Mix a little degreaser or mild detergent with water. Use a stiff brush or sponge to scrub away all dirt, grime, and mildew. Rinse thoroughly with a garden hose and allow the furniture to dry completely. Any leftover moisture can cause problems later.
Dealing With Rust
Rust is the enemy! If you see any orange or brown spots, grab your wire brush or some sandpaper. You need to remove all loose or flaking rust. For stubborn areas, a rust converter product can chemically stabilize the remaining rust, creating a paintable surface. Many guidelines point to this as a good first step (EPA).
Light Sanding Is Key
After cleaning and rust removal, a quick, light sanding is next. Use a medium-grit sandpaper (around 120-180 grit) to scuff up the entire surface. This step creates tiny abrasions, helping the primer and paint to adhere much better. Wipe away any dust with a tack cloth or damp rag.
Priming For Long-Lasting Results
Don’t skip the primer! It acts like a glue between the metal and the paint. More importantly for wrought iron, a good rust-inhibiting primer will provide an extra layer of defense against future rust. Apply a thin, even coat, making sure to cover all areas. Let it dry according to the manufacturer’s instructions, usually a few hours.
Painting Like A Pro: Step-By-Step
Now for the fun part: adding color! Whether you’re using a brush or a sprayer, patience and technique are your best friends here. Remember, thin coats are always better than thick, gloppy ones.
First Coat: Thin And Even
Apply your first coat of paint. If using a brush, use smooth, even strokes, making sure to cover the entire surface without pooling. If spraying, keep the can moving at a consistent distance to avoid drips and runs. Don’t worry if it looks a little thin; that’s normal for the first coat.
Second Coat: Building It Up
Once the first coat is completely dry (check the product label for drying times), apply the second coat. This layer will provide the true color and coverage. Again, keep it thin and even. You might notice the color looking much more vibrant now. Sometimes, a third coat is needed for certain colors or if you want extra durability.
The Drying Game
Patience, patience! Allow each coat to dry fully before applying the next or moving the furniture. Rushing this step can lead to tacky surfaces, smudges, and an uneven finish. Research often connects proper drying with the overall longevity of paint jobs (Journal of Coatings Technology).
Adding A Protective Topcoat (Optional, But Recommended!)
Want to go the extra mile? A clear protective topcoat is like a shield for your paint job. It adds an extra layer of durability against scratches, UV rays, and moisture. This is especially useful for furniture that sees a lot of use or is exposed to harsh weather. Apply one to two thin coats after the final paint coat has fully cured.
Common Painting Mistakes To Avoid
Even seasoned DIYers can make mistakes. Let’s make sure you don’t fall into these common traps. Avoid disappointment by knowing what to look out for.
- Painting over rust: This is a big no-no! The paint will not adhere, and rust will continue to spread underneath.
- Skipping primer: Primer is crucial for adhesion and rust prevention on metal.
- Applying thick coats: Thick coats lead to drips, runs, and a longer drying time. They’re also more likely to chip.
- Painting in extreme weather: High humidity or direct sun can cause blistering or uneven drying.
- Not allowing enough drying time: This results in a tacky finish and potential damage.
Keeping Your Painted Furniture Looking Great
You’ve put in all that hard work, so let’s keep it looking fabulous! Regular, gentle cleaning with mild soap and water can help maintain its appearance. Avoid abrasive cleaners or harsh scrubbing, which can damage the paint finish. Touch up any small chips or scratches promptly to prevent rust from setting in again.
Conclusion
Painting wrought iron patio furniture is a rewarding project that can dramatically enhance your outdoor living space. By following these steps – from meticulous preparation and proper priming to applying thin, even coats of suitable paint – you can achieve a durable, beautiful finish. Remember, the effort you put into each stage, especially the prep work, will truly show in the final result. Enjoy your refreshed, vibrant outdoor haven!
How long does it take to paint wrought iron patio furniture?
The total time can vary greatly depending on the size of the furniture and environmental conditions, but generally, expect to dedicate a full weekend. This accounts for cleaning, rust removal, sanding, drying time between primer and paint coats, and a final protective layer.
Can I use regular house paint on wrought iron?
It’s not recommended to use regular interior or exterior house paint directly on wrought iron. These paints are not formulated for metal and may not adhere well or offer sufficient rust protection. Always opt for an oil-based enamel, rust-resistant paint, or a paint specifically labeled for metal surfaces.
Do I need to sand all the old paint off before repainting?
No, you generally don’t need to remove all the old paint. If the existing paint is in good condition, meaning it’s not peeling or flaking, a light sanding to scuff the surface will be enough. This creates a good “tooth” for the new primer and paint to grip onto.
What kind of primer is best for wrought iron?
The best primer for wrought iron is a rust-inhibiting or rust-converting primer. These primers are specifically designed to bond with metal, block rust, and provide an ideal base for your topcoat of paint. Look for products that explicitly state “rust-inhibiting” on the label.
Can I use a paint sprayer for wrought iron furniture?
Yes, a paint sprayer can be an excellent tool for wrought iron furniture, especially for intricate designs, as it provides a smooth, even finish and good coverage. Just be sure to practice on a scrap piece first to get comfortable with the technique and avoid overspray or drips.
