
How To Spray Paint Wicker Patio Furniture?
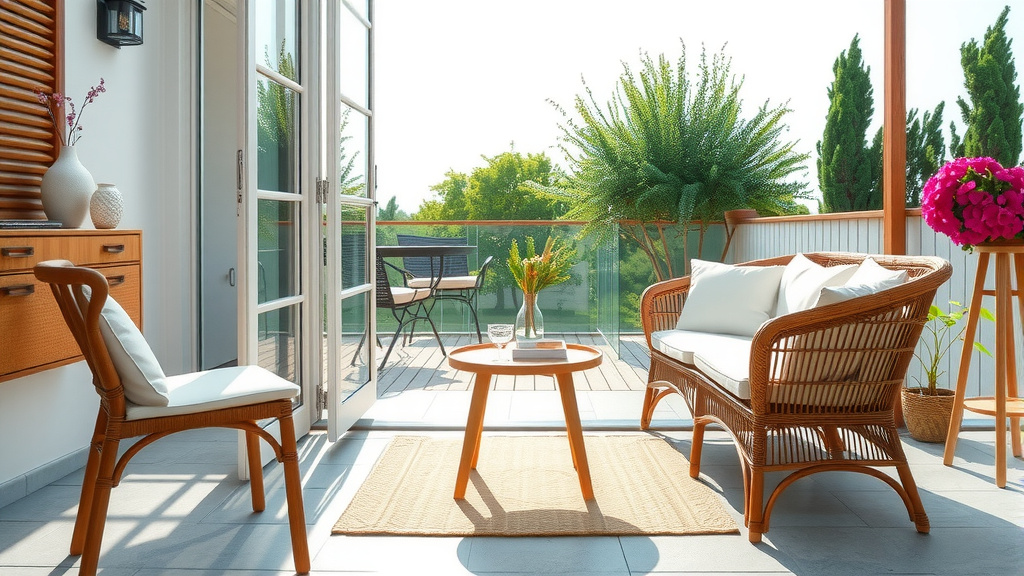
To spray paint wicker patio furniture, you should first clean it thoroughly, make any minor repairs, and protect areas you don’t want painted. Then, apply several light, even coats of exterior-grade spray paint designed for plastics or outdoor use.
Allow ample drying time between coats and consider a clear top coat for added durability, transforming your worn furniture into a fresh, inviting piece.
- Get started by giving your wicker a good scrub and repair any loose bits.
- Choose an exterior spray paint specifically for plastics or outdoor furniture.
- Spray several thin, even coats, not one thick one, for the best look.
- Let each coat dry completely before adding the next one.
- Consider a protective clear coat to make your hard work last longer.
How To Spray Paint Wicker Patio Furniture?
Giving your wicker patio furniture a fresh coat of spray paint can breathe new life into it without breaking the bank. It’s a simple project that can completely transform your outdoor space.
We’ll guide you through each step, making sure you get a smooth, lasting finish that you’ll love for seasons to come.
Why Give Your Wicker a New Look?
Your patio furniture works hard, right? It faces sun, rain, and all sorts of weather. Over time, that can make even the toughest wicker look faded or tired.
Spray painting isn’t just about color; it’s about protection and revitalization. It’s a cost-effective way to update your decor without buying new pieces, saving you money and effort.
Is Your Wicker Furniture Ready for a Makeover?
Before you grab that spray can, let’s check your furniture. Most synthetic resin wicker is a great candidate for spray paint. Natural wicker can also be painted, but it might need a bit more prep.
Look for any major structural damage. If it’s falling apart, paint might not be the fix. But if it’s just looking dull or dated, you’re good to go.
Gathering Your Supplies for a Perfect Finish
Think of this like cooking; the right ingredients make all the difference. Having everything ready before you start saves time and frustration.
Here’s a simple checklist of what you’ll want on hand:
- Mild soap and water
- Stiff brush or sponge
- Drop cloths or old sheets
- Painter’s tape
- 220-grit sandpaper (optional, for rough spots)
- Small wire brush or stiff toothbrush
- Exterior-grade spray paint (more on this soon!)
- Clear spray topcoat (optional, but recommended)
- Safety goggles and a respirator mask
- Work gloves
Choosing the Right Spray Paint for Wicker
This is where you make a big decision: what kind of paint? For outdoor wicker, you need something that can stand up to the elements.
Many experts say to look for paints specifically labeled for “outdoor use,” “plastics,” or “multi-surface” (paint manufacturers’ guidelines). These paints are often more flexible and weather-resistant.
Types of Paint to Consider
Let’s look at your options:
| Paint Type | Best For | Pros | Cons |
|---|---|---|---|
| Acrylic Latex | Synthetic Wicker | Fast drying, water cleanup, good UV resistance. | Less durable on high-traffic areas without topcoat. |
| Oil-Based | Natural Wicker, Metals | Very durable, excellent adhesion, high gloss finish. | Slower drying, requires mineral spirits for cleanup. |
| Paint + Primer | Faded, Light Colors | Saves a step, good coverage, strong adhesion. | Might be slightly thicker, requiring extra care to avoid drips. |
We found that a good paint + primer in one often works wonders for wicker, especially if you’re changing a dark color to a lighter one. It gives you excellent coverage and adhesion right away (consumer product testing groups).
Step-by-Step Prep Work
Good preparation is the secret sauce to a professional-looking finish. Think of it like baking a cake; if you don’t prep the pan, things get sticky!
This stage might seem tedious, but it saves you headaches later.
Cleaning Your Wicker Thoroughly
Dirt, grime, and old pollen are paint’s worst enemies. You need a clean canvas. Use a mild soap, like dish soap, mixed with water.
Scrub every nook and cranny with a stiff brush or sponge. For those tight spots, a small wire brush or an old toothbrush can be a real lifesaver.
Rinse your furniture completely with a hose and let it dry absolutely, completely. Any moisture trapped in the weave can ruin your paint job.
Essential Repairs and Protection
Got any loose strands or rough patches? Now’s the time to fix them. Use a strong outdoor-friendly adhesive for loose wicker pieces. For rough spots, a quick, light sanding with 220-grit sandpaper can smooth things out. Remember to wipe off any dust.
Next, use painter’s tape and drop cloths to cover anything you don’t want painted, like hardware or parts of a mixed-material piece. This step is crucial for a clean edge.
Mastering the Spray Painting Process
Okay, you’re prepped and ready. This is the fun part where you start to see the transformation!
Remember, several thin coats are always better than one thick coat. Patience is your best friend here.
Setting Up Your Painting Zone
Choose a well-ventilated outdoor area on a calm, non-windy day. Lay down your drop cloths generously. You don’t want overspray on your prize-winning roses or your neighbor’s car!
Elevate your furniture slightly using blocks or sawhorses. This helps you reach all angles easily and prevents paint from pooling on the ground underneath.
Don’t forget your safety gear: goggles and a respirator mask are a must for protecting your eyes and lungs from paint fumes.
Applying Even Coats of Paint
Shake your spray can vigorously for at least one minute. Hold the can about 8-12 inches from the surface. Use a continuous, sweeping motion, moving from side to side or top to bottom.
Overlap each stroke slightly to ensure full coverage. It’s better to see some of the old color after the first coat than to have drips from too much paint.
After your first coat, let it dry for the time recommended on the paint can (often 15-30 minutes for a “touch dry”).
How Many Coats Are Enough?
Most wicker projects need two to three light coats for full, even coverage. Darker colors might need fewer coats, while lighter colors might require more.
Always wait for each coat to be dry to the touch before applying the next. This prevents paint from pulling up or getting sticky.
The Final Steps: Drying and Protecting Your Work
You’re almost there! Once your final paint coat is on, the waiting game begins. This is not the time to rush.
The paint might feel dry to the touch quickly, but it needs time to fully cure and harden.
Patience During Drying
Allow your furniture to dry completely for at least 24 hours, or even longer in humid conditions, before moving it or using it. Check the paint can for specific curing times; some paints recommend 3-7 days for full hardness.
Moving it too soon can cause scuffs, chips, or tacky spots.
Adding a Durable Clear Coat
For extra protection against UV rays, scratches, and general wear and tear, we highly recommend adding a clear spray topcoat. Look for one that matches your paint’s finish (e.g., matte, satin, gloss).
Apply 1-2 light coats of the clear protector, following the same spraying technique as with the paint. This is like adding a shield to your beautiful new finish.
Avoiding Common Mistakes
Even seasoned DIYers can run into snags. But knowing what to watch for can save your project.
Prevention is truly the best cure when spray painting.
Dealing with Drips and Runs
Drips happen when you apply too much paint in one area. If you spot a drip while the paint is still wet, you can sometimes dab it gently with a small, soft brush.
If it’s dry, you’ll need to lightly sand the area smooth with fine-grit sandpaper (220-grit), clean it, and then apply another light coat. Remember, light coats prevent drips.
Uneven Coverage Solutions
If your paint looks splotchy, it’s usually due to inconsistent spraying or not enough coats. Make sure you overlap your passes evenly.
The solution is more light coats. Don’t try to cover it all in one go; build up the color gradually until you achieve a uniform look.
Maintaining Your Revitalized Wicker
Your “new” furniture looks fantastic, right? Now, let’s keep it that way!
A little care goes a long way in preserving your hard work and extending its lifespan.
Regularly wipe down your painted wicker with a damp cloth and mild soap. Avoid harsh chemicals or abrasive cleaners, which can dull or strip the paint. Consider covering your furniture during extreme weather or when not in use for extended periods. This simple act can protect the paint from fading and wear (many outdoor furniture guides suggest this).
Conclusion
Spray painting your wicker patio furniture is a truly rewarding DIY project. With a bit of preparation, the right materials, and a careful hand, you can transform old, tired pieces into vibrant, stylish additions to your outdoor living space.
You’ve gained the knowledge to tackle this project confidently, knowing that your patio will soon boast refreshed, inviting furniture. So, go ahead, pick your color, and get ready to enjoy your beautiful, revitalized outdoor oasis!
How much spray paint do I need for a typical wicker chair?
Generally, a standard wicker patio chair might need 2-3 cans of spray paint for two to three light coats. Larger pieces like a sofa could require 4-6 cans or more. It’s always a good idea to buy an extra can to ensure you have enough for touch-ups or mistakes.
Can I paint natural wicker with the same spray paint as synthetic wicker?
Yes, you can often use the same exterior-grade spray paint for both natural and synthetic wicker. However, natural wicker, being a porous material, might absorb more paint and could benefit from an all-in-one paint + primer for better adhesion and coverage (material science research suggests).
What’s the best weather for spray painting?
The best weather for spray painting is a dry, calm day with temperatures between 50-85°F (10-30°C) and moderate humidity. Avoid windy conditions, which can cause uneven application and overspray, and high humidity, which can affect drying and curing times.
Do I really need a clear top coat?
While not strictly mandatory, a clear top coat is highly recommended, especially for outdoor furniture. It adds an extra layer of protection against UV rays, moisture, and general wear, significantly extending the life and vibrancy of your paint job. It’s a small step that offers big benefits.
How long does spray painted wicker furniture usually last?
With proper preparation, quality exterior-grade paint, and a protective topcoat, your spray painted wicker furniture can last several years. Regular cleaning and covering it during harsh weather will help maintain its finish and appearance even longer.
