How To Reupholster Patio Chair Cushions?
On this page (6 sections)
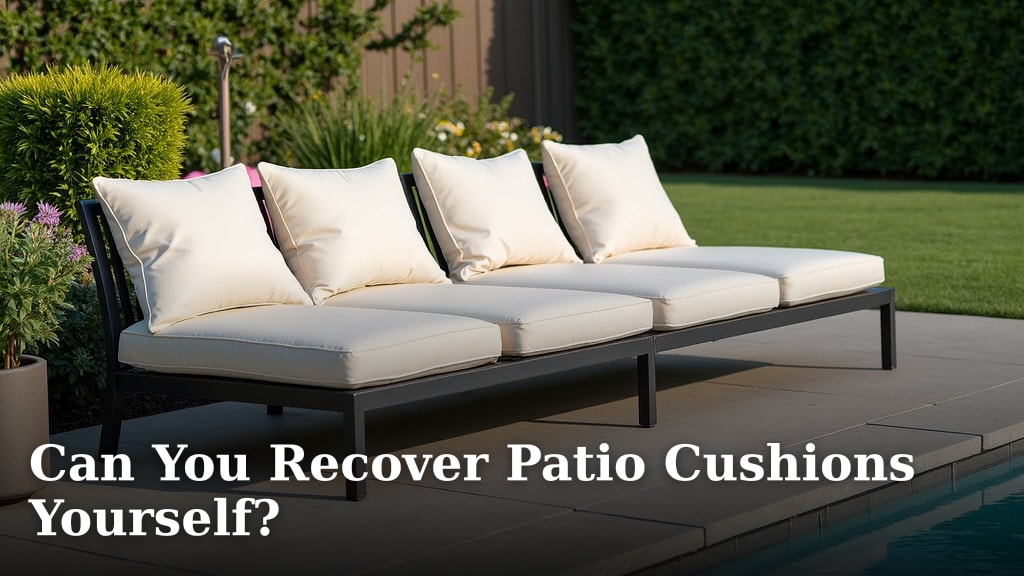
You can reupholster patio chair cushions by first carefully removing the old fabric, then using it as a template for new, durable outdoor fabric. This DIY project gives your outdoor furniture a fresh, vibrant look without buying new pieces.
This process saves you money and lets you choose a fabric that perfectly matches your outdoor style, making your patio inviting again.
- Reupholstering patio chair cushions offers a budget-friendly way to update outdoor furniture.
- You’ll need durable outdoor fabric, basic sewing skills, and common tools to begin.
- The project involves removing old covers, tracing new patterns, sewing, and reassembling.
- Choosing the right weather-resistant fabric is a key step for long-lasting results.
- This guide will walk you through each step, helping you achieve a professional look.
How To Reupholster Patio Chair Cushions?
Reupholstering patio chair cushions involves carefully removing the old cover, selecting weather-resistant fabric, and then sewing a new cover for your existing foam or stuffing. This process breathes new life into your outdoor seating, allowing for personalized style and significant savings.
Why Reupholster Your Patio Cushions?
Why replace something when you can refresh it? Old cushions often fade, tear, or stain, making your outdoor space look tired. Reupholstering lets you restore their beauty, often at a fraction of the cost of buying new ones. It’s also a fantastic way to personalize your patio decor.
When Is Reupholstering the Right Choice?
Consider reupholstering when your cushion inserts are still in good shape, but the fabric is worn. If your foam is crumbly or flattened, you might need to replace that too. Many experts say that if the frame or foam is sound, new fabric is a smart update.
Gathering Your Supplies: What You’ll Need
Before you begin, gathering everything will make the process smoother. Think of it like a chef preparing ingredients; having them ready is half the battle won. You don’t want to stop mid-project looking for a missing tool.
Essential Tools for Reupholstering
- Fabric scissors or rotary cutter
- Measuring tape
- Sewing machine (heavy-duty recommended)
- Staple gun (if attaching fabric to a base)
- Seam ripper
- Matching thread (UV-resistant is best)
- Pins or fabric clips
- Permanent marker or fabric chalk
Choosing the Best Outdoor Fabric
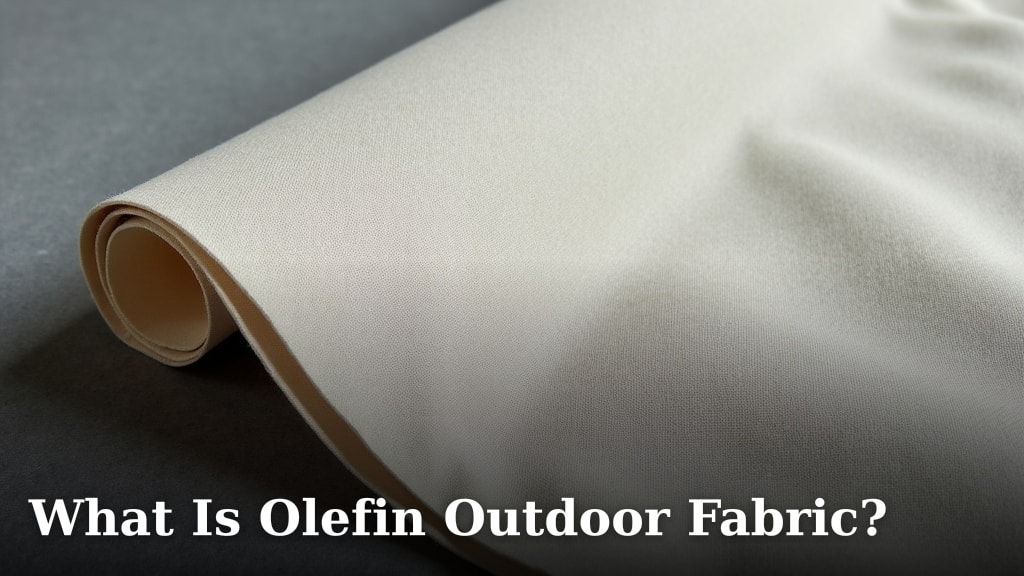
This is where you make a big style statement! Outdoor fabrics must resist sun, rain, and mildew. We found that acrylic, polyester, and olefin are popular choices because they stand up well to the elements. Look for phrases like “UV-resistant” and “water-repellent” on the label.
Here’s a quick comparison of common outdoor fabrics:
| Fabric Type | Pros | Cons |
|---|---|---|
| Acrylic | Excellent fade resistance, soft feel, mildew resistant | Higher cost, can pill over time |
| Polyester | Durable, good fade resistance, affordable | Can feel rough, less breathable |
| Olefin | Very strong, good fade & moisture resistance, cost-effective | Fewer pattern options, may stiffen with age |
Other Materials to Consider
You might need new cushion inserts if yours are past their prime. Outdoor-grade foam or batting will ensure comfort and longevity. Don’t forget durable zippers, if you want removable covers, or strong velcro for closure. Research often connects high-quality thread with longer-lasting seams (Textile Research Journal).
Step-by-Step Guide to Reupholstering Cushions
Ready to transform your patio? Let’s walk through the steps. Take your time, and remember that even experienced crafters started somewhere. Patience is a virtue, especially with sewing projects.
1. Removing the Old Fabric
Carefully use a seam ripper to take apart the old cushion cover. Try to keep the pieces intact. These old pieces will become your pattern templates. Label each piece if necessary to avoid confusion later. This step is like a puzzle; slow and steady wins the race.
2. Creating Your New Pattern
Lay your old fabric pieces flat on your new outdoor fabric. Pin them down securely. Use your marker or chalk to trace around each piece, adding a seam allowance of about ½ to 1 inch. Many experts say that a generous seam allowance helps prevent fraying and allows for adjustments.
3. Cutting the Fabric Pieces
Using sharp fabric scissors or a rotary cutter, carefully cut out all your new fabric pieces. Take your time to ensure precise cuts, as this will affect how well your cushion cover fits. Think of these cuts as the foundation of your new cover.
4. Sewing the New Cushion Cover
With your sewing machine, stitch the fabric pieces together, following the seams of your old cover. Use a heavy-duty needle and UV-resistant thread for outdoor projects. Remember to leave an opening for inserting the cushion foam. A zipper or Velcro closure here makes future cleaning easier. This is where your sewing skills shine!
5. Inserting the Cushion and Finishing
Slide your cushion foam or batting into the new cover. Gently work it in until it fills the cover completely, ensuring smooth edges. Hand-stitch or machine-stitch the opening closed. If you added a zipper, simply zip it up. You’ve just given your patio chair a stunning makeover!
Common Pitfalls and How to Avoid Them
Even experienced DIYers can make mistakes. Knowing what to watch out for can save you time and frustration. We often find that preparation is key to avoiding most issues.
Not Pre-Washing Fabric
Some fabrics shrink when washed. Always check your fabric’s care instructions and pre-wash if recommended. This simple step prevents your newly sewn cover from shrinking later, giving you a better, long-lasting fit.
Using Indoor-Only Thread
Indoor thread will quickly degrade in sunlight and weather, leading to popped seams. Always use UV-resistant, heavy-duty thread specifically designed for outdoor use. It’s a small detail with a big impact on durability.
Incorrect Seam Allowances
If your seam allowance is too small, your seams might fray or tear. Too large, and the cushion might not fit snugly. Consistency is important here. Many guidelines point to a consistent seam allowance as a good first step (Sewing 101 Guide).
Forgetting Zipper Placement
Plan where your zipper will go before you start sewing the main seams. Trying to add one later can be a real headache. A well-placed zipper means easy removal for cleaning.
Maintaining Your Newly Upholstered Cushions
You’ve put in the work, so let’s keep those cushions looking great. Proper care extends their life and keeps your patio inviting. Simple steps can make a world of difference.
Regular Cleaning Tips
Brush off loose dirt and debris weekly. For spills, blot them immediately with a clean cloth. Most outdoor fabrics can be spot-cleaned with mild soap and water. Research often connects regular, gentle cleaning with preserving fabric integrity (Fiber Science Review).
Protecting from the Elements
When not in use, store your cushions in a dry, covered area or use waterproof covers. While outdoor fabrics resist the elements, prolonged exposure can still shorten their lifespan. This simple habit keeps them looking fresh for seasons.
Checklist for Success
Keep this handy guide in mind as you work:
- Did I choose UV-resistant fabric?
- Is my thread heavy-duty and UV-resistant?
- Are my pattern pieces accurate?
- Did I leave a seam allowance?
- Is my sewing machine needle strong enough?
- Have I planned for a zipper or closure?
Conclusion
Reupholstering your patio chair cushions is more than just a repair; it’s an opportunity to revitalize your outdoor living space. With careful planning, the right materials, and a bit of patience, you can achieve professional-looking results that will make your patio chairs feel brand new. It’s a truly rewarding project that saves money and adds a personal touch to your home. So go ahead, give those cushions a second chance; you’ll be glad you did!
How long does it typically take to reupholster one patio cushion?
The time it takes varies widely based on your sewing experience and the complexity of the cushion. For a simple square cushion, an experienced sewer might finish in 2-4 hours, while a beginner could take a full day, including pattern creation.
Can I reupholster cushions without a sewing machine?
While possible, it’s much more challenging and time-consuming. You could hand-stitch, but it would require significant effort and very strong hands, especially with thick outdoor fabrics. For durability, a sewing machine is highly recommended.
What if my old cushion foam is molded or deteriorated?
If your foam is molded or badly deteriorated, it’s best to replace it completely for health and comfort. You can often find outdoor-grade foam at fabric or craft stores, cut to your desired size. Make sure it’s quick-drying and mildew-resistant.
How much fabric do I need for average patio chair cushions?
This depends on the cushion size and shape. A good rule of thumb is to measure your existing cushion, calculate the total surface area, and then add at least 20-30% for seam allowances and pattern matching. It’s always safer to buy a little extra.
Is it more cost-effective to reupholster or buy new cushions?
Generally, reupholstering is more cost-effective, especially if your existing foam inserts are still in good condition. New, high-quality outdoor cushions can be quite expensive. Reupholstering allows you to get a custom look for the price of fabric and thread.