How To Paint Aluminum Patio Furniture?
To paint aluminum patio furniture effectively, you need to begin with thorough cleaning and sanding, apply a specialized self-etching primer, and then finish with multiple thin coats of outdoor-grade paint.
Achieving a durable and attractive finish on your aluminum patio furniture is entirely possible by following a careful preparation and application process, which refreshes its look and extends its useful life.
- Proper preparation is non-negotiable: clean, sand, and wipe down every surface.
- Always use a self-etching or direct-to-metal primer for strong paint adhesion.
- Apply several light, even coats of outdoor-rated paint instead of one thick layer.
- Allow plenty of dry time between coats and before putting your furniture back into service.
- Consider adding a clear topcoat for extra protection and a professional look.
How To Paint Aluminum Patio Furniture?
Painting your aluminum patio furniture can seem like a big project, but it’s really about taking small, careful steps. Think of it like cooking a favorite meal; the right ingredients and technique make all the difference.
Why Paint Your Aluminum Patio Furniture?
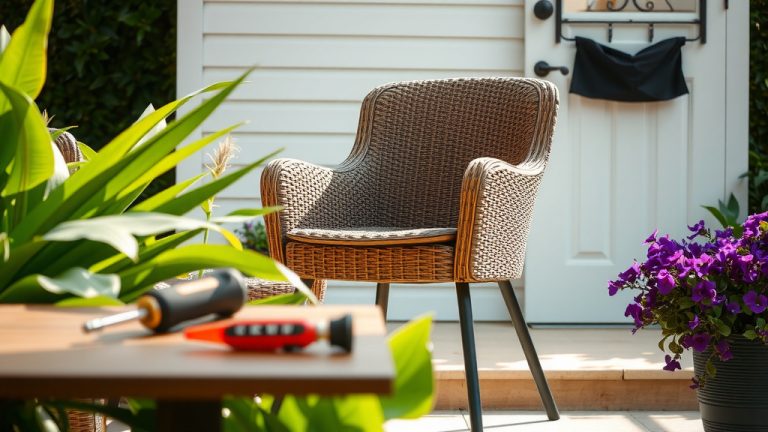
Your outdoor furniture takes a beating from the sun, rain, and daily use, doesn’t it? Painting is a wonderful way to give it a complete facelift without buying new pieces. You can change its style, match new decor, or simply restore its original charm.
Beyond aesthetics, a fresh coat of paint adds a protective barrier against the elements. This helps prevent corrosion and extends the life of your beloved patio set. It’s a smart investment of time and effort, many experts agree.
The Right Paint & Primer Make All the Difference
Aluminum is a smooth, non-porous metal. This means regular paint won’t stick well on its own. You need products specifically designed to adhere to it. The secret lies in the primer and paint selection.
For primers, always choose a self-etching or direct-to-metal formula. These primers chemically etch the aluminum surface, creating tiny grooves that the paint can grip onto. This step is non-negotiable for lasting results, we’ve found.
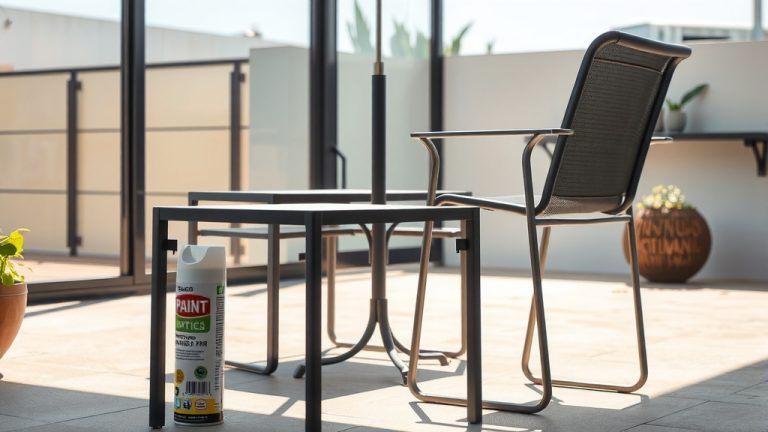
When it comes to paint, an exterior-grade acrylic latex or oil-based enamel is your best bet. Look for paints formulated for metal or outdoor use. Many even come in convenient spray cans, which can make application easier.
Essential Tools and Materials
Before you begin, gather everything you need. It prevents interruptions and keeps your workflow smooth. Having these items on hand will make the entire process much simpler for you:
- Drop cloths or old sheets
- Mild soap (dish soap works well)
- Stiff brush or scrub pad
- Clean rags or sponges
- Garden hose or pressure washer
- Fine-grit sandpaper (180-220 grit)
- Tack cloth or microfiber towel
- Self-etching or direct-to-metal primer
- Exterior-grade metal paint (spray or brush-on)
- Optional: Clear protective topcoat
- Painter’s tape and plastic sheeting (for masking)
- Respirator mask and safety glasses
- Gloves
Preparing Your Furniture for Painting
This stage is arguably the most important. Skimping on prep is like building a house on sand; it just won’t last. Proper preparation ensures your paint job adheres beautifully and stands the test of time.
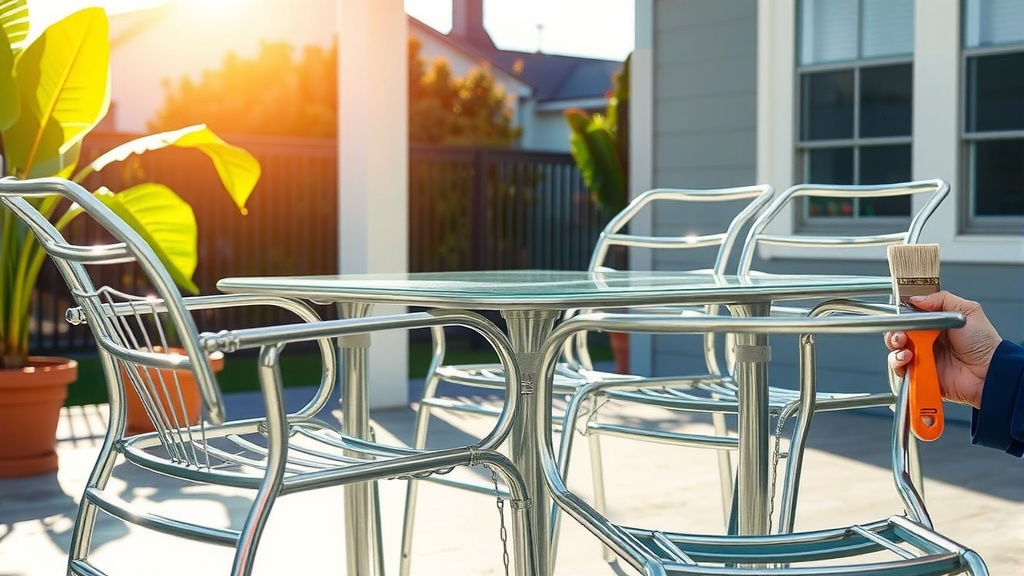
Cleaning and Sanding: Essential Prep
First, move your furniture to a well-ventilated area, preferably outdoors on a sunny, windless day. Lay down drop cloths to protect your workspace. Now, let’s get cleaning!
Give your furniture a thorough wash with mild soap and water. Use a stiff brush to remove any loose paint, dirt, grime, or mildew. Many experts emphasize that a clean surface is paramount for paint adhesion.
Rinse the furniture completely with a hose, making sure no soap residue remains. Let it dry completely. You might be surprised how much gunk comes off even seemingly clean pieces!
Next, it’s time for light sanding. Use fine-grit sandpaper (180-220 grit) to scuff the entire surface. You’re not trying to remove all the old paint, just create a slightly rough texture. This gives the primer something to grab onto.
After sanding, wipe the furniture down with a tack cloth or damp microfiber towel to remove all dust. Let it dry completely again. Your patience here will really pay off.
The Painting Process: Step-by-Step
Now that your furniture is squeaky clean and prepped, the fun begins! Remember, thin coats are your friend. Patience is definitely a virtue in this stage of the project.
Applying Primer
Put on your respirator mask and safety glasses. Apply your self-etching or direct-to-metal primer. If using spray primer, hold the can about 8-12 inches away and apply in light, even strokes. Don’t try to get full coverage in one go.
Aim for two thin coats of primer, allowing the recommended drying time between each coat (check the product label). This ensures maximum adhesion for your topcoat. We’ve found that rushing this step often leads to chipping later.
Your First Color Coats
Once the primer is fully dry, you’re ready for the paint. Again, apply multiple thin coats. This prevents drips, bubbles, and uneven coverage. Think of it as painting a car; many light layers build a strong finish.
Allow each coat to dry to the touch before applying the next. Depending on your paint and weather conditions, this could be anywhere from 30 minutes to several hours. Follow the manufacturer’s instructions for drying times.
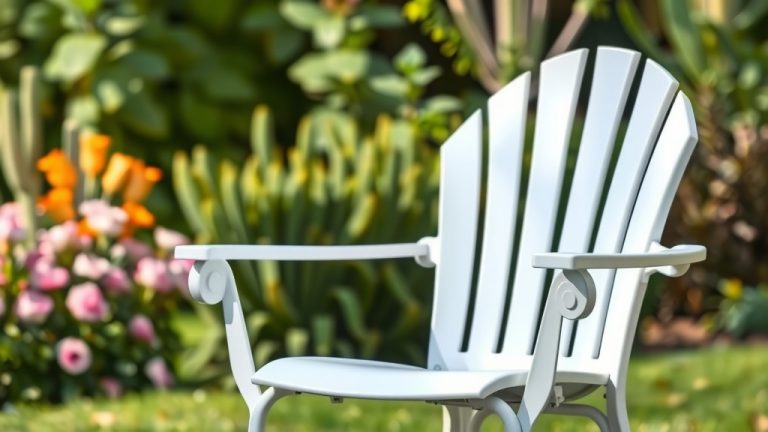
You’ll likely need two to three coats to achieve full, vibrant color. Always apply the last coat evenly to ensure a smooth, professional-looking surface. It’s truly rewarding to see the transformation!
The Clear Coat (Optional)
For extra durability and a longer-lasting finish, consider adding a clear protective topcoat. This step is especially beneficial for high-traffic pieces or those exposed to harsh weather. It’s like adding an invisible shield.
Apply the clear coat just like the paint: in light, even layers, allowing proper drying time between each. Once the final clear coat is dry, let the furniture cure for several days before using it. This allows the paint to harden fully.
Common Painting Mistakes to Avoid
We all make mistakes, but knowing what to watch out for can save you headaches. Avoiding these pitfalls ensures your project turns out beautifully.
One frequent error is not cleaning or sanding properly. If you skip these steps, the paint will likely peel or chip very quickly. Remember, preparation is the foundation.
Applying paint too thickly is another common issue. This leads to drips, uneven textures, and longer drying times. Always opt for multiple thin coats.
Not allowing enough drying time between coats can also cause problems. The paint may stay tacky or pull away when you apply the next layer. Patience truly pays off.
Lastly, ensure you’re working in a well-ventilated area and wearing proper safety gear. Fumes can be strong, and you want to protect yourself always.
Making Your Paint Job Last
You’ve put in the effort to paint your furniture, so naturally, you want that finish to last. Regular, gentle cleaning is your best friend. Use mild soap and water, avoiding harsh chemicals or abrasive scrubbers.
Consider covering your furniture when not in use, especially during extreme weather or off-season storage. A simple furniture cover can make a big difference in protecting your newly painted pieces from environmental wear and tear.
Spray vs. Brush: A Quick Guide (with Table)
When you’re ready to apply primer and paint, you have a choice: spray or brush. Each method has its pros and cons, and the best choice often depends on your comfort level and the furniture’s design.
Spraying typically offers a smoother, factory-like finish with less effort. Brushing gives you more control and can be better for intricate details. Here’s a quick comparison:
| Feature | Spray Painting | Brush Painting |
|---|---|---|
| Finish Quality | Very smooth, even, factory-like | Can show brush strokes, but offers texture |
| Speed of Application | Faster for large, open surfaces | Slower, more methodical |
| Control & Precision | Less control, requires masking; prone to overspray | High control, good for details, less masking needed |
| Ease of Use | Requires practice for even coats; can clog | Easier for beginners; familiar technique |
| Cost of Materials | Spray cans can add up; spray guns require cleaning | Brushes and rollers are reusable, less waste |
For most patio furniture projects, especially those with spindles or intricate designs, spray painting (either with cans or a sprayer) tends to give the most professional look. However, a good quality brush and steady hand can also produce excellent results.
Conclusion
Giving your aluminum patio furniture a fresh coat of paint is a rewarding project. It transforms old, tired pieces into vibrant, stylish additions to your outdoor living space. By focusing on meticulous preparation, choosing the right products, and applying thin, even coats, you’re set for success.
Remember, patience and careful attention to each step are your secret ingredients for a beautiful, long-lasting finish. So, why not roll up your sleeves and give your patio furniture the makeover it deserves? You’ll love the refreshed look!
How do I prevent paint from peeling on aluminum patio furniture?
Prevent peeling by ensuring proper surface preparation. This means thoroughly cleaning, degreasing, and lightly sanding the aluminum, then applying a self-etching primer designed for metal. Skipping these steps is a major cause of paint failure.
Can I paint aluminum patio furniture without sanding?
While some “paint and primer in one” products claim to eliminate sanding, light sanding (scuffing) with fine-grit sandpaper significantly improves adhesion. It creates a better surface for the primer to bond to, leading to a much more durable finish.
What kind of weather is best for painting outdoor furniture?
The best weather for painting outdoor furniture is a dry, calm day with moderate temperatures, ideally between 60-80°F (15-27°C) and low humidity. Avoid windy days to prevent dust and debris from sticking to wet paint, and don’t paint in direct, scorching sunlight.
How long does it take for painted aluminum furniture to fully cure?
While paint may feel dry to the touch in a few hours, it typically takes 3-7 days for it to fully cure and harden. Some paints, especially oil-based enamels, may need even longer, up to several weeks. Refer to the product label for specific curing times before heavy use.
Do I need to strip all the old paint off my aluminum furniture before repainting?
You don’t usually need to strip all the old paint unless it’s severely chipped, peeling, or cracking. For well-adhered old paint, a good cleaning and light sanding to scuff the surface are often sufficient. Focus on creating a smooth, stable base for the new primer and paint.