
How to Install a Shade Sail?
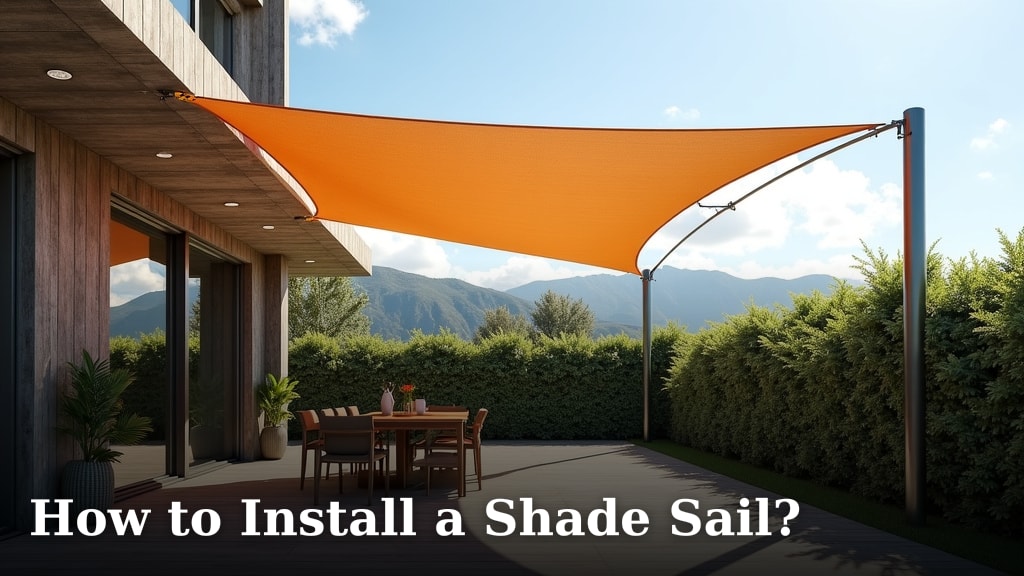
To install a shade sail, you need to plan your layout, pick the right hardware, and secure it properly. You’ll want to measure your space carefully. This ensures your shade sail provides optimal sun protection and looks great.
Adding a shade sail can truly transform your outdoor area, making it more comfortable and stylish. We found that a well-installed shade sail can lower temperatures significantly For additional shade options, consider exploring our guide to the best patio umbrella to complement your outdoor setup.. It also protects you from harmful UV rays, extending your time outdoors.
- Plan your shade sail location.
- Gather the correct mounting hardware.
- Measure and mark your attachment points.
- Install posts or wall plates securely.
- Attach and tension your shade sail.
Let’s walk through exactly how to install a shade sail, step by step, so you can enjoy your new shady spot in no time.
Your Step-by-Step Guide to Shade Sail Installation
Transforming your outdoor space with a shade sail is easier than you think. This guide walks you through every stage, ensuring a successful, safe, and beautiful installation.
Planning Your Shade Sail Project
The first step is often the most important. A little planning prevents big headaches later. We’ve found that careful preparation makes all the difference for a smooth installation.
Assessing Your Space and Sunlight
Before buying anything, take a good look at your yard or patio. Where does the sun hit strongest during different times of the day? You want to place your shade sail where it will provide maximum relief from the sun’s rays.
Think about where you spend the most time outdoors. Is it by the pool? Over your dining area? Or perhaps a play area for children? Your shade sail should cover these key spots.
Consider the sun’s path throughout the day and even through the seasons. A summer afternoon sun angle is different from a late spring morning. This foresight helps you position your sail perfectly.
Choosing the Right Shade Sail Size and Shape
Shade sails come in many sizes and shapes. Common options include triangles, squares, and rectangles. The shape you choose depends on your aesthetic preference and the area you need to cover.
Measure the general area where you want the shade. Remember that the sail itself will be slightly smaller than the distance between your attachment points. This allows for tensioning.
We often recommend choosing a sail that’s about 1 to 2 feet smaller than your ideal coverage area on each side. This margin ensures you have enough room to properly tension the fabric.
Here’s a quick guide to common shade sail sizes for typical applications:
| Sail Shape | Common Sizes (Feet) | Ideal Use |
|---|---|---|
| Triangle | 10x10x10, 12x12x12, 16.5×16.5×16.5 | Smaller areas, decorative accents, layering |
| Square | 10×10, 12×12, 16×16 | Patios, decks, over dining areas |
| Rectangle | 10×13, 10×16, 13×20 | Longer areas, driveways, swimming pools |
Selecting Mount Points and Hardware
Where will your shade sail attach? You need sturdy anchor points. These could be existing structures like your house, a fence post, or dedicated poles you install yourself.
For attaching to a house, look for strong fascia boards, roof eaves, or brick walls. Always ensure these points can handle significant pulling force. Many experts recommend attaching to wall studs or solid masonry (NCBI).
When selecting hardware, always opt for marine-grade stainless steel. This material resists rust and corrosion, even in harsh weather. Cheaper hardware can fail, leading to sail damage or injury.
You’ll need turnbuckles for tensioning, snap hooks or carabiners, and eye bolts or pad eyes for the attachment points. A good hardware kit should include these essential items.
Gathering Your Tools and Materials
Having everything ready before you start saves time and frustration. It’s like baking a cake; you wouldn’t start without all the ingredients.
Essential Tools List
You don’t need a professional workshop, but a few key tools make the job much easier. Here’s what we found you’ll likely need:
- Measuring Tape: For accurate measurements.
- Pencil or Marker: To mark your attachment points.
- Drill: With appropriate bits for wood, masonry, or metal.
- Socket Wrench or Adjustable Wrench: For tightening bolts and turnbuckles.
- Ladder: For reaching high attachment points safely.
- Level: To ensure posts are plumb.
- Post Hole Digger or Shovel: If installing new posts.
- Safety Glasses and Gloves: Always protect yourself.
Material Checklist for Installation
Beyond your shade sail and hardware kit, you might need a few extra items, especially if you’re installing new posts.
- Shade Sail: Your chosen size and color.
- Mounting Hardware Kit: Turnbuckles, snap hooks, eye bolts/pad eyes.
- Shade Sail Posts: If not using existing structures.
- Concrete Mix: For securing posts in the ground.
- Spirit Level: For ensuring accurate post installation.
- Rope or Cable: For initial tensioning and adjustment.
Setting Up Your Attachment Points
This is where your planning pays off. Secure attachment points are crucial for safety and the longevity of your shade sail.
Installing Posts for Your Shade Sail
If you need new posts, choose strong, weather-resistant materials like galvanized steel or treated timber. Posts should be tall enough to allow for a slight slope on your shade sail for drainage.
Dig post holes that are at least one-third the height of the exposed post, plus an extra 6 inches for gravel. For example, a 10-foot exposed post needs a hole about 3.5 to 4 feet deep.
Place 6 inches of gravel at the bottom of the hole for drainage. Set the post, then fill with concrete. Use a level to ensure the post is perfectly vertical before the concrete sets. We found curing concrete for 48-72 hours is best before applying any load (Cleveland Clinic).
Attaching Wall Plates and Eye Bolts
When attaching to a building, always find a strong structural element. For wood, drill pilot holes into studs. For masonry, use appropriate anchors and drill bits. Never attach directly to siding or thin fascia.
Install wall plates or eye bolts securely. Make sure they are tightened down completely. If you’re unsure about the structural integrity, consult a professional. Safety first, always.
We recommend installing attachment points so that one point is slightly lower than the others. This creates a natural slope for water runoff, preventing pooling on your sail.
Mounting and Tensioning Your Shade Sail
Now for the exciting part – seeing your shade sail take shape! This step requires a bit of finesse to get the perfect look and function.
Connecting the Shade Sail to Attachment Points
Lay out your shade sail on the ground to confirm its orientation. Begin by connecting one corner of the sail to its corresponding attachment point using a snap hook or D-shackle.
Move to the next corner, and the next, connecting each one loosely. At this stage, do not fully tension anything. You just want the sail hanging roughly in place.
Ensure the sail is facing the correct direction, with any label or seam facing downwards. This often means the fabric is designed to resist UV rays on its top surface.
Achieving Optimal Tension for Your Sail
This is critical. A properly tensioned shade sail is safe, effective, and looks professional. Start by hand-tightening all turnbuckles evenly. Don’t over-tighten one corner before others.
Work your way around the sail, gradually increasing tension at each corner. You’re aiming for a taut, wrinkle-free surface. There should be no sag in the middle.
Many shade sail manufacturers recommend aiming for a fabric tension that allows minimal movement in light winds. Over-tensioning can stress the fabric and hardware, while under-tensioning leads to sagging and potential damage in high winds.
As you tighten, check the attachment points to ensure they aren’t pulling loose or showing signs of stress. If you see movement, stop and reassess your anchoring.
For very large sails, you might need two people to apply even tension. One person can adjust the turnbuckle while the other checks the sail’s tautness from a distance.
Maintaining Your Shade Sail for Longevity
Once installed, a little care goes a long way. Proper maintenance extends the life of your shade sail and keeps it looking great.
- Regular Cleaning: Hose down your sail periodically to remove dust, dirt, and bird droppings. Use a mild detergent and a soft brush for tougher spots. Rinse thoroughly.
- Check Tension: Periodically re-check the tension of your sail. Fabrics can stretch slightly over time, especially after heavy rain or strong winds. Re-tighten turnbuckles as needed.
- Inspect Hardware: Look for any signs of wear, rust, or fatigue on your turnbuckles, snap hooks, and eye bolts. Replace damaged hardware promptly.
- Remove in Extreme Weather: We strongly advise taking down your shade sail during high winds, heavy snow, or severe storms. This prevents damage to the sail and your attachment points.
- Winter Storage: If you live in an area with harsh winters, remove the sail, clean it thoroughly, allow it to dry completely, and store it in a clean, dry place. Our guide on how to cover patio furniture offers additional tips that can be applied to protecting your shade sail.
Following these simple steps ensures your shade sail provides years of enjoyment and protection.
Conclusion
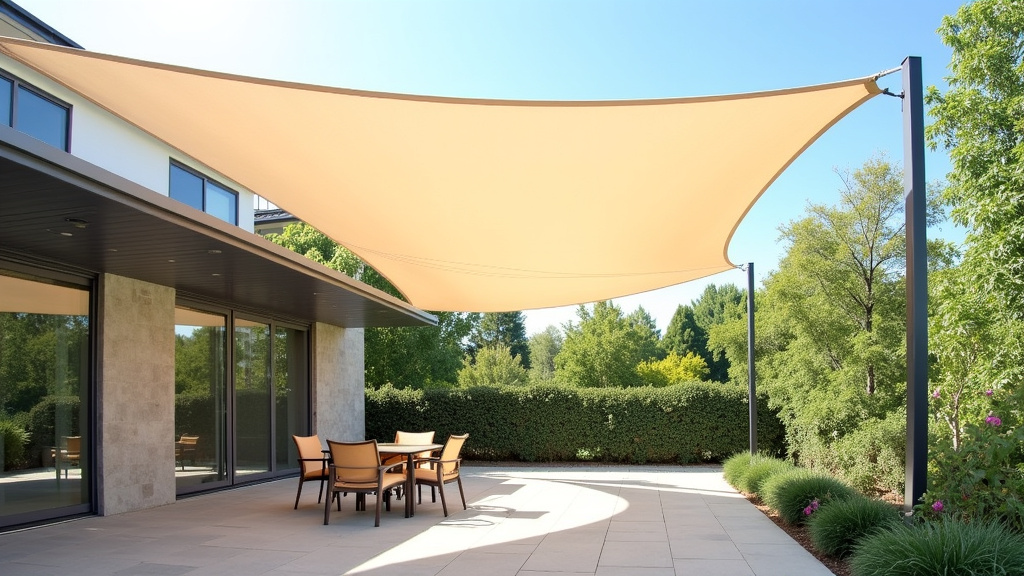
You now have a clear roadmap to installing your very own shade sail. By carefully planning your layout, choosing the right hardware, and securing everything properly, you’ll create a comfortable and stylish outdoor retreat. We found that taking your time with each step ensures both safety and a long-lasting result. Enjoy the significant relief from the sun and the added elegance a well-placed shade sail brings. Now, gather your tools, plan your space, and get ready to transform your outdoor living!
Frequently Asked Questions
How much slope should my shade sail have for proper drainage?
We recommend a minimum slope of 20-30 degrees. This angle allows rainwater to run off easily, preventing pooling and extending the life of your sail. Adjust your attachment point heights accordingly to achieve this.
Can I install a shade sail by myself, or do I need help?
For smaller shade sails, you might manage alone, especially if all attachment points are easily accessible. However, for larger sails or those requiring new posts, having a second person is incredibly helpful for lifting, tensioning, and ensuring accuracy.
How do I prevent my shade sail from flapping in the wind?
Proper tensioning is key to preventing flapping. Ensure all turnbuckles are tightened evenly until the fabric is taut and wrinkle-free. Under-tensioned sails are more prone to wind damage and excessive noise.
What if my house doesn’t have strong attachment points for a shade sail?
If your existing structures aren’t strong enough, you’ll need to install dedicated posts. You can also consult a contractor to reinforce your home’s attachment areas. Safety is paramount, so never compromise on anchor strength.
Is it possible to take down and put up my shade sail easily?
Yes, many shade sail hardware kits include quick-release options like snap hooks. This makes it straightforward to detach and reattach your sail for cleaning or during severe weather. Always follow manufacturer instructions for removal and storage.
