
How To Fix Wrought Iron Patio Furniture?
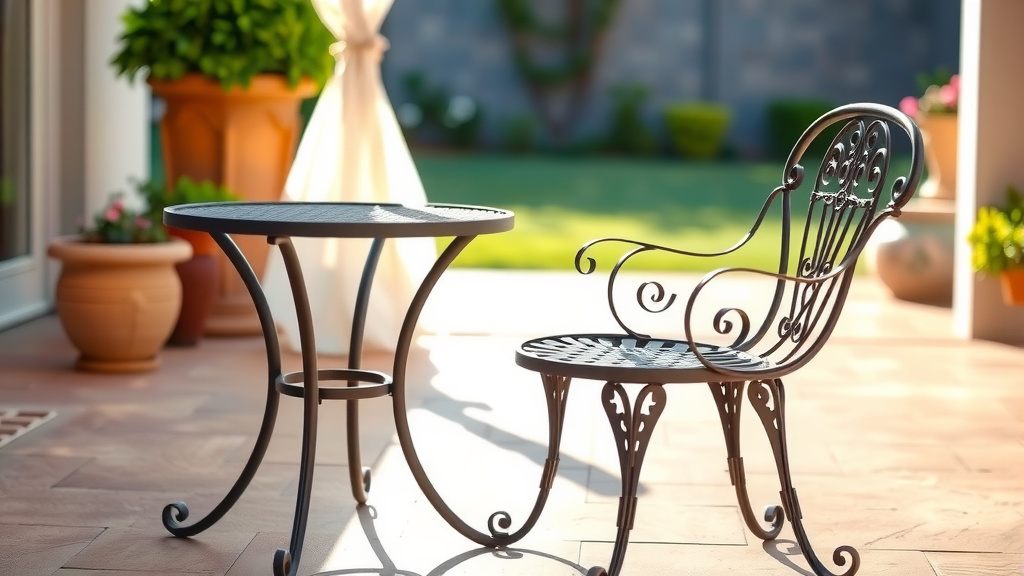
To fix wrought iron patio furniture, first clean off all dirt and loose rust. Then, address any rust by sanding or using a wire brush, treat it with rust-neutralizing primer, and secure loose joints with new hardware or welding.
After repairs, apply an appropriate outdoor metal paint to protect the metal and restore its appearance, ensuring your furniture lasts for many more years.
- Start by thoroughly cleaning your furniture to remove all grime.
- Tackle any rust with brushes, sandpaper, and a good rust-inhibiting primer.
- Tighten loose bolts or welds to stabilize wobbly parts.
- Always prepare the surface well before applying a fresh coat of outdoor metal paint.
- Regular maintenance helps keep your iron pieces looking great.
How To Fix Wrought Iron Patio Furniture?
Fixing wrought iron patio furniture involves cleaning, rust removal, securing loose parts, and repainting. This process brings back its beauty and strength, making it ready for countless outdoor gatherings.
Why Wrought Iron Needs Your Help
Wrought iron furniture is exceptionally durable, a true staple for patios. Yet, even these sturdy pieces face challenges over time. You might notice little imperfections pop up. Don’t worry, many common issues are quite fixable.
Rust – The Arch-Nemesis
Ah, rust! It’s the most common foe of wrought iron. When moisture meets metal, rust can form, eating away at the surface. You’ll see unsightly orange or brown spots. Left untreated, it can weaken the structure of your beloved chairs and tables.
Loose Joints and Wobbly Bits
Do you have a chair that feels a little tipsy? Over years of use, bolts can loosen, or welds might crack. This makes your furniture feel unstable. A wobbly piece isn’t just annoying; it can be unsafe. Securing these spots is important for stability.
Faded Paint and Scratches
The sun, rain, and everyday knocks can take a toll on paint. Your furniture might lose its vibrant color, looking dull or scratched. This isn’t just cosmetic; paint protects the metal underneath. A fresh coat restores both looks and protection.
Tools You’ll Need for the Rescue Mission
Before you jump in, gather your gear. Having the right tools makes any repair project smoother. Think of it like a surgeon preparing for an operation. Are you ready to begin your mission?
- Wire brush or steel wool
- Sandpaper (various grits, 80 to 220)
- Rust converter or rust-inhibiting primer
- Clean cloths or rags
- Drop cloth or old newspapers
- Masking tape
- Protective eyewear and gloves
- Screwdriver set and wrench
- Outdoor metal paint (spray or brush-on)
- Paint thinner or mineral spirits (for cleanup)
Safety First, Always!
Working with rust and paint means taking precautions. You want to protect yourself, right? Always wear safety glasses to shield your eyes from debris. Gloves keep your hands clean and safe from chemicals. Work in a well-ventilated area, especially when painting. Your health is more important than any repair.
Step-by-Step Guide to Fixing Wrought Iron Furniture
Now, let’s get down to business. Fixing your wrought iron furniture isn’t as hard as it sounds. We’ll walk through each stage together, step by step. Think of this as a mini-DIY adventure.
Step 1: Cleaning Your Furniture
First, give your furniture a good wash. Use a mild detergent and water to scrub away dirt, grime, and loose paint flakes. A stiff brush helps a lot. Rinse thoroughly and let it dry completely. A clean surface is ready for repairs.
Step 2: Tackling Rust Head-On
This is where you fight the rust monster! You have a few options for rust removal. The method you pick often depends on how much rust there is. Small spots are easier than large, flaky areas. Many experts say to start gentle and get tougher if needed (Good Housekeeping).
| Rust Level | Recommended Method | Description |
|---|---|---|
| Light Surface Rust | Wire Brush / Steel Wool | Scrub firmly to remove loose rust. Follow with fine sandpaper. |
| Moderate Rust | Power Sander / Sandpaper | Use an 80-grit sandpaper, then progressively finer grits (120, 220). |
| Heavy Flaky Rust | Rust Converter / Grinder | A rust converter chemically changes rust. For severe cases, a grinder might remove heavy flakes. |
After removing rust, apply a rust-inhibiting primer. This step is a must. It seals the metal and prevents new rust from forming. Allow the primer to dry as directed by the product instructions. This preparation is key for a lasting finish.
Step 3: Securing Loose Connections
Time to tighten things up! Inspect all nuts, bolts, and screws. Use the correct wrench or screwdriver to make them snug. If bolts are missing or stripped, replace them with new, rust-resistant hardware. For cracked welds, you might need a professional welder, as this is often a specialized repair. Strong joints bring back stability.
Step 4: Preparing for Paint
Mask off any areas you don’t want painted, like wooden armrests or glass tabletops. Use masking tape and old newspapers or plastic sheeting. Lightly sand the entire piece with fine-grit sandpaper (220-grit). This creates a rough surface for paint to stick better. Wipe it down with a clean, damp cloth to remove any dust. A smooth, clean surface ensures good paint adhesion.
Step 5: The Painting Process
Now for the fun part – giving your furniture a fresh look! Choose an outdoor metal paint designed for durability. Spray paint works well for intricate designs. Brushing works for larger, flatter areas. Always follow the manufacturer’s instructions for coats and drying times. Patience here pays off, as we found that rushing leads to a less durable finish (Consumer Reports).
- Always apply paint in a well-ventilated area.
- Use thin, even coats to avoid drips and runs.
- Allow each coat to dry completely before applying the next.
- Apply 2-3 coats for the best protection and appearance.
- Consider a clear protective sealant for an extra layer of defense.
When to Call in the Pros
While many wrought iron repairs are DIY-friendly, some jobs are best left to experts. If you have extensive structural damage, like broken welds or severely bent frames, consider professional help. Welding requires specialized skills and equipment. There’s no shame in knowing your limits. Sometimes, a professional touch is simply safer and better.
Keeping Your Repaired Pieces Pristine
You’ve done the hard work, now keep it looking good! Regular cleaning with mild soap and water prevents dirt buildup. Inspect your furniture yearly for new rust spots or loose hardware. Touch up paint as needed to maintain protection. Small fixes are much easier than big overhauls. A little care means your furniture lasts longer.
Conclusion
Bringing your wrought iron patio furniture back to life is a rewarding project. With a bit of effort and the right steps, you can turn tired, rusty pieces into garden showstoppers. From battling rust to applying that fresh coat of paint, you’ve equipped yourself with the knowledge to make it happen. Enjoy your refreshed outdoor space!
What is the best type of paint for outdoor wrought iron?
The best type of paint for outdoor wrought iron is a durable, weather-resistant enamel paint specifically formulated for metal. Look for products labeled “outdoor metal paint” or “rust-inhibiting enamel.” These paints often contain properties that resist rust and stand up well to sun and rain.
How do I prevent rust from returning on my wrought iron furniture?
To prevent rust, always start with a rust-inhibiting primer after cleaning and removing existing rust. Then, apply several coats of quality outdoor metal paint. Regularly clean your furniture, keep it dry when possible, and touch up any chips or scratches in the paint promptly. Applying a clear protective sealant can add an extra layer of defense.
Can I fix a broken weld on wrought iron myself?
Fixing a broken weld typically requires specialized welding equipment and skills. While minor repairs might be attempted by experienced DIYers, structural welds usually need a professional welder for a safe and strong repair. It’s often safer to consult an expert for such damage.
Is sanding always necessary before repainting wrought iron?
Yes, sanding is almost always a necessary step before repainting. Lightly sanding the surface creates a texture that helps the new paint adhere better. This also smooths out any imperfections. Skipping this step can lead to peeling or flaking paint later on.
How often should I clean my wrought iron patio furniture?
We found that cleaning your wrought iron patio furniture at least once or twice a year, or whenever it looks dirty, helps a lot. More frequent cleaning might be needed if you live in a particularly humid or dusty environment. Regular cleaning helps prevent dirt and grime from trapping moisture against the metal, which can lead to rust.
