
How to Assemble a Outdoor Sofa?
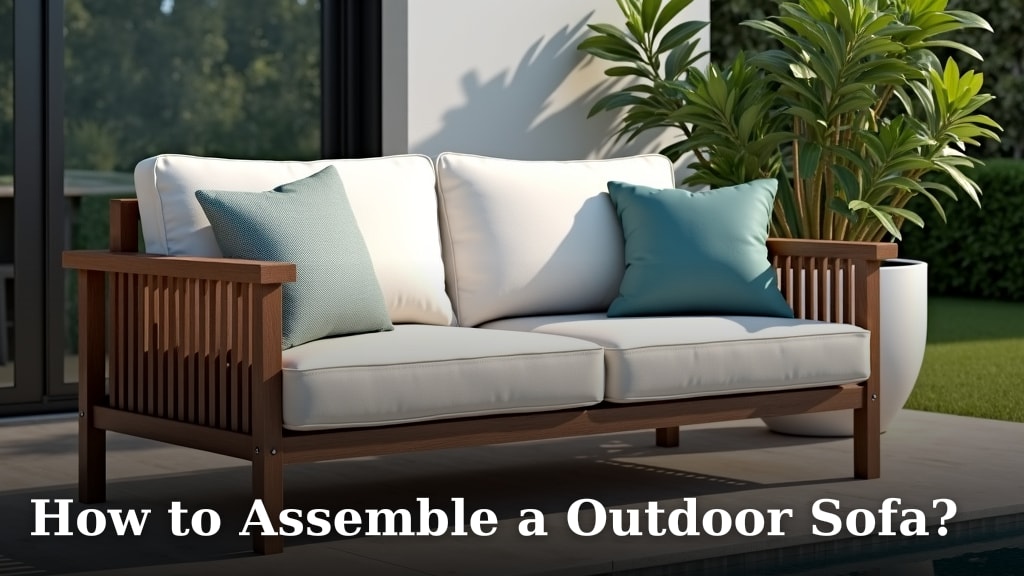
Assembling an
Getting Your Outdoor Sofa Ready for Relaxation
You’re about to transform your outdoor space. Assembling a new outdoor sofa doesn’t have to be a puzzle. With a few simple steps, you’ll be lounging in no time. We’ll guide you through the process, making it easy and enjoyable.
Before You Begin: Essential Preparations
Always plan ahead. A little preparation can save you headaches later. Think of it as setting the stage for a great performance.
Unboxing and Inventory Check
First things first, let’s open that box. Carefully remove all the contents. You want to make sure everything is there. Nothing is more frustrating than hitting a snag halfway through.
- Inspect the packaging for damage before opening.
- Gently take out each part. Don’t rush this step.
- Lay everything out on a clean, flat surface. A blanket or old sheet works well.
- Match all parts against the assembly instructions. Count every bolt and washer.
- Look for any scratches or dents on the pieces. Contact the seller immediately if you find issues.
Gathering Your Tools
Most outdoor sofas come with the basic tools you need. Usually, this means an Allen wrench. But having a few extra items can certainly help. These aren’t always in the box.
- Rubber mallet: Useful for gently tapping pieces into place.
- Phillips head screwdriver: Some designs might use these.
- Small adjustable wrench or pliers: For holding nuts.
- Work gloves: Protect your hands from splinters or sharp edges.
- Measuring tape: Handy for confirming dimensions, if needed.
Having your tools organized beforehand saves time. It prevents you from stopping mid-assembly to search.
Understanding the Instructions: Your Blueprint for Success
The instruction manual is your friend. It’s designed to make assembly simple. Don’t skip reading it, even if you think you know what you’re doing. Every model is a little different.
Reading Through the Guide
Take a few minutes to read the entire manual first. Get a general idea of the steps involved. This helps you visualize the process. You’ll understand the order of operations. Many people skip this, only to get stuck later.
Visuals and Diagrams Are Key
Pay close attention to the pictures and diagrams. They often show close-ups of how parts fit together. Arrows usually indicate direction. Look for any labels or numbers on the parts themselves. These will correspond to the manual.
Understanding Hardware
Most manuals have a section dedicated to hardware. This shows you each type of screw, bolt, and washer. It also tells you how many of each you should have. Don’t mix them up; they look similar but have different jobs.
Here’s a quick table to help you identify common hardware:
| Hardware Type | Common Appearance | Typical Use |
|---|---|---|
| Bolt | Threaded shaft, often with a hexagonal head. | Joining larger frame pieces. |
| Nut | Small, threaded cap that screws onto a bolt. | Securing bolts in place. |
| Flat Washer | Flat, thin ring. | Distributes pressure, prevents damage. |
| Lock Washer | Split or star-shaped ring. | Prevents nuts/bolts from loosening over time. |
| Allen Wrench | L-shaped hexagonal rod. | Tightening Allen head bolts. |
Step-by-Step Assembly: Building Your Outdoor Oasis
Now for the fun part: putting it all together! Remember to keep your components organized. Work in a spacious area where you won’t trip over pieces.
Assembling the Base Frame
This is usually the first major step. Most outdoor sofas start with a base. It sets the foundation for the rest of the structure. We found that connecting the longest pieces first often makes it easier to manage.
Connecting Side Panels
Start by attaching the side panels to the front or back rail. Use the appropriate bolts and washers. Finger-tighten all connections initially. This allows for slight adjustments. If you tighten too much too soon, you might have trouble aligning other holes.
Adding Connecting Rails
Once the sides are loosely connected, add the remaining rails. These usually form the seat and back supports. Guide each bolt into its designated hole. Sometimes, a gentle wiggle helps align the pieces. Don’t force anything; if it doesn’t fit, recheck the orientation.
Attaching the Backrest and Armrests
With the base secured, it’s time for the upright parts. These are crucial for comfort and stability. It’s often easier to do this with a helper, especially for larger sofas.
- Line up the backrest components. Ensure they face the correct direction.
- Attach them using the specified hardware. Again, finger-tighten first.
- Next, position the armrests. Some designs have them attach directly to the back and base.
- Make sure all pieces are flush and even. Crooked parts affect stability and appearance.
Final Tightening and Inspection
This is where it all comes together. Once all pieces are in place, it’s time to secure them firmly. But remember the saying, “measure twice, cut once.” Here, it’s “tighten twice, sit once.”
The Tightening Sequence
Start from one end of the sofa and work your way across. Tighten each bolt a little bit at a time. Go around again and give them a final snug turn. Avoid overtightening, which can strip screws or crack composite materials.
A good rule of thumb is to tighten until you feel firm resistance. Then, give it about a quarter turn more. This ensures stability without causing damage. The US Consumer Product Safety Commission often reminds us that secure connections are key for safety (CPSC).
The Wobble Test
Once everything is tightened, give your sofa a gentle push. Does it wobble? If so, identify the loose area and tighten it further. A stable sofa is a safe sofa. Check all connections one last time. Feel good about your work.
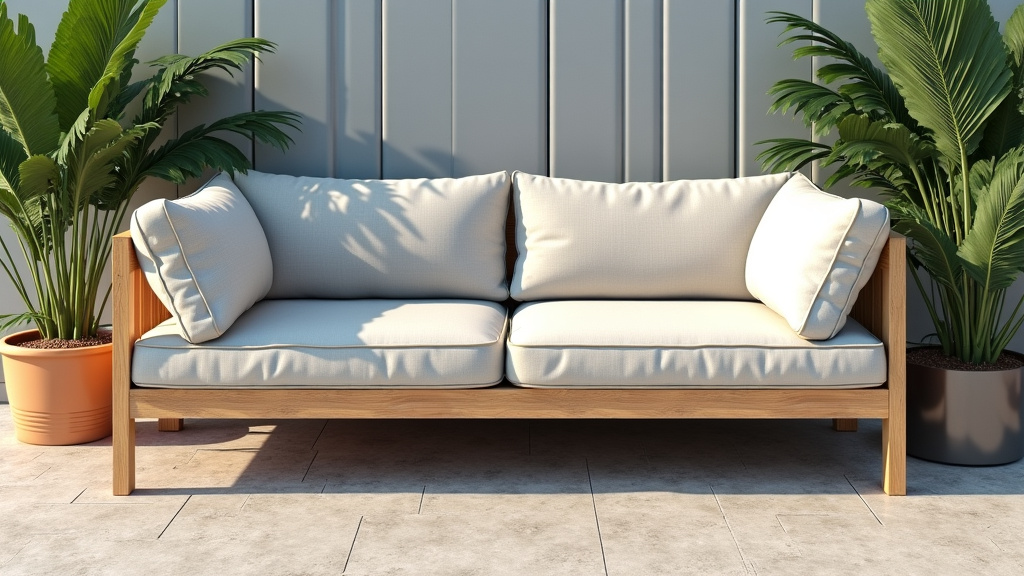
Finally, your outdoor sofa is ready! Wipe down any dust or fingerprints. Then add cushions and enjoy your new outdoor lounge space. You did it!
Conclusion
You’ve successfully turned a box of parts into a comfortable outdoor sofa. By taking your time, checking inventory, and carefully following the instructions, you’ve built a sturdy piece of furniture. Remember, proper assembly ensures both the longevity and safety of your new oasis. Now that your outdoor sofa is ready, it’s time to add those cushions, grab a cold drink, and finally relax outdoors. Enjoy your handiwork!
Frequently Asked Questions
What if I lose a piece of hardware during assembly?
Don’t panic! Most manufacturers offer replacement parts. Check your manual for customer service contact information. You can often find a part number there for easier ordering.
Can I assemble an outdoor sofa by myself, or do I need help?
Many smaller outdoor sofas can be assembled solo. However, for larger or heavier models, an extra set of hands makes the process much smoother. Having someone to hold pieces in place is particularly helpful for attaching armrests and backrests.
How long does it typically take to assemble an outdoor sofa?
Assembly time varies greatly depending on the sofa’s complexity and your experience. A simple two-seater might take 30-60 minutes, while a larger sectional could take 2-4 hours. Always budget more time than you think you’ll need.
What should I do if the pre-drilled holes don’t perfectly align?
First, loosen all previously tightened bolts to allow for more play. Often, minor misalignments correct themselves once parts have some wiggle room. If parts still won’t align, confirm you are using the correct pieces for that step and their proper orientation.
How can I make my assembled outdoor sofa last longer?
To extend its life, avoid overtightening bolts, which can stress materials. Consider using outdoor furniture covers during harsh weather or off-seasons. Regularly inspect and tighten any loose connections to maintain its structural integrity.
