
How to Assemble a Outdoor Lounge Chair?
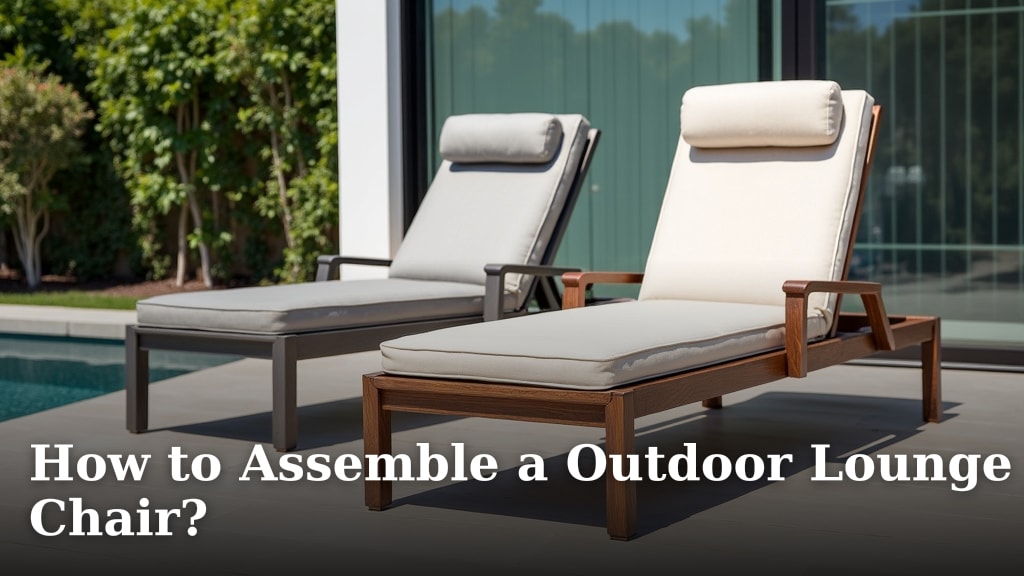
Assembling an outdoor lounge chair is straightforward and usually takes less than an hour. You just need to follow the instructions carefully and use the right tools. We found that most chairs come with everything you need right in the box.
You might feel a little overwhelmed seeing all the parts at first. But don’t worry, we’ve got your back. Building your new favorite relaxation spot is easier than you think, even if you’re not a DIY expert.
- Gather your tools and parts first.
- Identify each component before you start.
- Follow the step-by-step guide.
- Double-check all connections for safety.
- Enjoy your new outdoor lounge chair!
Ready to get that comfy chair set up? Let’s walk through exactly how to assemble an outdoor lounge chair, step by step, so you can start relaxing outside.
Getting Started: Preparing for Assembly
Before you even open the box, a little preparation makes a big difference. Think of it as setting the stage for a smooth build. You’ll want to gather a few things and get your space ready. This helps prevent frustration and saves time.
Unboxing Your New Chair
First things first, open that box! Most outdoor lounge chairs come neatly packed. We found that manufacturers often use clever packaging to protect all the parts during shipping. Be gentle when opening. You don’t want to accidentally scratch a piece or lose a small screw. Lay everything out carefully.
Inspect for Damage and Missing Parts
As you unbox, take a moment to look at each component. Are there any dents, scratches, or tears? Sometimes, transit can be rough. It’s better to find any damage now than after you’ve started assembly. Also, check for all the listed parts. Most chairs come with a parts list. Compare what’s in the box to what’s on the list. If anything is missing or damaged, contact the retailer right away. This is a common tip from consumer guides (Consumer Reports).
Tools You’ll Need
Good news! Most outdoor lounge chairs include all the necessary tools. This usually means a small Allen wrench or sometimes a multi-tool. We’ve seen some chairs even include a small open-end wrench. However, having a few extra items on hand can make the job much easier. A good set of basic household tools is always handy.
- Your chair’s included tools (often an Allen wrench).
- A soft blanket or cardboard to protect your floor and chair parts.
- A screwdriver set (Phillips and flathead) in case you need them.
- A rubber mallet (optional, for gentle tapping if parts are snug).
- A small bowl or tray to keep screws and washers organized.
- Maybe a cup of water or your favorite beverage for hydration!
Understanding the Instruction Manual
The instruction manual is your guide. Don’t skip reading it, even if you’re excited to finish quickly. We found that manuals often contain important warnings or specific assembly tips for your model. Scan through it once to get an overview. Look for any unique steps or diagrams that might be tricky. Many manuals also have a contact number if you run into trouble. Some guides even include QR codes for video tutorials.
Assembling the Core Structure
Now that you’re prepared, it’s time for the actual building. We recommend starting with the main frame components. This usually involves connecting the larger pieces first, like the seat and backrest supports. Think of it as building a strong foundation. Doing this correctly ensures your chair will be stable and safe.
Connecting the Frame Components
You’ll typically start by attaching the side frames to the seat and back pieces. Most chairs use bolts, screws, or cam locks for these connections. Identify which bolts go with which holes. Often, longer bolts are for larger connections and shorter ones for smaller parts. Don’t tighten anything completely yet. Just get the bolts started. This gives you a little wiggle room if pieces don’t align perfectly the first time.
The Importance of Hand-Tightening First
This is a crucial step that many people miss. Hand-tightening means screwing in the bolts just enough so they catch the thread. You want them secure but not cinched down. Why? Because sometimes, all the holes need to line up just right before you apply full pressure. If you tighten one bolt completely, others might be hard to align. We’ve seen this cause frustration and even bent parts. Once all bolts are in place, then you can go back and tighten them fully (Consumer Safety Alliance).
Attaching the Legs or Base
With the main frame loosely assembled, it’s usually time to attach the legs or the base. This can be one of the final structural steps. Make sure the legs are oriented correctly. Sometimes, there’s a front and back to the legs. The manual will show you the right way. Again, use the hand-tightening method first. Once all the legs or base supports are attached, you can place the chair upright to double-check its balance.
Finishing Touches and Safety Checks
You’re almost there! The chair should be looking like a chair by now. These final steps ensure everything is secure, comfortable, and ready for use. Don’t rush this part. A few extra minutes here can prevent problems later on.
Securing All Fasteners
This is where you go back and tighten every single bolt, screw, or fastener. Use the appropriate tool, usually an Allen wrench. Make sure everything is snug. You don’t need to overtighten, but you want it firm. A loose screw can lead to wobbling and instability. A good practice is to tighten them in a crisscross pattern if there are multiple fasteners in one area. This helps distribute the tension evenly.
Many experts say that checking all fasteners annually is a good practice for outdoor furniture. Exposure to weather can sometimes cause materials to shift or screws to loosen over time (Outdoor Living Magazine).
Adding Fabric or Cushions
Now for the comfy part! If your chair comes with fabric slings, cushions, or decorative elements, this is the time to add them. Follow the instructions for attaching these. Some slings might need to be stretched a bit, while cushions simply rest in place. This is where your chair truly starts to feel like a lounge chair. Take your time to get everything neat and tidy.
Final Inspection and Testing
Before you dive in for that well-deserved rest, do a quick final check. Walk around the chair. Give it a gentle shake. Does it wobble? If so, re-check the connections, especially the legs. Sit on it carefully. Does it feel stable? Pay attention to any strange noises or movements. If everything feels solid, congratulations! You’ve successfully assembled your outdoor lounge chair.
Here’s a final checklist to ensure everything is perfect:
- All bolts and screws are securely tightened.
- No wobbly parts or uneven legs.
- Cushions or fabric are properly attached and aligned.
- No leftover parts or tools (unless they’re spares).
- The chair is placed on a level, stable surface.

Troubleshooting Common Assembly Issues
Even with careful planning, sometimes you hit a snag. Don’t worry, it happens to the best of us. Most issues are minor and easily fixed. We found that patience is your best tool here.
Parts Not Aligning
This is probably the most common issue. You try to insert a bolt, and the holes just don’t match up. Often, the solution is to loosen other connections. Remember that hand-tightening tip? If everything is too tight, there’s no flexibility. Loosen the surrounding bolts, align the stubborn part, and then re-tighten everything. Sometimes, a gentle tap with a rubber mallet can help nudge pieces into place. Just be very careful not to damage the material.
Missing Hardware
It’s frustrating to be midway through assembly and realize a screw or washer is missing. First, double-check your workspace. Small parts have a habit of rolling away. Look under the box, under furniture, or even in the packaging material. If it’s truly missing, contact the manufacturer’s customer service. Most companies are very good about sending replacement parts quickly. Many even have online forms for missing hardware requests.
Wobbly Chair Syndrome
You’ve finished, but the chair rocks back and forth. This is often due to unevenly tightened bolts or uneven legs. Place the chair on a flat surface. Identify which leg is short or which connection is loose. Tighten all fasteners again, paying extra attention to the wobbly area. If the floor is uneven, you might need to use furniture pads or shims under one leg. However, if the chair itself is wobbly on a perfectly flat surface, it usually points back to assembly. A quick re-check of all connections often solves this problem.
Conclusion
You’ve successfully turned a box of parts into your personal outdoor oasis! Assembling your lounge chair might have seemed daunting at first. But by taking it step-by-step, you’ve created a sturdy and comfortable spot. Remember, attention to detail, especially with tightening all fasteners, ensures a safe and lasting piece of furniture. Now that it’s built, make sure to give it a quick check-up each season.
Go ahead, grab a book, a drink, and enjoy the comfort of your handiwork. Your new favorite relaxation spot is waiting for you outside!
Frequently Asked Questions
How often should I re-tighten the bolts on my outdoor lounge chair?
We recommend checking and re-tightening all bolts and fasteners at least once a year. Outdoor furniture can experience movement and wear due to weather and use. A quick annual check helps maintain its stability and safety.
What if my outdoor lounge chair starts to squeak after assembly?
Squeaking usually indicates a loose connection. Carefully inspect all joints and bolts, then tighten any that feel less secure. Sometimes, a tiny bit of silicone spray on the metal-on-metal connections can also help quiet a squeaky chair.
Can I use power tools to assemble my lounge chair?
While you might be tempted, we generally advise against using power tools for initial assembly. It’s too easy to overtighten and strip screws or damage the chair’s frame. Stick to hand tools, especially for tightening, to ensure everything is snug but not stressed.
My instruction manual has very small diagrams. Any tips for reading it?
If the diagrams are hard to see, try taking a photo of the relevant page with your smartphone. You can then zoom in on the image to get a clearer view of the details. Some manufacturers also offer digital manuals online, which are often easier to read.
Is it normal to have a few extra screws or washers left over?
Yes, many manufacturers include a few extra pieces of hardware as spares. If you’ve followed the instructions and accounted for all required parts, a small bag of leftovers is usually nothing to worry about. Just keep them in case you need replacements later.
