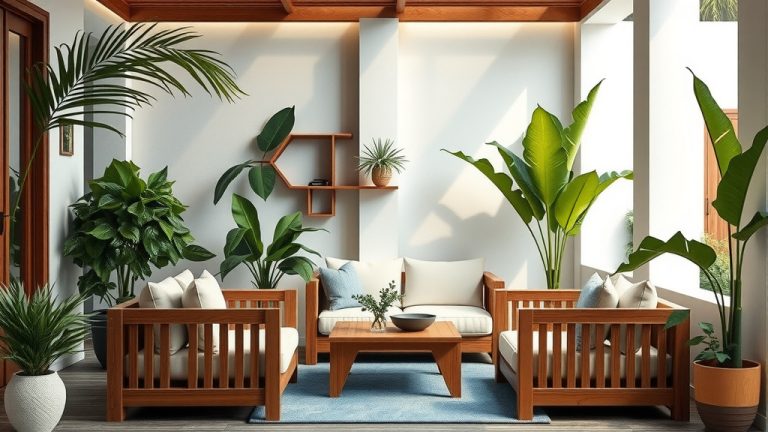
Can Cast Aluminum Patio Furniture Be Painted?
Yes, you absolutely can paint cast aluminum patio furniture to give it a fresh new look. With the right preparation and materials, you can restore its beauty and extend its lifespan.
Painting cast aluminum requires specific steps, including thorough cleaning, proper priming, and selecting durable outdoor-specific paints for a long-lasting finish.
Here’s a quick overview of what you’ll discover in this guide:
- You can revive old furniture instead of buying new.
- Proper preparation is the secret to a professional finish.
- Choosing the right primer and paint is non-negotiable.
- Simple steps make painting an achievable DIY project.
- Careful maintenance helps your newly painted furniture last.
Can Cast Aluminum Patio Furniture Be Painted?
Absolutely, painting cast aluminum patio furniture is a fantastic way to refresh your outdoor space. It allows you to update dated pieces or simply change your color scheme without the expense of buying new items.
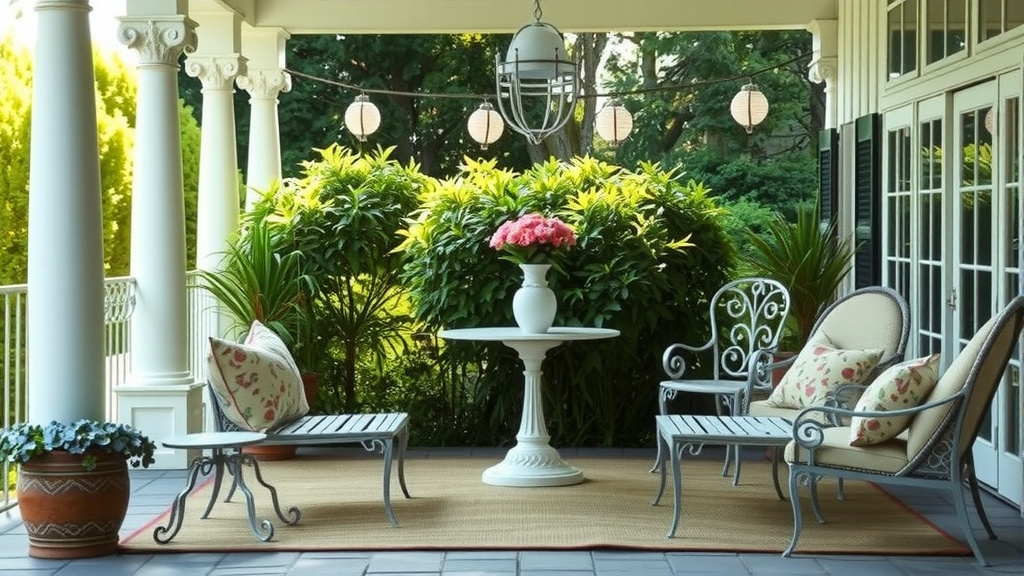
Why Consider Painting Your Cast Aluminum?
You might be looking at your patio set and wondering if it’s time for an upgrade. Often, the frame of cast aluminum furniture is still strong, but the finish looks tired. Painting offers a cost-effective solution.
A fresh coat of paint can protect the metal from further wear. It also lets you customize your outdoor decor. Many people find this DIY project very rewarding.
Understanding Cast Aluminum
Cast aluminum is a popular choice for outdoor furniture. It’s light, strong, and naturally resistant to rust. This rust resistance is a big advantage when it comes to painting.
Unlike steel or iron, you don’t have to worry as much about rust bleeding through your new paint. This makes it a great material for home painting projects (Many metal fabrication experts agree).
Is It Even Worth the Effort?
You might ask if painting is truly worth your time. For many, the answer is a resounding yes. The initial cost of quality cast aluminum furniture is significant.
By investing a weekend and some supplies, you can make your furniture look brand new. This saves you money and reduces waste. It’s a smart choice for your wallet and the environment.
Gathering Your Painting Arsenal: What You’ll Need
Before you begin, gather all your supplies. Having everything ready makes the process smoother. You want to avoid stopping halfway through your project.
Here is a table outlining the essential tools and materials you’ll need for this project:
| Item | Purpose | Tips for Selection |
|---|---|---|
| Drop Cloths / Tarps | Protect surrounding areas from paint. | Durable plastic or canvas. |
| Wire Brush / Stiff Bristle Brush | Remove loose paint or debris. | Choose a sturdy metal brush. |
| Mild Detergent / Degreaser | Clean furniture thoroughly. | Dish soap or specialized cleaner. |
| Sandpaper (120-220 grit) | Rough up surface for adhesion. | Fine-to-medium grit for smooth finish. |
| Painter’s Tape | Mask off areas you don’t want painted. | High-quality tape prevents bleed-through. |
| Safety Glasses / Gloves | Protect your eyes and hands. | Essential personal protective equipment. |
| Primer (etching or self-etching) | Ensures paint adheres properly. | Look for metal-specific outdoor primers. |
| Outdoor Metal Paint | The colored topcoat. | Rust-inhibiting enamel or acrylic spray paint. |
| Paint Sprayer / Brushes | For applying paint evenly. | Consider spray paint for intricate designs. |
Step-by-Step Guide: Preparing Your Furniture
Preparation is the most critical step. Skimping here will lead to peeling or bubbling paint. You want your effort to last, right?
Take your time with these initial stages. It truly makes a difference to the final look.
Cleaning Thoroughly
First, give your furniture a really good scrub. Use a wire brush to remove any loose paint or rust spots. Then, wash everything with mild detergent and water.
A degreaser can help remove oily residues. Rinse thoroughly and let the furniture dry completely. Any moisture trapped underneath will cause problems later.
Sanding or Scuffing the Surface
Next, you need to create a surface for the paint to grip. Lightly sand the entire piece with 120- to 220-grit sandpaper. You don’t need to remove all the old paint.
The goal is to dull the finish and create tiny scratches. This “scuffing” helps the primer stick better. Wipe away any sanding dust with a clean cloth.
Repairing Minor Damage
Before priming, inspect for any small dings or scratches. You can use a metal-specific epoxy filler for these. Apply, let dry, and sand smooth.
This step ensures your finished piece looks flawless. Small repairs now prevent bigger headaches later.
Choosing the Right Paint for Cast Aluminum
The paint you select makes a huge impact on durability. You need products designed for outdoor use and metal surfaces. Don’t settle for indoor paint.
Outdoor conditions are harsh, so pick wisely. Your choice of primer is just as important as the topcoat.
Primer: Your Best Friend
Think of primer as the glue between your furniture and the paint. For aluminum, a self-etching or etching primer is highly recommended. We found that these primers create a strong bond (Leading paint manufacturers confirm this).
They contain mild acids that lightly etch the metal. This ensures maximum adhesion. Without good primer, your paint will likely chip and peel quickly.
Topcoat Options: Durability Matters
For your topcoat, look for exterior-grade, rust-inhibiting paint. Options include acrylic latex, oil-based enamels, or specialized outdoor metal paints.
Many experts say spray paints designed for outdoor furniture are very convenient. They provide an even finish, especially on intricate cast aluminum designs. Always choose a paint that offers UV protection.
The Painting Process: Bringing Your Furniture to Life
Now for the fun part: applying the paint. Patience is key here. Rushing will lead to drips and uneven coverage. You want a smooth, professional-looking result.
Work in a well-ventilated area. Lay down your drop cloths to protect your surroundings. Start with the primer.
Apply two thin coats of primer, allowing adequate drying time between each. Then, apply two to three thin coats of your chosen topcoat. Thin coats are always better than one thick coat.
A thin coat dries faster and adheres better. It also minimizes drips and streaks. Lightly sand between topcoats if needed, but always wipe clean.
Common Pitfalls to Avoid When Painting
Even experienced DIYers can make mistakes. Being aware of common issues helps you avoid them. You want your project to be a success, right?
One common mistake is painting in direct sunlight. This causes paint to dry too fast. It leads to bubbling and poor adhesion.
Checking the Weather Forecast
Always check the weather. Ideal conditions for painting outdoors are temperatures between 50-85°F (10-30°C). Humidity should be low, ideally below 60%.
Painting in high humidity can cause paint to dry slowly. It might also lead to a dull finish. Choose a calm, clear day for your project.
Maintaining Your Newly Painted Furniture
After all your hard work, you want your furniture to stay beautiful. Proper maintenance is straightforward and extends the life of your paint job.
Clean your furniture regularly with mild soap and water. Avoid abrasive cleaners or harsh chemicals. These can damage the paint finish.
Periodically inspect for any small chips or scratches. Touch them up promptly with matching paint. This prevents further damage and keeps your furniture looking its best.
Checklist for a Perfect Paint Job
To ensure you don’t miss any crucial steps, use this handy checklist:
- Clean the furniture thoroughly and let it dry completely.
- Sand or scuff the entire surface for adhesion.
- Repair any minor damage before priming.
- Apply at least two thin coats of self-etching primer.
- Allow primer to cure fully according to manufacturer instructions.
- Apply two to three thin, even coats of outdoor metal paint.
- Ensure adequate drying time between each coat of paint.
- Choose a day with suitable temperature and low humidity.
- Clean brushes or sprayer immediately after use.
- Let the furniture fully cure before regular use.
Conclusion
Painting your cast aluminum patio furniture is a rewarding and practical DIY project. You can breathe new life into old pieces, save money, and create a custom look for your outdoor living area. The key to success lies in thorough preparation, selecting the right materials, and applying thin, even coats of paint. With patience and attention to detail, you’ll enjoy your beautifully refurbished furniture for years to come. So, go ahead, grab your supplies, and transform your patio!
How long does painted cast aluminum furniture last?
With proper preparation, high-quality outdoor paint, and good maintenance, a painted cast aluminum finish can last anywhere from 5 to 10 years or even longer. Factors like climate, direct sun exposure, and how often the furniture is used will affect its longevity.
Can I use car paint on my patio furniture?
While some car paints offer good durability, they are not typically formulated for the specific environmental stresses of outdoor patio furniture. Car paints often lack the same flexibility and UV resistance needed for constant exposure to varying weather conditions. It’s always best to use paints specifically designed for outdoor metal applications.
What if my furniture has peeling paint already?
If your cast aluminum furniture has peeling paint, you must remove all loose, flaky paint before repainting. Use a wire brush, scraper, and sandpaper to get down to a solid, smooth surface. Failing to remove peeling paint will cause your new paint to peel off as well.
Is professional painting an option?
Yes, professional painting is definitely an option, especially for intricate pieces or if you prefer not to do it yourself. Professionals often use specialized equipment like powder coating, which provides an extremely durable and long-lasting finish superior to typical DIY spray or brush paint jobs. This option might be more expensive but offers excellent results.
How often should I clean my painted patio furniture?
You should aim to clean your painted patio furniture at least once a month during peak outdoor season, or more frequently if it gets heavily used or is exposed to significant dust or pollen. A thorough cleaning at the beginning and end of each season is also highly recommended to maintain its appearance and protect the paint finish.