
How to Hang a Porch Swing?
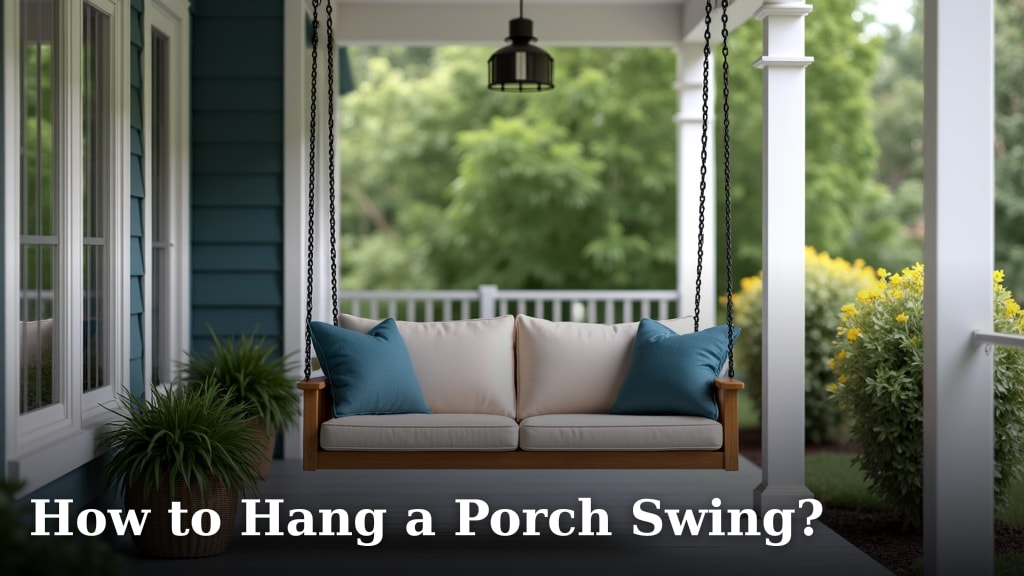
To hang a porch swing safely, you need to attach it to sturdy overhead supports like joists or beams. You will need the right hardware, including swing hangers and chains, and ensure everything is securely fastened. Proper installation prevents accidents and provides a relaxing swing.
You want your porch swing to be a cozy spot, right? We know you’re looking for that perfect, breezy escape. Whether it’s for morning coffee or evening chats, getting it hung correctly is key. We’ve gathered the best practices so your swing is both charming and safe.
- Choose a sturdy location.
- Gather the right tools and hardware.
- Install hangers into structural supports.
- Attach the chains and swing.
- Perform a safety check.
Let’s walk through exactly how to hang a porch swing, step by step, so you can enjoy those lazy afternoons without a worry.
Preparing for Your Porch Swing Installation
Before you even think about lifting that beautiful porch swing, a little homework goes a long way. This preparation makes all the difference for a safe and enjoyable experience.
Assessing Your Porch’s Structural Integrity
First things first: you need to check if your porch can handle a swing. This is not a step to skip. A swing, plus you, plus your guests, can weigh quite a bit. You need strong overhead supports.
Look up at your porch ceiling. Are there visible wooden beams or joists? These are typically 2x6s or larger. Sometimes they’re hidden by a finished ceiling. If so, you’ll need a stud finder to locate them. We found that most porch ceilings are not designed for the concentrated weight of a swing without proper support.
The goal is to attach your swing to solid wood structural members. Never hang a swing from plaster, drywall, or decorative trim. These materials can’t bear the weight and will fail, potentially causing serious injury.
Understanding Weight Limits
How much weight can your porch support? Standard porch swings typically hold between 500 to 800 pounds. This includes the weight of the swing itself, plus the people sitting on it. You need to make sure your chosen hanging spot can handle at least this much, preferably more, to be safe. It’s always better to overestimate the weight rather than underestimate it.
Gathering Your Essential Tools and Hardware
You wouldn’t bake a cake without ingredients, right? Hanging a porch swing is similar. Having the right tools and hardware beforehand makes the job smoother and safer. Don’t start until you have everything ready.
Tools You’ll Need
Here’s a quick list of what you should have on hand:
- Stud finder: For locating those hidden joists.
- Drill: With appropriate drill bits for pilot holes.
- Wrench: Or a socket set to tighten hardware.
- Measuring tape: For precise placement.
- Pencil: To mark your spots.
- Safety glasses: Always protect your eyes.
- Ladder: A sturdy one for reaching the ceiling.
Hardware for Hanging Your Swing
This is where the strength comes in. Don’t skimp on hardware quality.
- Porch swing hangers: These are specialized heavy-duty hooks or clevis hangers designed for swings. They often have nylon bushings for a smooth, quiet swing.
- Lag screws or through-bolts: Depending on your installation, these will secure the hangers. Lag screws are common, but through-bolts offer even more security if you can access the top side of your joists.
- Swing chains or ropes: Make sure they are rated for the swing’s weight capacity. Zinc-plated or stainless steel chains resist rust.
- Quick links or carabiners: For attaching chains to the swing and hangers.
Many experts recommend using heavy-duty porch swing springs too. These reduce stress on the frame and offer a gentler bounce, making your swing more comfortable. They are an optional, but nice, addition.
Finding the Perfect Spot and Marking Your Holes
Location, location, location! Where you put your swing matters for comfort, safety, and how much you’ll enjoy it. Let’s make sure it’s just right.
Optimal Placement and Clearance
You don’t want to bump your head or scrape a wall while swinging. We found that proper clearance is critical. A good rule of thumb is to have at least 2 feet of clearance behind the swing and 1 foot on each side. This allows for a comfortable swing arc without hitting anything. Consider the length of your swing as well; shorter swings need less side clearance.
Think about the sun’s path throughout the day. Do you want morning sun or afternoon shade? Position your swing to maximize your comfort. Do you want a view of the garden or the street? These little details make a big difference in how much you use your swing.
Measuring and Marking for Hangers
This step requires precision. Measure twice, drill once, as they say! You want your swing to hang level and straight. Nobody wants a crooked swing.
Center-to-Center Spacing
Measure the width of your porch swing. You’ll want to place your hangers slightly wider than the swing itself, typically by about 3-6 inches on each side. For example, if your swing is 48 inches wide, aim for your hangers to be around 54-60 inches apart (center to center).
Why wider? This allows the chains to hang slightly outward, providing stability and preventing the swing from rubbing against the support structure. It also creates a more comfortable seating angle.
Locating and Marking Joists
Use your stud finder to pinpoint the exact center of the joists where you plan to install your hangers. Mark these centers clearly with your pencil. If you’re using lag screws, you’ll drill directly into these marks. If you’re using through-bolts, you’ll need to drill through the entire joist.
Confirm that both hanger locations are on separate, strong joists. It’s rare but possible for a ceiling to have a single joist running where you want two hangers. If that’s the case, you might need to reconsider your spot or add additional blocking (which is a bigger project).
Installing the Hangers Securely
This is arguably the most important part of the entire process. Your swing’s safety depends entirely on how well these hangers are installed. Let’s get them in there solid.
Drilling Pilot Holes
Before you drive those big lag screws in, you MUST drill pilot holes. This prevents the wood from splitting and ensures the screws go in straight and snug. We found that pilot holes should be slightly smaller than the diameter of the screw shank (the part without threads). Check the hanger instructions for the recommended drill bit size.
Drill straight up into the center of your marked joist. Drill deep enough so the lag screw can fully penetrate the joist without bottoming out. For example, if your lag screw is 4 inches long, drill at least 3 inches deep. A deeper pilot hole can make the lag screw easier to install.
Attaching the Swing Hangers
Now, take your swing hangers and position them over the pilot holes. Use your wrench or socket set to drive the lag screws through the hanger and into the joist. Tighten them firmly until the hanger is completely secure and doesn’t wiggle. Don’t overtighten to the point of stripping the wood, but make sure it’s snug.
If you’re using through-bolts (which offer superior strength if you can access the top of the joist), you’ll drill a hole all the way through the joist. Then, feed the bolt through the hanger, through the joist, and secure it with a washer and nut on the top side. This method is often seen in commercial installations due to its robustness (National Institutes of Health guidelines often discuss the importance of proper anchoring in similar applications).

Connecting the Chains and Swing
With the hangers firmly in place, you’re almost ready to relax. Now it’s time to connect the swing itself.
Adjusting Chain Length for Optimal Height
The ideal height for a porch swing varies a bit based on your personal preference and the height of your porch. A good starting point is to have the bottom of the swing seat about 17-19 inches off the ground. This allows most people to comfortably sit down and get up, and push off the ground with their feet.
Hold your swing up to the hangers and estimate the chain length needed. You’ll likely need to adjust the length using the quick links or by looping the chain through the swing’s attachment points. Remember, you can always shorten a chain, but it’s harder to lengthen it without adding more chain.
Connecting Chains to Hangers and Swing
Using your quick links or carabiners, attach one end of each chain to the swing hangers. Then, attach the other end of the chains to the designated attachment points on your porch swing. Make sure all connections are secure and tightened. Listen for any creaks or groans as you connect; these could indicate a loose link.
Many swings have four attachment points, two in the front and two in the back. This provides a more stable and balanced swing. If your swing only has two points, ensure your chains are very sturdy.
The All-Important Safety Check
You’ve done the work, now let’s make sure it’s safe. This is where you confirm everything is ready for enjoyment.
Performing a Load Test
Before anyone sits on it, do a “stress test.” Gently apply your own body weight to the swing. Start by sitting lightly, then lean back, then try rocking it gently. Listen for any unusual noises like creaking, groaning, or cracking. Watch for any visible movement in the hangers or ceiling structure. If you hear or see anything concerning, stop immediately and re-evaluate your installation.
Gradually increase the weight. If you have a friend, have them sit in it with you (if it’s a two-seater) while you observe. This ensures the hangers and supports can handle the expected load. Many reputable sources, like consumer safety organizations, recommend a load test before full use.
Final Visual Inspection
Walk around the swing and look at every connection point. Are the lag screws fully driven in? Are the quick links securely closed and tightened? Are the chains free of kinks or twists? Is the swing level? Small adjustments now can prevent bigger problems later. You want to feel completely confident in your work.
Your Porch Swing Checklist
Before you kick back, run through this quick list:
- Overhead supports are confirmed to be sturdy joists or beams.
- All required tools and hardware were gathered before starting.
- Hangers are placed slightly wider than the swing and centered on joists.
- Pilot holes were drilled to prevent wood splitting.
- Hangers are securely tightened with lag screws or through-bolts.
- Chains are adjusted to a comfortable and safe height (17-19 inches off ground).
- All quick links and connections are tight and secure.
- A load test has been performed, and no issues were found.
| Installation Item | Recommendation | Why It Matters |
|---|---|---|
| Structural Support | Solid wood joists/beams (2×6 or larger) | Prevents collapse, ensures safety for heavy loads. |
| Hanger Spacing | Swing width + 6-12 inches (overall) | Provides stability, comfortable swing arc. |
| Seat Height | 17-19 inches from ground | Easy to get on/off, comfortable for most adults. |
| Hardware Type | Heavy-duty, weather-resistant swing hangers/chains | Longevity, rust prevention, rated for weight. |
| Clearance | 2 ft behind, 1 ft sides | Prevents collisions with walls or objects. |
Conclusion
You’ve now got all the know-how to hang your porch swing safely and securely. We’ve walked through choosing the right spot, gathering your tools, and making sure every connection is solid. By following these steps, you’re not just hanging a swing; you’re creating a relaxing haven that will last for years. Take your time, double-check your work, and soon you’ll be enjoying those peaceful moments you’ve been dreaming of. Your porch is waiting!
Frequently Asked Questions
What if my porch ceiling has no exposed joists?
If your porch ceiling is finished, you’ll need a good stud finder to locate the hidden joists. Mark their centers carefully. If joists aren’t where you need them, you might need to add blocking between existing joists for secure attachment, which can be a more involved project.
Can I use rope instead of chains to hang my porch swing?
Yes, you can use rope, but ensure it’s a high-strength, weather-resistant synthetic rope rated for outdoor use and heavy loads. Marine-grade rope, for instance, is a good choice. Always check the rope’s weight capacity and inspect it regularly for wear and tear.
How often should I inspect my porch swing hardware?
You should inspect all hardware, chains, and the swing itself at least once a year, preferably in the spring before heavy use. Look for rust, wear, loose bolts, or any signs of damage. Regular checks ensure continued safety and longevity.
What’s the best way to clean my porch swing chains?
For metal chains, a simple wash with warm soapy water and a stiff brush usually works well. Rinse thoroughly and allow them to dry completely to prevent rust. For stubborn grime, a mild degreaser can be used, followed by a good rinse.
Can I hang a porch swing from a tree branch?
While possible, hanging a swing from a tree branch requires careful consideration and expertise. The branch must be thick, healthy, and strong enough to support significant weight. We recommend consulting an arborist to ensure the branch’s structural integrity and to choose the safest attachment methods, as this differs greatly from porch ceiling installation.
