How To Replace A Sling On Patio Furniture?
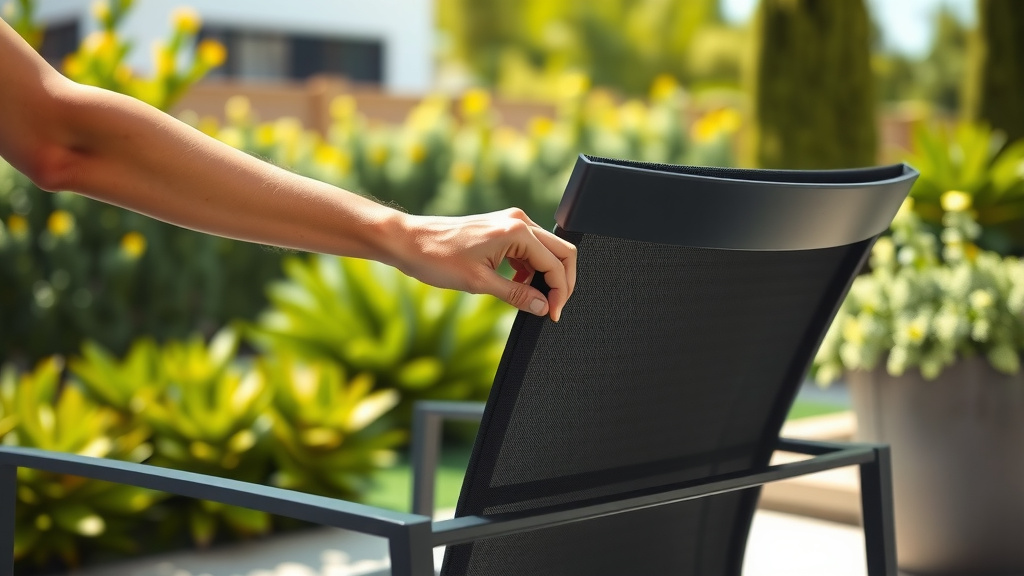
To replace a sling on patio furniture, you first remove the existing worn fabric by detaching the side rails from the frame, often involving a few screws and some gentle prying. Once the rails are off, slide the old sling out of its channels, clean the frame, and then carefully insert the new sling before reattaching the rails for a snug fit.
This DIY project breathes new life into your outdoor seating, extending the life of your furniture and saving you the cost of buying an entirely new set. It’s a satisfying task that gives your patio chairs a fresh look, ready for many more seasons of enjoyment.
- Gather essential tools like screwdrivers, a rubber mallet, and your new sling.
- Measure your old sling precisely to order the correct replacement size.
- Unscrew side rails, then slide out the tired, old fabric.
- Clean your furniture frame thoroughly before installing the new sling.
- Carefully insert the new sling into the frame channels and secure the rails.
- Properly tension the new sling for a comfortable and durable finish.
How To Replace A Sling On Patio Furniture?
Replacing a sling on patio furniture involves carefully removing the old, worn fabric and then sliding a new one into the frame’s channels. It’s a rewarding project that can make your favorite outdoor pieces feel brand new again.
Why Bother Replacing a Sling?
Ever look at your patio chairs and sigh? Faded, torn, or sagging slings are common. Instead of tossing perfectly good frames, consider a sling replacement. It’s like giving your chairs a cost-effective facelift.
Many experts say that replacing slings is far more economical than buying new furniture. We found that it also prevents quality frames from ending up in landfills, which is a nice bonus for the planet.
Gather Your Toolkit
Before you begin, gather everything you will need. This helps the process go smoothly and prevents frustrating stops. Think of it like a chef prepping ingredients before cooking a meal.
You will need basic hand tools. A few specialty items can also make a big difference. Having everything ready means you can stay focused on the task at hand.
| Tool/Item | Purpose |
|---|---|
| Screwdriver (Phillips/Flathead) | Removing frame screws |
| Rubber Mallet | Tapping rails into place gently |
| Pliers/Vice Grips | Holding or pulling stubborn parts |
| New Replacement Sling | The star of the show! |
| Dish Soap & Water | Lubricating the sling for insertion |
| Measuring Tape | Ensuring correct sling size |
| Clean Cloth/Sponge | Cleaning the frame |
Measure Twice, Order Once
This might be the most crucial step. Getting the right sling size is paramount. An ill-fitting sling will either be impossible to install or look saggy. Imagine trying to wear shoes two sizes too small – not happening, right?
We found that accurate measurements prevent frustration. Take your time here. This ensures your new sling fits perfectly and looks professional once installed.
Getting the Right Sling Size
Remove the old sling first if possible. Then, measure the full length of the fabric itself, from end to end. Next, measure the width of the fabric. Also, measure the distance between the rail channels on the frame.
Many sling manufacturers also ask for the “spline measurement.” This is the diameter of the plastic rods that hold the fabric in place. If your furniture uses splines, measure their thickness. A common mistake is ordering based on frame size alone (Patio Furniture Repair Guide).
Removing the Old Sling
Okay, it is time for the old to make way for the new. This step might require a bit of muscle, especially if your furniture has been out in the elements for years. Think of it as a little workout before the reward.
Be patient and methodical. Rushing can lead to stripped screws or bent frame parts. We found that a steady approach always yields better results.
Detaching the Rails
Look closely at the sides of your chair frame. You’ll see vertical rails that hold the sling fabric. These are usually secured by screws at the top and bottom. Carefully unscrew these fasteners.
Sometimes, screws can be stubborn. A penetrating oil or even a little gentle heat from a hairdryer can help loosen them. Always store screws in a safe place so you don’t lose them.
Sliding Out the Fabric
Once the rails are loose or removed, the old sling can typically be slid out of the channels. It might be tight. Don’t be afraid to pull firmly but smoothly.
If your sling uses a spline, you will pull the spline rod out first. Then the fabric should release easily. It is like taking a sheet off a bed, just a bit stiffer.
Frame Preparation: A Clean Slate
With the old sling gone, you have a perfect opportunity to clean your chair frame. Dirt, grime, and mildew can accumulate over time. A clean frame makes installation easier and extends its life.
Use a mild soap and water solution. Scrub away any build-up. Rinse thoroughly and let the frame dry completely before moving on to the next step. This prevents new mildew from growing under your fresh sling.
Installing Your New Sling
This is where your vision of beautiful, renewed furniture starts to come to life! It is not rocket science, but it does require a bit of technique. Think of it as coaxing the new sling into its new home.
We found that a little lubrication can work wonders here. This helps the fabric glide smoothly into the channels. Don’t be afraid to ask for an extra pair of hands if needed; two sets of eyes can be very helpful.
The Trick to Insertion
Many experts recommend using a little dish soap diluted in water. Apply this to the edges of the sling and the channels of the frame. This acts as a lubricant, allowing the fabric to slide more easily.
Start by feeding one end of the sling into one channel of the frame. Work your way down slowly. Then, repeat on the other side. This method helps prevent bunching and makes the whole process smoother.
Reattaching Rails and Tension
Once both sides of the sling are in their channels, reattach the side rails. This often involves lining up the screw holes and tightening them down. You might need to gently tap the rails with your rubber mallet to get them fully seated.
Achieving the right tension is key. You want the sling to be taut but not overly stretched. Many experts say that too much tension can stress the fabric, while too little leads to sagging. It should feel firm but yield slightly when pressed. Gradually tighten screws on both sides, alternating as you go (Outdoor Living Institute).
Common Hiccups and How to Handle Them
Every DIY project has its moments, right? Don’t get discouraged if something doesn’t go exactly as planned. We’ve all been there. Here are a few common issues and simple fixes.
- Sling won’t slide: Use more soapy water! Sometimes warming the fabric in the sun helps make it more pliable.
- Screws won’t align: Loosen all screws slightly. Wiggle the rail and sling until the holes line up. A friend can help hold things steady.
- Sling looks crooked: Detach the rails slightly, adjust the sling in the channels, then re-tension. Patience is your best tool here.
Making Your New Sling Last
You’ve put in the effort, now protect your investment. A little care goes a long way in keeping your new sling looking fantastic. Think of it as preventative medicine for your patio furniture.
Regular cleaning and mindful use are the best ways to extend the life of your new fabric. We found that storing cushions or covering furniture during harsh weather also helps significantly (Consumer Outdoor Guide).
Conclusion
Replacing a sling on your patio furniture is a thoroughly rewarding project. It transforms tired, old pieces into fresh, inviting seating without the hefty price tag of buying new. By following these practical steps, from careful measurement to proper installation, you can give your outdoor space a beautiful, refreshed look.
It’s more than just a repair; it’s an act of care for your home and a smart financial move. So grab your tools, embrace the process, and enjoy the satisfaction of a job well done. Your patio will thank you for it!
How do I know if my patio furniture sling needs replacing?
You’ll know it is time for a sling replacement if the fabric is visibly torn, faded beyond repair, or sags significantly when someone sits on it. Cracking, brittleness, or a generally worn appearance are also clear signs it is ready for a refresh.
Can any type of fabric be used for a patio furniture sling replacement?
No, you need fabric specifically designed for outdoor use, typically made from vinyl-coated polyester or acrylic. These materials offer UV resistance, mildew resistance, and durability against the elements, unlike standard indoor fabrics.
Is replacing a patio furniture sling a difficult DIY project?
Most experts consider it a moderately easy DIY project. It requires patience and basic hand tools, but generally, it doesn’t need specialized skills. The most challenging parts are often removing stubborn old screws and properly tensioning the new sling.
How long does a typical patio furniture sling replacement take?
For one chair, the entire process, including cleaning the frame, usually takes about 1-2 hours for someone new to the task. With practice, you might be able to complete it faster. It varies based on furniture complexity and experience.
Should I replace both slings on a double chaise lounge at the same time?
Many experts recommend replacing both slings at the same time on a double chaise lounge or any matching set. This ensures consistent color, tension, and wear across the furniture. It also saves you the effort of doing the job twice in a short period.