
How To Paint Steel Patio Furniture?
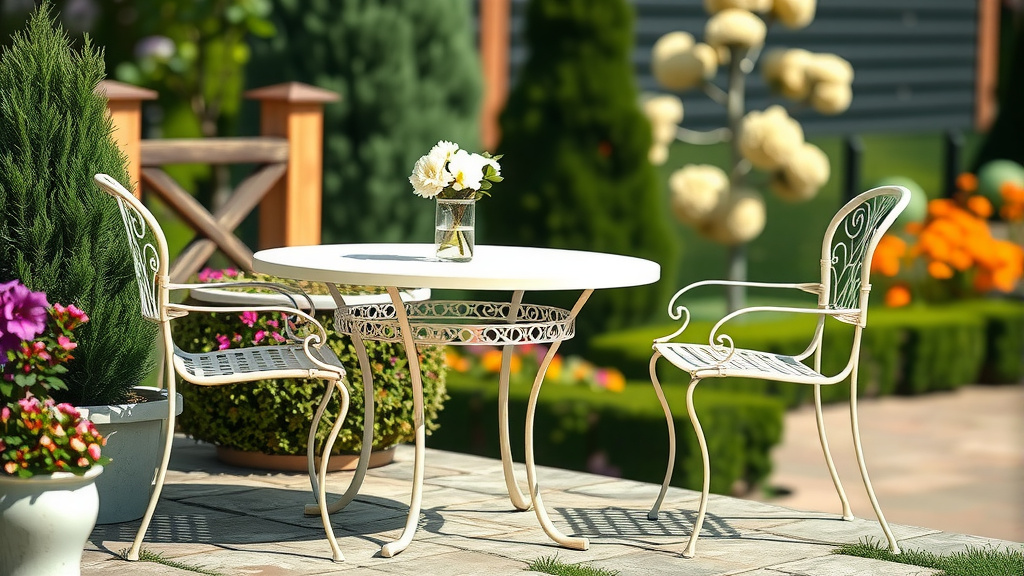
To paint steel patio furniture successfully, begin by thoroughly cleaning the metal, removing any rust and loose paint with a wire brush or sandpaper. Follow this by applying a rust-inhibiting metal primer, then finish with two thin coats of exterior-grade spray or brush-on paint designed for metal.
Ensuring you achieve a durable finish when you paint steel patio furniture means investing time in proper preparation, selecting the right products, and applying them correctly for lasting beauty.
Here’s a quick summary of what you’ll find:
- Properly clean and prep your steel furniture to remove rust and old paint.
- Choose the right primers and paints specifically designed for outdoor metal.
- Learn techniques for even application, whether spraying or brushing.
- Understand the importance of curing times for a long-lasting finish.
- Discover how to maintain your newly painted furniture so it looks great for years.
How To Paint Steel Patio Furniture?
Painting steel patio furniture involves careful surface preparation, proper priming, and applying exterior-grade metal paint to ensure a beautiful and weather-resistant finish. This process can bring old pieces back to life.
Do you ever look at your trusty steel patio set and think, “It’s seen better days”? You’re not alone! The sun, rain, and seasons can be tough on outdoor pieces. But here’s the good news: a fresh coat of paint can make them look brand new.
Why Bother Painting Your Steel Furniture?
Painting isn’t just about looks. It’s about protecting your investment. Steel, while strong, can rust when exposed to the elements. A good paint job creates a barrier, helping to prevent corrosion and extend the life of your furniture.
Imagine giving your patio a whole new vibe without buying new furniture. A color change can do wonders! It’s a fun, budget-friendly project that offers a huge return in curb appeal and longevity.
Gather Your Tools: The Pre-Paint Checklist
Before you even think about brushes or spray cans, let’s get organized. Having everything ready saves time and prevents frustration later on. Think of it like cooking; you wouldn’t start without all your ingredients.
- Wire brush or sandpaper (various grits like 80, 120, 220)
- Degreaser or mild detergent
- Clean cloths or rags
- Drop cloths or old newspapers
- Painter’s tape
- Rust-inhibiting metal primer (spray or brush-on)
- Exterior-grade metal paint (spray or brush-on)
- Safety gear: gloves, safety glasses, mask/respirator
- Optional: Rotary tool with sanding attachments for tough rust spots
Step 1: Cleaning – The Foundation of a Great Paint Job
This is arguably the most important step. Any dirt, grime, or loose paint left on the surface will prevent new paint from sticking properly. Many experts say that 80% of a good paint job is in the preparation (Paint Industry Standards).
Washing Away the Grime
Start by giving your furniture a good wash. Use a mild detergent or a dedicated degreaser. A hose can help rinse away years of accumulated dust and dirt. Let it dry completely before moving on.
Imagine trying to stick a sticker to a dusty car; it just won’t stay. The same goes for paint. A clean surface is a must-have for proper adhesion.
Step 2: Rust and Old Paint Removal – Out with the Old
Rust is the enemy here. It spreads and will bubble up through your new paint if not handled. Old, peeling paint also needs to go. This step takes patience, but it’s worth every minute.
Tackling Rust and Peeling Paint
Use a wire brush to scrub away any loose rust. For more stubborn areas, sandpaper (starting with 80-grit, then moving to 120-grit) works wonders. If you have significant rust, a rotary tool with a wire brush attachment can make the job faster (DIY Network Guides).
For old paint that’s flaking, use a paint scraper or sandpaper to smooth things out. You don’t need to remove all the old paint, just anything that isn’t firmly attached. Aim for a smooth, consistent surface.
Step 3: Sanding for Adhesion – A Little Scuff Goes a Long Way
Even if your furniture doesn’t have rust or peeling paint, a light sanding is still necessary. It creates a “tooth” for the primer to grab onto, improving adhesion.
Light Sanding for a Perfect Surface
After tackling the heavy rust and loose paint, use 220-grit sandpaper to lightly scuff the entire surface. This makes the metal slightly rough, giving the primer something to bind with. Think of it like prepping a wall before wallpaper; you want a little texture.
Once sanded, wipe down the furniture thoroughly with a tack cloth or a damp cloth to remove all dust. Let it dry completely. Any remaining dust will cause a bumpy finish.
Step 4: Priming – The Secret to Longevity
Skipping primer is like building a house without a foundation. It might look okay for a bit, but it won’t last. A good primer seals the metal and gives the topcoat a solid base to adhere to.
Choosing and Applying Your Primer
Always use a rust-inhibiting metal primer. We found that oil-based primers often offer excellent protection and adhesion on steel (Material Science Studies). Apply a thin, even coat. If you’re using spray primer, hold the can about 8-12 inches away and use steady, sweeping motions. For brush-on, apply evenly without drips.
Allow the primer to dry completely according to the manufacturer’s instructions. This usually takes several hours. Rushing this step can lead to a messy, uneven final coat. Sometimes two thin coats of primer are better than one thick one.
Step 5: Painting – The Color Comes Alive!
This is where your vision truly comes to life. Choosing the right paint and applying it correctly is key to a beautiful and lasting finish.
Selecting the Right Paint for Steel
You need an exterior-grade metal paint. Look for paints labeled for outdoor use, metal surfaces, or “rust-resistant” properties. Enamel paints are a popular choice for their durability and hard finish. Spray paint offers a smooth, factory-like finish, while brush-on paint gives you more control and a thicker coat (Consumer Reports Home & Garden).
Application Techniques for a Smooth Finish
Whether spraying or brushing, apply multiple thin coats rather than one thick one. This prevents drips and ensures better adhesion and durability. If spraying, keep the can moving to avoid puddles. If brushing, use long, even strokes.
| Feature | Spray Paint | Brush-On Paint |
|---|---|---|
| Finish Quality | Often smoother, more even | Can show brush marks; thicker coat |
| Speed of Application | Faster for large, intricate areas | Slower, more methodical |
| Control | Less control, more overspray risk | More precise, less waste |
| Drying Time | Often quicker between coats | Can be longer between coats |
Step 6: Curing and Protection – Patience is a Virtue
Once your final coat is on, don’t rush to use your furniture. Paint needs time to cure, which means it hardens completely. This is different from just being dry to the touch.
Allowing Your Paint to Cure
Always follow the paint manufacturer’s curing instructions. This could be anywhere from 24 hours to several days or even a week. Moving or using the furniture too soon can result in scratches, chips, or damage to your fresh paint job.
Consider adding a clear protective topcoat for extra durability, especially if your furniture sees heavy use or direct sunlight. We found that some outdoor enthusiasts apply a clear sealant for additional UV and abrasion protection (Gardening Experts).
Maintenance Tips for Your Newly Painted Patio Furniture
You’ve put in the work, now help your furniture stay looking fabulous. A little ongoing care goes a long way. This includes periodic cleaning.
Keeping Your Furniture Looking Fresh
Clean your furniture regularly with mild soap and water. Avoid harsh chemicals or abrasive scrubbers, which can damage the paint. If you notice any small chips or scratches, touch them up quickly to prevent rust from starting.
During off-seasons, consider covering your furniture or storing it indoors if possible. This protects it from extreme weather, extending the life of your paint job even further. It’s like putting a cozy blanket on it for winter!
Here’s a quick checklist to keep your painted steel patio furniture in top shape:
- Wipe down regularly with a soft cloth.
- Clean spills immediately to prevent staining.
- Inspect for chips or scratches; touch up as needed.
- Use mild soap and water for deeper cleaning.
- Cover or store during harsh weather.
Conclusion
Painting your steel patio furniture is a rewarding DIY project that combines protection with aesthetic appeal. By following these steps—thorough cleaning, effective rust removal, proper priming, careful painting, and patient curing—you can achieve a durable, beautiful finish that revitalizes your outdoor space. It’s an investment of your time that pays off in both longevity and style, making your patio the envy of the neighborhood.
Can I paint steel patio furniture without sanding?
While technically possible, painting steel patio furniture without proper sanding is not recommended. Sanding creates a rough surface that allows primer and paint to adhere better, preventing peeling and chipping down the line. Skipping this step often leads to a less durable and unsightly finish over time.
What kind of paint is best for outdoor steel furniture?
For outdoor steel furniture, you should choose an exterior-grade metal paint, preferably one labeled “rust-inhibiting” or “for metal.” Enamel paints are excellent choices due to their hard, durable finish. Many brands offer spray paints specifically designed for outdoor metal, which can provide a smooth, factory-like appearance.
How long does painted steel patio furniture last?
The lifespan of your painted steel patio furniture largely depends on the preparation, paint quality, and environmental exposure. With thorough surface prep, quality primer and paint, and good maintenance, a fresh paint job can easily last for 3-5 years, often much longer. Regular touch-ups can extend this even further.
Do I need to prime steel furniture before painting?
Yes, priming steel furniture before painting is highly recommended. A good rust-inhibiting metal primer creates a barrier against future rust and provides a much better surface for the topcoat to stick to. Skipping primer often results in poor adhesion, premature peeling, and rust returning more quickly.
Can I use interior paint on outdoor steel furniture?
No, you should not use interior paint on outdoor steel furniture. Interior paints are not formulated to withstand the harsh conditions of outdoor exposure, such as UV radiation, moisture, and temperature fluctuations. They will quickly fade, crack, and peel, offering no real protection against rust or wear.
