How To Paint Cast Aluminum Patio Furniture?
To paint cast aluminum patio furniture, you first need to thoroughly clean it, address any rust or flaking paint, then apply a suitable primer, and finally finish with a high-quality exterior-grade paint designed for metal.
Ensuring proper surface preparation and using the right products will give you a durable, beautiful finish that revitalizes your outdoor living space.
Here’s a quick overview of what you’ll learn in this guide:
- Discover why a fresh coat of paint makes a big difference.
- Learn exactly what tools and materials you’ll need for the job.
- Understand the importance of cleaning and prepping your furniture correctly.
- Get clear, practical steps for priming and painting your cast aluminum.
- Find tips for maintaining your newly painted pieces to keep them looking great.
How To Paint Cast Aluminum Patio Furniture?
Painting cast aluminum patio furniture transforms its look and adds years to its life. The process generally involves cleaning, light sanding, priming, and then applying two coats of outdoor-appropriate paint.
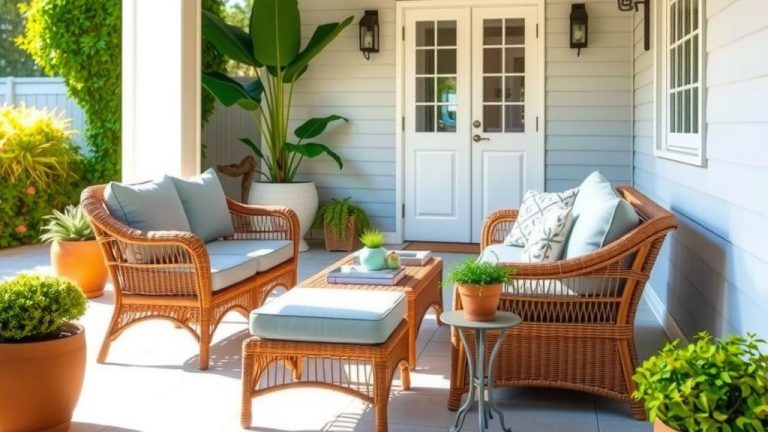
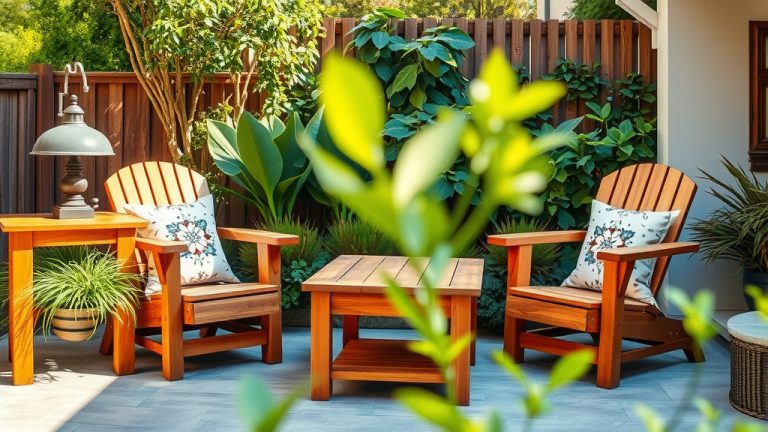
Why Repaint Your Cast Aluminum Furniture?
Have you ever looked at your outdoor space and felt something was missing? Sometimes, the answer is just a fresh coat of paint on your patio furniture. It’s amazing what a difference it can make!
Extending Furniture Life
Cast aluminum is tough, but even the toughest materials need a little care. Over time, sun, rain, and general use can cause the original finish to fade or chip. A new layer of paint acts like a fresh coat of armor. It helps protect the metal from the elements, keeping rust and corrosion at bay for a longer time. We found that proper painting can add many years to your furniture’s lifespan.
Boosting Curb Appeal
Let’s be honest, everyone wants a beautiful outdoor area. Faded or worn furniture can make your patio look tired. Giving it a new color can instantly update your space, making it feel fresh and inviting. It’s like giving your furniture a spa day—it comes out feeling refreshed and ready to impress! Think of it as an affordable way to renovate your entire patio.
Gathering Your Painting Arsenal
Before you start, gather everything you’ll need. Think of it as preparing for an important mission. Having all your supplies ready means you won’t have to stop mid-project. Many experts say that proper preparation, including gathering tools, is key to a smooth process.
| Category | Item | Purpose |
|---|---|---|
| Safety Gear | Safety glasses | Protect eyes from dust and paint. |
| Safety Gear | Gloves (nitrile) | Keep hands clean and protected. |
| Safety Gear | Respirator mask | Guard against inhaling paint fumes. |
| Cleaning Supplies | Mild detergent (e.g., dish soap) | Removes dirt and grime effectively. |
| Cleaning Supplies | Bucket and sponges | For washing and rinsing furniture. |
| Cleaning Supplies | Stiff brush or wire brush | To remove loose paint and rust. |
| Surface Prep | Sandpaper (120-220 grit) | Smooths surfaces and aids primer adhesion. |
| Surface Prep | Painter’s tape and plastic sheeting | Protects areas you don’t want to paint. |
| Surface Prep | Clean rags | For wiping and drying surfaces. |
| Painting Supplies | Metal primer (etching or self-etching) | Crucial for paint adhesion on aluminum. |
| Painting Supplies | Exterior-grade metal paint (spray or brush-on) | The main color and protective layer. |
| Painting Supplies | Paint stirrer (if using brush-on) | Ensures even paint consistency. |
| Painting Supplies | Paintbrushes or spray gun | Application tools for your chosen method. |
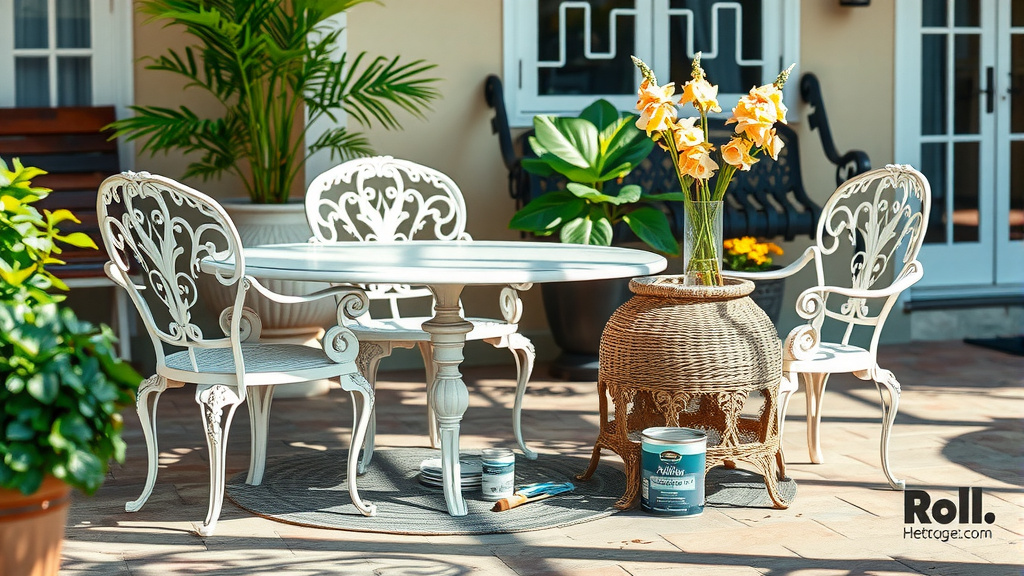
The Right Paint Matters
Choosing the right paint is not just about color; it’s about durability. You need an exterior-grade paint designed for metal, specifically aluminum. Look for options that are rust-inhibiting and weather-resistant. Many brands offer paint-and-primer in one, which can be convenient for lighter refresh jobs, but a dedicated primer is always a good idea for the best results.
Preparation is Half the Battle
Think of painting like baking a cake. If you don’t prepare the ingredients properly, the cake won’t turn out well. The same goes for painting. A well-prepared surface means a paint job that lasts and looks fantastic.
Cleaning Your Furniture Thoroughly
This step is non-negotiable. Start by giving your furniture a good wash. Use warm water, a mild detergent like dish soap, and a stiff brush. Scrub away all the dirt, grime, and any existing loose paint. Rinse it really well and let it dry completely. Many research sources suggest that any lingering dirt can prevent paint from sticking properly (PDCA).
Sanding for Success
Once clean and dry, it’s time to sand. This isn’t about removing all the old paint, but about creating a “tooth” for the new paint to grip. Use 120-220 grit sandpaper. Lightly sand all surfaces, especially any areas with peeling paint or minor corrosion. Then, wipe off all the sanding dust with a clean, damp rag. This process helps ensure strong adhesion for your primer and paint.
Repairing Minor Flaws
Before priming, take a moment to look for any small dents or deeper scratches. You can use an exterior-grade epoxy or metal filler for these. Apply it carefully, let it cure, and then sand it smooth. This step helps create a uniform surface, making your finished product look more professional.
Priming for a Perfect Finish
Don’t skip the primer! Primer is the unsung hero of any good paint job, especially on cast aluminum. It creates a bonding layer between the metal and your topcoat. For aluminum, a self-etching or etching primer works best. It bites into the smooth surface, giving the paint something solid to hold onto. Apply one thin, even coat, following the manufacturer’s drying time instructions. We found that proper priming prevents chipping and peeling later on.
Painting Techniques for Cast Aluminum
Now for the fun part—adding color! Whether you choose spray paint or brush-on paint, remember that multiple thin coats are always better than one thick coat. Patience truly is a virtue here.
Spray Painting Tips
If you’re using spray paint, work in a well-ventilated area, preferably outdoors on a calm day. Hold the can about 8-12 inches from the surface and use steady, sweeping motions. Overlap each pass slightly. This technique helps you achieve a smooth, professional finish without drips or heavy spots. Many experts recommend doing two to three light coats, allowing proper drying time between each.
Brush Painting Considerations
For brush painting, use a high-quality synthetic brush that’s appropriate for your paint type. Apply the paint in thin, even strokes, working in sections. Be sure to check for any drips or brush marks as you go. Brush painting gives you excellent control and can be great for intricate details on cast aluminum furniture. It often results in a thicker, more durable coat if applied correctly.
Drying and Curing Time
Once you’ve applied your final coat, resist the urge to immediately move or use your furniture. Paint needs time to dry and cure. Drying means it’s dry to the touch, but curing means it has fully hardened and reached its maximum durability. This can take several days, or even weeks, depending on the paint type and humidity. Read the paint can’s instructions carefully. Allowing sufficient curing time is critical for long-lasting results.
Maintenance After Painting
You’ve done all that hard work; now how do you keep it looking great? Good question! A little bit of ongoing care will ensure your freshly painted furniture stands the test of time. Research often suggests that proper maintenance is key to preserving outdoor finishes.
- Regular Cleaning: Wipe down your furniture with a damp cloth and mild soap periodically to remove dirt and dust.
- Avoid Harsh Chemicals: Do not use strong cleaners or abrasive scrubbers, as these can damage the paint finish.
- Seasonal Storage: If possible, store your furniture indoors during harsh winter months or cover it with breathable furniture covers.
- Address Scratches Promptly: If you notice any small chips or scratches, touch them up quickly with leftover paint to prevent rust or further damage.
- Gentle Handling: Be mindful when moving or rearranging your furniture to avoid bumping it against hard surfaces.
Conclusion
Repainting your cast aluminum patio furniture is a rewarding project that combines practical protection with aesthetic appeal. By following these steps—from thorough cleaning and preparation to careful priming and painting—you can transform old, tired pieces into vibrant, welcoming additions to your outdoor living space. Remember, patience and attention to detail are your best tools for a finish that not only looks professional but also truly lasts.
What kind of paint is best for cast aluminum patio furniture?
The best paint for cast aluminum patio furniture is an exterior-grade, rust-inhibiting paint designed specifically for metal surfaces. Many experts recommend using either an acrylic enamel or an oil-based enamel, often in a “direct to metal” or “all-in-one” formula for durability and weather resistance.
Do I need to sand cast aluminum before painting?
Yes, you absolutely should sand cast aluminum before painting. Lightly sanding with 120-220 grit sandpaper creates a slightly rough surface, known as a “profile” or “tooth,” which significantly helps the primer and paint adhere better and last longer.
Is primer necessary for painting aluminum furniture?
Primer is highly recommended when painting aluminum furniture. Aluminum can be a challenging surface for paint to stick to directly. Using a self-etching or etching primer provides a crucial bonding layer that grips the aluminum, ensuring your topcoat adheres properly and doesn’t peel or chip prematurely.
How long does painted cast aluminum furniture last outdoors?
With proper preparation, high-quality paint, and good maintenance, painted cast aluminum furniture can last anywhere from 5 to 10 years, or even longer, outdoors. Factors like direct sun exposure, humidity, and how well it’s cared for will influence its longevity.
Can I paint rusty cast aluminum furniture?
You should not paint over rust. Before painting, any existing rust on cast aluminum furniture must be completely removed using a wire brush, sandpaper, or a rust remover product. Painting over rust will trap the corrosion underneath, leading to paint failure and continued deterioration of the metal.