
How To Tarp Patio Furniture For Winter?
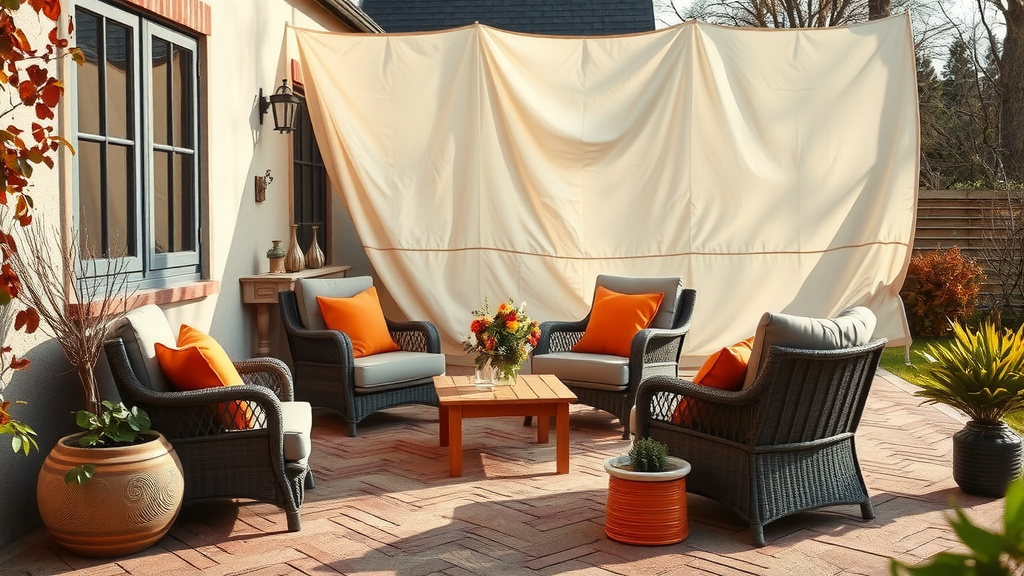
To tarp patio furniture for winter, first clean and thoroughly dry each piece, remove cushions, and gather furniture into a compact group. Then, select a heavy-duty, waterproof tarp that is larger than your furniture arrangement, drape it securely, ensuring water sheds off easily, and tie it down to prevent wind damage.
You can protect your outdoor investments by using appropriate securing methods like bungee cords or ropes, creating a slight peak for water runoff, and allowing for some ventilation to prevent mold and mildew build-up.
- Get your patio furniture ready by cleaning and drying it well.
- Pick a strong, waterproof tarp that’s bigger than your furniture.
- Drape the tarp so water can run right off, preventing puddles.
- Secure the tarp tightly with ropes or bungee cords to beat the wind.
- Always allow for a little airflow under the tarp to stop mold growth.
How To Tarp Patio Furniture For Winter?
Protecting your patio furniture from winter’s harsh elements is a smart move. Tarping it correctly can save you money and extend its life significantly.
Why Bother Tarping Your Patio Furniture?
Winter weather can be rough on outdoor items, can’t it? Rain, snow, ice, and even just prolonged dampness can cause serious damage. Tarping acts like a sturdy shield.
We found that leaving furniture exposed often leads to rust, faded colors, warped wood, and cracked plastic (Consumer Reports).
A good tarping job helps keep your chairs, tables, and sofas looking good and ready for spring.
Getting Ready: Prepping Your Furniture
Before you even think about the tarp, your furniture needs a little love. This prep work is truly key to long-term success.
Clean Everything Thoroughly
Imagine trapping dirt and grime under a cover all winter. Not a pretty picture, right? Take the time to clean every piece of furniture.
Use mild soap and water for most materials. For tougher spots, a soft brush might help. Rinse thoroughly to remove any soap residue.
Dry, Dry, Dry!
This step is non-negotiable. Any moisture left on your furniture will create a perfect breeding ground for mold and mildew under the tarp. Many experts say that proper drying prevents unwanted fungal growth.
Let everything air dry completely for at least a full sunny day. You can even wipe down surfaces with a dry cloth for extra measure.
Remove Cushions and Accessories
Don’t tarp cushions! They should always be stored indoors in a dry, climate-controlled space. Cushions are super prone to mold when left under tarps.
Also, remove any small decorative items, table centerpieces, or fragile elements. Store them safely indoors too.
Choosing the Right Tarp
Not all tarps are created equal. Picking the correct one is like choosing the right coat for a blizzard – it has to perform.
Not All Tarps Are Created Equal
Look for a tarp labeled as “heavy-duty” or “waterproof.” Cheap, thin tarps will tear easily and may not repel water effectively. We found that thicker tarps (often 10-mil or higher) offer the best protection.
Materials like polyethylene are popular, but canvas tarps can also be an option for breathability, though they often require treatment for water resistance.
Size Matters, Big Time
A tarp that’s too small won’t cover everything. One that’s too large can be a pain to manage and might collect water. Measure your grouped furniture’s length, width, and height.
You want a tarp that extends past the edges and goes down to the ground, offering full coverage. Many guidelines point to adding at least two feet to each dimension for proper draping (The Old Farmer’s Almanac).
The Tarping Technique: Step-by-Step
Now for the main event! How do you actually get that tarp on there securely?
Position Your Furniture
Gather all your clean, dry furniture into a single, compact group. Try to arrange taller items in the center to create a natural peak. This peak is your secret weapon against water pooling.
If you have multiple tables or chairs, stack them carefully to save space and create a better shape for the tarp.
Drape the Tarp Carefully
Lay the tarp over the furniture group. Make sure it covers every part, stretching down towards the ground. The idea is to create a tent-like structure, allowing rain and snow to slide right off.
Avoid any flat spots where water could collect. This might mean adjusting furniture or adding a small object under the tarp to create a higher point.
Secure It Properly
Wind is the enemy of a well-tarped setup. Use bungee cords, ropes, or strong ties through the tarp’s grommets. Secure them to furniture legs, heavy objects, or even stakes in the ground.
Pull the tarp taut, but not so tight that it rips. A good pull ensures stability and prevents flapping, which can cause wear and tear on the tarp and furniture.
Allow for Airflow – A Hidden Trick
This step is often missed but is incredibly important. You want to keep moisture out, but also let some air in. Trapped humidity is mold’s best friend.
Leave a small opening or lift one corner slightly, just enough for air to circulate. Many experts say that cross-ventilation helps prevent condensation under the tarp.
Check for Water Pooling
After a rain or snow, take a quick peek. Is any water pooling on top of your tarp? If so, address it immediately. Adjust the tarp or furniture to create a better slope.
Water pooling not only adds weight but can also stretch and eventually tear the tarp, compromising your protection.
| Tarp Material | Pros | Cons |
|---|---|---|
| Polyethylene (Blue/Silver) | Lightweight, very waterproof, affordable. | Can tear in strong winds, less breathable. |
| Canvas (Green/Brown) | More breathable, durable, heavy-duty feel. | Heavier, often requires water-repellent treatment, more expensive. |
| Vinyl (Heavy Duty) | Extremely durable, tear-resistant, fully waterproof. | Heaviest, most expensive, very rigid in cold. |
When Not to Tarp (Or What to Watch Out For)
While tarping is great, sometimes it’s not the perfect solution for everything. Extremely delicate antique pieces might be better stored indoors.
Also, consistently check your tarp throughout the winter. Snow load can be very heavy, potentially damaging furniture or the tarp itself. Brush off heavy snow regularly.
A Quick Checklist Before Winter Sets In
Is all furniture clean and dry?
Are cushions and small items stored indoors?
Is the tarp heavy-duty and the right size?
Is the furniture grouped compactly with a high point?
Is the tarp secured tightly to prevent wind damage?
Is there a small opening for airflow?
Will you check it after heavy rain or snow?
Conclusion
Protecting your patio furniture for winter is an investment in its longevity and appearance. By carefully cleaning, selecting the right tarp, and using proper securing techniques, you can shield your outdoor pieces from the elements. A little effort now saves you a lot of hassle and expense come spring. Happy tarping!
How do I prevent mold under my tarped patio furniture?
To prevent mold, ensure furniture is completely dry before tarping. Group furniture to create a peak so water sheds off, and most importantly, allow for some airflow by lifting a corner or leaving a small opening for ventilation.
Can I use any type of tarp for winter protection?
No, you should use a heavy-duty, waterproof tarp for winter protection. Thin, cheap tarps often tear easily and may not keep moisture out effectively, leading to damaged furniture.
What should I use to secure my patio furniture tarp?
You should use strong bungee cords, ropes, or durable ties threaded through the tarp’s grommets. Secure them to furniture legs, heavy anchor points, or stakes to prevent the wind from lifting or damaging the tarp.
Is it okay to store cushions under the tarp with the furniture?
It is not recommended to store cushions under the tarp. Cushions are highly susceptible to moisture, mold, and mildew when covered, even with a breathable tarp. Always store cushions indoors in a dry environment.
How often should I check my tarped patio furniture during winter?
It’s a good practice to check your tarped furniture periodically, especially after heavy rain, snow, or strong winds. Look for water pooling, tears in the tarp, or signs of looseness in the tie-downs to make sure everything remains secure and protected.
