
How To Strip Paint From Wrought Iron Patio Furniture?
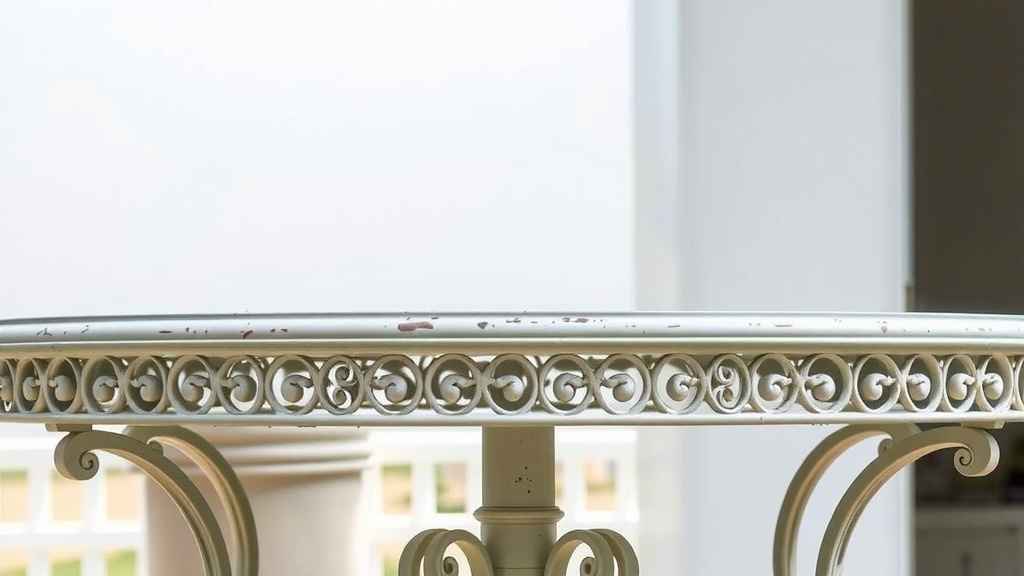
To strip paint from wrought iron patio furniture, you often begin by cleaning the surface, then apply a chemical paint stripper or use mechanical methods like sanding and wire brushing.
Always prioritize safety with proper ventilation and protective gear, as the process involves potentially harsh chemicals and abrasive tools to effectively remove old finishes.
Here’s a quick rundown of what you’ll learn about stripping paint from wrought iron furniture:
- You will discover the main reasons why stripping paint is a good idea.
- We will guide you through essential safety measures to protect yourself.
- You’ll find out which tools and materials are best for the job.
- We cover the different methods for stripping, including chemical and mechanical options.
- You’ll get a clear, step-by-step guide from start to finish.
How To Strip Paint From Wrought Iron Patio Furniture?
Stripping paint from wrought iron patio furniture involves a blend of preparation, choosing the right method, and careful execution to restore its original charm.
Why Bother Stripping Old Paint?
You might wonder why you can’t just paint over the old finish. Well, a fresh coat of paint needs a clean, smooth surface to stick properly.
Old, peeling, or chipped paint creates an uneven base. This means your new paint will likely chip and peel quickly, leading to more work later.
Stripping away the old allows for a longer-lasting, more beautiful finish. It’s like clearing the ground before planting a garden.
Safety First! Protecting Yourself Is Key
Working with paint strippers and power tools means safety is not just a suggestion, it’s a must. You are dealing with chemicals that can irritate skin or fumes that can be harmful.
Always make sure your work area has excellent ventilation. If you are indoors, open windows and use fans. Working outside is often the best choice.
Many experts say to always wear appropriate protective gear (OSHA guidelines often remind us of this). This includes more than just gloves.
Your Essential Safety Checklist:
- Eye Protection: Safety goggles or glasses shield your eyes from splashes and flying debris.
- Hand Protection: Chemical-resistant gloves, such as nitrile or butyl rubber, are vital for protecting your skin.
- Respiratory Protection: A respirator mask with organic vapor cartridges guards against inhaling fumes.
- Skin Coverage: Wear long sleeves, long pants, and closed-toe shoes to prevent skin exposure.
- Good Ventilation: Work outdoors or in a very well-ventilated area with open windows and fans.
Gather Your Tools and Materials
Before you begin, collecting everything you need will make the process much smoother. Nobody wants to stop mid-task to search for a tool.
Having everything ready helps you work efficiently and safely. Think of it as preparing your artist’s palette before painting a masterpiece.
- Drop cloths or old newspapers to protect your work surface.
- Stiff wire brush and scrapers (various sizes).
- Sandpaper (medium to fine grit).
- Chemical paint stripper (gel or liquid, depending on preference).
- Old rags or sponges.
- Bucket of water for rinsing.
- Hose or pressure washer (optional, but helpful for rinsing).
- Power drill with wire brush attachment (optional, for tough spots).
Choosing Your Paint Stripping Method
There isn’t one perfect way to strip paint from wrought iron. The best method depends on the condition of the furniture and your comfort level.
We found that many people combine methods for the best results. Let’s look at your options.
Chemical Stripping
Chemical strippers work by softening the paint, making it easy to scrape off. They come in different strengths and formulas.
This method is great for intricate designs or hard-to-reach areas where mechanical tools might struggle. It does require careful handling due to the chemicals involved.
Mechanical Stripping
This involves physically removing the paint using tools like wire brushes, sandpaper, or power tools with abrasive attachments.
Mechanical stripping is effective for large, flat surfaces and very stubborn paint. It can be more labor-intensive but avoids strong chemical fumes.
Heat Stripping
Using a heat gun can soften paint, similar to chemical strippers, but without the chemicals. You simply heat the paint until it bubbles, then scrape it off.
This method works well for thick layers of paint. You need to be careful not to overheat the metal, which could damage it, or cause lead paint fumes if dealing with older furniture.
Step-by-Step Guide: Getting That Old Paint Off
Let’s walk through the process together. Taking it one step at a time makes the job manageable.
Initial Preparation
First, clean your furniture. Use a stiff brush and soapy water to remove any dirt, dust, or cobwebs. A clean surface helps the stripper work better.
Allow the furniture to dry completely before moving on. Make sure your work area is set up with drop cloths to catch paint chips and spills.
Applying the Chemical Stripper
If you choose a chemical stripper, apply a thick, even layer with an old paintbrush. Follow the product instructions carefully regarding application and dwell time.
Let it sit for the recommended time, usually 15-30 minutes, or until the paint starts to bubble and lift. Patience here pays off.
Scraping and Cleaning
Once the paint is soft, use a scraper or wire brush to gently remove it. Work in small sections, always scraping away from your body.
For detailed areas, a smaller brush or even an old toothbrush can be helpful. Keep a trash can nearby for paint chips.
Rinsing and Drying
After scraping, rinse the furniture thoroughly. You can use a hose or a bucket of water with a clean sponge. Remove all traces of stripper and loosened paint.
Allow the wrought iron to dry completely. Any moisture left behind can lead to rust, which we certainly want to avoid.
Dealing with Stubborn Spots
Some areas might need a second application of stripper or more vigorous scraping. For really tough spots, consider a power drill with a wire brush attachment.
Always proceed with care to avoid scratching the metal. Sometimes, a little extra elbow grease is all it takes.
Post-Stripping Care: Priming for a New Look
Once all the paint is gone, inspect the furniture for any rust. If you find rust, remove it with a wire brush or sandpaper.
Then, apply a rust-inhibiting primer specifically designed for metal. This step is vital to protect the iron from future corrosion and provide a good base for your new paint.
Chemical Strippers: A Quick Comparison
Not all chemical strippers are the same. Understanding the differences can help you pick the right one for your project.
| Type of Stripper | Key Benefit | Consideration |
|---|---|---|
| Methylene Chloride | Very fast-acting, strong. | Strong fumes, requires max ventilation, often restricted. |
| NMP-based (N-Methyl-2-pyrrolidone) | Slower but effective, less volatile. | Still needs good ventilation, can be skin irritant. |
| Citrus/Soy-based | Lower odor, more eco-friendly. | Slower acting, may require longer dwell times or multiple applications. |
Common Mistakes to Avoid
Even seasoned DIYers can make small errors. Knowing what to watch out for helps you avoid them.
One common mistake is not fully cleaning the furniture before stripping. Dirt and grime can act as a barrier, making the stripper less effective.
Another is rushing the process. Allowing the stripper enough time to work or properly drying the furniture prevents headaches later.
Not wearing proper safety gear is a big one. It’s easy to get complacent, but chemicals and tools demand respect.
When to Call a Professional
Sometimes, a project is just too big, too complex, or too old for a DIY approach. If your wrought iron furniture is an antique or has very intricate details, a professional might be best.
They have specialized equipment, experience with various paint types (including potential lead paint on older pieces), and facilities for safe disposal. It can save you time and ensure a perfect finish.
Conclusion
Stripping paint from wrought iron patio furniture is a rewarding project that can bring new life to your outdoor pieces. It requires a bit of effort, the right tools, and a commitment to safety, but the results are truly worth it.
By following these steps, you’re not just removing old paint; you’re preparing your furniture for years of continued enjoyment and a beautiful new finish. You got this!
How do I know if my wrought iron has lead paint?
If your wrought iron furniture was painted before 1978, it might contain lead-based paint. We found that testing kits are available at most hardware stores to check for lead. If you suspect lead paint, take extra precautions like wearing a specialized respirator and avoiding sanding to minimize dust, or consider professional help.
Can I use a pressure washer to strip paint?
While a pressure washer can help remove loose paint and debris after chemical stripping or soften paint with hot water, it’s generally not strong enough to strip all layers of paint on its own. Using it after a stripper or for rinsing is effective, but it won’t replace the main stripping process.
What if some paint won’t come off?
For very stubborn paint spots, you might need to apply the chemical stripper again, allow it to sit longer, or use a more abrasive method like a small wire brush attachment on a drill. Sometimes, a combination of methods works best for those particularly difficult areas.
Is it better to use liquid or gel paint stripper?
Gel paint strippers are often preferred for vertical or detailed surfaces like wrought iron because they cling better and don’t drip as much. Liquid strippers are good for flat surfaces where they can spread easily. The choice often comes down to the shape of your furniture and personal preference.
How soon after stripping should I repaint the wrought iron?
After stripping, cleaning, and completely drying your wrought iron, it’s best to prime and paint it as soon as possible. Bare wrought iron is highly susceptible to rust, especially if left exposed to moisture. Applying a rust-inhibiting primer within a day or two will protect the metal and ensure a lasting finish.
