
How to Restore Faded Plastic Patio Furniture?
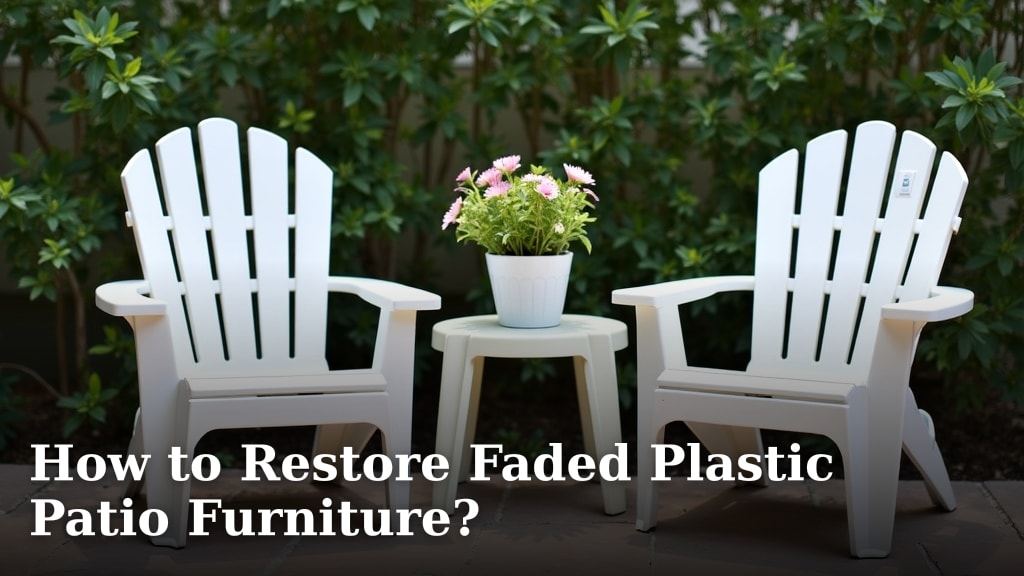
You can restore faded plastic patio furniture by thoroughly cleaning it, then applying a specialized plastic restorer or automotive trim restorer. This process helps bring back the original color and shine. We found that these steps are surprisingly effective for most types of plastic.
Nobody wants dull, chalky patio furniture ruining their outdoor space, right? The sun’s UV rays really do a number on plastic over time. But don’t worry, you don’t need to toss out your beloved chairs and tables. We’ve researched the best ways to rejuvenate them.
- Clean furniture thoroughly with soap and water.
- Use a magic eraser or cleaner for tough stains.
- Apply a plastic restorer product.
- Allow it to cure for best results.
- Enjoy your “new” outdoor furniture!
Let’s walk through exactly how to tackle this project, step by step, and get your patio looking sharp again. We’ll show you what tools you’ll need and how to use them.
Bringing Your Faded Patio Furniture Back to Life
You can effectively restore faded plastic patio furniture, saving you money and making your outdoor space look great again. This guide will walk you through the process.
Gather Your Supplies: What You’ll Need
Before you begin, it’s helpful to have everything ready. Think of it like cooking: having all your ingredients measured out makes the process smoother.
Cleaning Essentials
First, you’ll need items for cleaning. This step is non-negotiable; good restoration starts with a clean surface.
- Mild dish soap or all-purpose cleaner
- Warm water
- Soft-bristle brush or sponge
- Microfiber cloths or old towels
- Garden hose or pressure washer (use caution with pressure washers)
Restoration Products
These are the stars of the show. We found that specialized products yield the best results.
- Plastic restorer spray or liquid (often used for car trim)
- Automotive trim restorer (many work well on plastic furniture)
- UV protectant spray (optional, but highly recommended for longevity)
- Disposable gloves
- Applicator pads or clean rags
Safety and Comfort Items
Don’t forget to protect yourself and your surroundings. Safety first!
- Old clothes you don’t mind getting dirty
- Safety glasses (especially if using sprays)
- Drop cloths or old newspaper to protect your patio or lawn
- A comfortable spot to work
The Cleaning Phase: Preparing Your Furniture
A thorough cleaning is the foundation of any good restoration project. Think of it as priming a canvas before painting. Any dirt or grime left behind will hinder the restorer’s effectiveness.
Initial Rinse and Loose Debris Removal
Start by rinsing your furniture with a garden hose. This removes loose dirt, pollen, and cobwebs. It’s like sweeping the floor before mopping.
If you have a pressure washer, you can use it on a low setting. Be careful not to damage the plastic. We found that a gentle spray is usually enough.
Deep Cleaning with Soap and Water
Now, it’s time for a proper scrub. Mix mild dish soap with warm water in a bucket. Use a soft-bristle brush or sponge to clean every surface.
Pay extra attention to crevices and textured areas where dirt tends to accumulate. You might be surprised how much grime comes off!
Tackling Stubborn Stains and Mildew
For tougher stains, like mildew or embedded dirt, you might need a bit more power. A magic eraser can work wonders on scuff marks.
For mildew, a diluted bleach solution (one part bleach to ten parts water) can be effective. Always test this in an inconspicuous area first, and wear gloves and eye protection. Rinse very thoroughly afterward (CDC).
Final Rinse and Drying
Once clean, rinse all furniture thoroughly with fresh water. Make sure no soapy residue remains, as this can affect the restorer’s adhesion.
Allow the furniture to air dry completely. This is important. Any moisture can interfere with the restoration product. You can use a microfiber cloth to speed up the process.
Restoring the Shine: Applying the Product
This is where the magic happens! With your furniture clean and dry, you’re ready to apply the restoration product. We found this step to be incredibly satisfying.
Choosing Your Restoration Product
There are many products designed for restoring faded plastic. We’ve had good luck with both dedicated plastic restorers and automotive trim restorers. Look for products that specifically mention UV protection, as this helps prevent future fading.
Some popular options include wipe-on liquids, spray-on coatings, or gels. Read the product label carefully for specific instructions.
Application Techniques for Best Results
No matter which product you choose, proper application is key. Think of it as polishing a shoe; you want an even, consistent coat.
- Work in a shaded area: Direct sunlight can cause the product to dry too quickly or streak.
- Wear gloves: These products can be messy and stain your skin.
- Apply sparingly: A little goes a long way. Don’t over-saturate your applicator pad.
- Wipe evenly: Apply the product in an even, thin coat. Work in small sections, if necessary.
- Buff gently: After application (and according to product instructions), use a clean microfiber cloth to gently buff the surface. This helps achieve an even finish and remove any excess product.
Addressing Uneven Fading
Sometimes, furniture might have more severe fading in certain areas. You might need to apply a second, lighter coat to these spots. Allow the first coat to dry completely before applying more product.
Patience here is your friend. Don’t rush the process, and you’ll be rewarded with a beautiful, even finish.
Curing and Protecting Your Revitalized Furniture
After application, the restorer needs time to cure. This allows it to bond properly with the plastic and provide lasting results. Don’t skip this step!
Allowing Adequate Curing Time
Check the product’s instructions for recommended curing times. This can range from a few hours to a full 24 hours. During this time, keep the furniture out of direct sunlight and rain.
We found that letting it cure overnight often provides the best outcome. It’s like letting paint dry completely before adding a second coat.
Adding an Extra Layer of UV Protection
To further extend the life of your restored furniture, consider applying a separate UV protectant spray. Many experts agree that UV rays are the primary cause of plastic degradation (NIH).
This acts like sunscreen for your furniture, helping to prevent future fading and chalkiness. Apply it as directed by the product’s instructions.
Maintenance Tips to Keep Your Furniture Looking New
Restoring your furniture is a great start, but ongoing maintenance is important. A little care goes a long way in preserving that fresh look.
Regular Cleaning Regimen
Clean your patio furniture regularly with mild soap and water. This prevents dirt and grime from building up and embedding into the plastic again.
A quick wipe-down once a month can make a big difference. It’s much easier to clean regularly than to tackle heavily soiled furniture.
Strategic Placement and Storage
Consider where you place your furniture. If possible, arrange it so it’s not constantly exposed to harsh, direct sunlight during the hottest parts of the day.
During off-seasons or extended periods of non-use, store your furniture indoors or cover it with protective outdoor furniture covers. This shields it from UV rays, rain, and extreme temperatures.
Quick Checklist for Restoring Your Patio Furniture
Here’s a handy checklist to keep you on track. We like having a clear plan, and we think you will too!
- Gather all necessary cleaning and restoration supplies.
- Rinse furniture to remove loose debris.
- Deep clean with soap, water, and a brush/sponge.
- Address any stubborn stains or mildew.
- Rinse thoroughly and allow to dry completely.
- Apply plastic restorer evenly in a shaded area.
- Allow the product to cure as per instructions.
- Apply UV protectant for added longevity (optional).
- Enjoy your beautifully restored outdoor space!
Common Restoration Questions Answered
We often hear similar questions from folks looking to restore their furniture. Let’s cover a few of them here.
How Often Will I Need to Reapply?
The lifespan of a restoration can vary. It depends on the product used, your climate, and how much sun exposure your furniture gets.
Typically, you might need to reapply a restorer every 6-12 months. Regular cleaning and UV protectant will help extend this period.
Can This Method Work on All Plastic Types?
Most plastic patio furniture is made from polypropylene or polyethylene. These methods generally work very well on those types. However, always test a small, hidden area first.
We found that results can vary slightly depending on the plastic’s original quality and how severely it’s faded.
What About Painting Faded Plastic Furniture?
Painting is another option, but it’s often more labor-intensive than restoring. It requires thorough cleaning, sanding, and using specialized plastic primer and paint.
Many people prefer restoration because it brings back the original color and texture without the added work and potential chipping that comes with paint.
| Method | Pros | Cons |
|---|---|---|
| Plastic Restoration | Quick, easy, preserves original texture, good for slight to moderate fading. | May need reapplication, not suitable for severely damaged plastic. |
| Painting | Can change color, good for severe damage, provides new look. | More steps (sanding, priming), risk of chipping, can look less “natural.” |
Conclusion
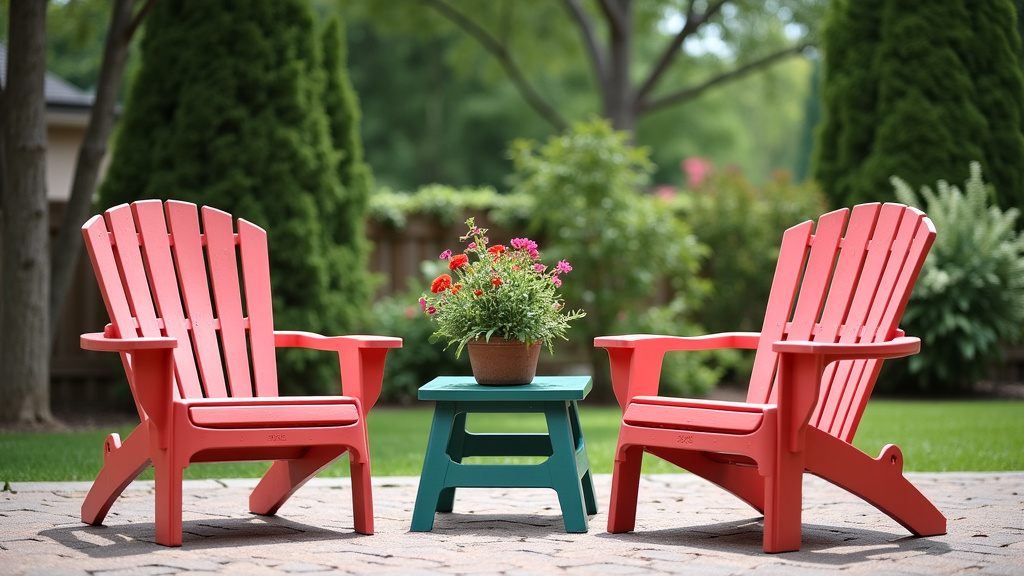
Restoring your faded plastic patio furniture doesn’t have to be a daunting task. As we’ve explored, a good cleaning combined with the right plastic restorer can truly bring your pieces back to life. You’ll not only save money but also extend the life of your outdoor investments. Take the time to follow these steps carefully, and you’ll be amazed at the transformation. We found that with a little effort, your patio can look welcoming and refreshed without buying brand-new furniture. Why not give it a try this weekend and enjoy your beautifully revived outdoor space?
Frequently Asked Questions
Is it better to restore or replace very old plastic patio furniture?
For most faded plastic furniture, restoration is a cost-effective and environmentally friendly choice. We found that even severely chalky pieces can show significant improvement. Replacement is usually only necessary if the furniture is cracked, broken, or structurally unsound.
Can I use car wax or polish to restore faded plastic patio furniture?
While car wax might offer a temporary shine, it’s not designed for the long-term restoration of plastic. Car waxes often lack the specialized chemicals needed to penetrate and recondition faded plastic. We recommend using products specifically formulated for plastic or automotive trim restoration for lasting results.
How long does the restoration typically last before needing reapplication?
The longevity of a plastic restoration depends on the product used and environmental factors like sun exposure and weather. Generally, you can expect the results to last between 6 to 12 months. Regular cleaning and applying a UV protectant can help extend this timeframe.
What if my plastic furniture is textured, not smooth? Will the restorer still work?
Yes, plastic restorers work well on textured plastic surfaces too. You might need to use a soft-bristle brush or a foam applicator to ensure the product gets into all the crevices. Just make sure to apply evenly and buff off any excess as directed by the product instructions.
Are there any eco-friendly alternatives for restoring plastic furniture?
Some people opt for natural oils like linseed or mineral oil, but these generally don’t offer the same long-lasting UV protection or deep restoration as specialized products. We suggest looking for plastic restorers that specify they are VOC-compliant or eco-friendly if this is a primary concern for you.
