
How To Repair Plastic Wicker Patio Furniture?
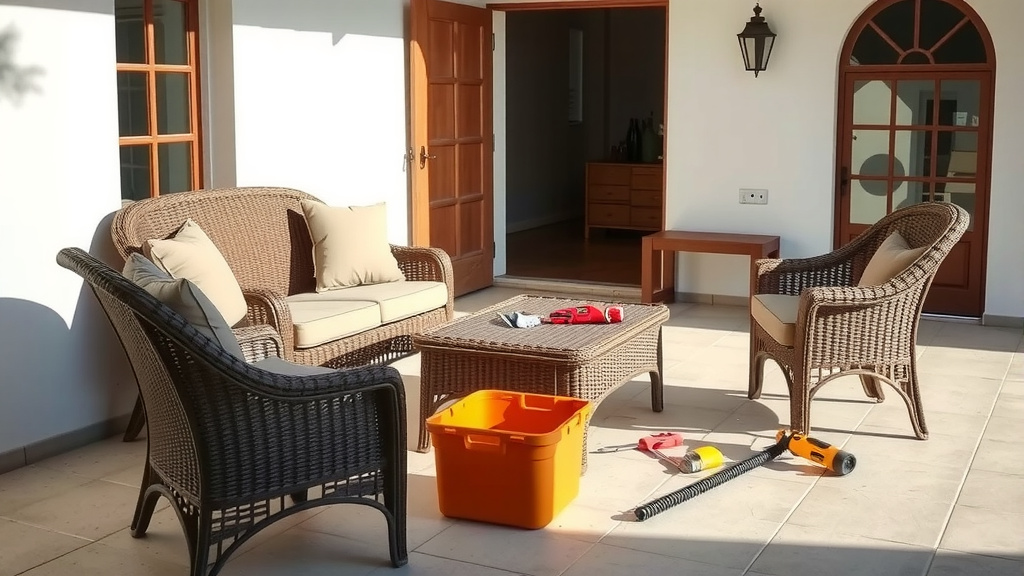
Repairing plastic wicker patio furniture often involves patching small breaks with specialized adhesive or replacing damaged strands using matching repair kits.
For larger sections, you might need to reweave new synthetic wicker material to restore its appearance and function effectively.
- Quickly fix small breaks using plastic bonding adhesives.
- Replace individual broken strands with matching repair wicker.
- Learn basic reweaving techniques for more substantial damage.
- Maintain your repaired furniture to significantly extend its lifespan.
- Decide wisely between repairing and completely replacing old pieces.
How To Repair Plastic Wicker Patio Furniture?
You can repair plastic wicker patio furniture by addressing small cracks with plastic bonding adhesives or replacing broken strands using specifically designed repair kits.
Why Fix Your Favorite Patio Pieces?
Nobody wants to part with a comfortable patio chair, right? When your plastic wicker starts to show wear, repairing it can often save you money and keep your beloved furniture around longer. It’s also a more sustainable choice than discarding items that still have life left in them.
A small tear today can become a big problem tomorrow if left unattended. Taking action quickly helps maintain the look and structural integrity of your outdoor seating. Think of it as giving your furniture a little tender, loving care.
Spotting Common Wicker Damage
Plastic wicker, while durable, isn’t indestructible. You might notice small cracks or frays appearing, especially on corners or high-traffic areas. Sometimes, individual strands can break completely, leaving gaps in the weave. Sun exposure and general wear often cause these issues, we’ve found.
Even minor damage can lead to unraveling if not fixed. Inspect your furniture regularly. Look for any loose ends, faded spots, or areas that feel weaker than the rest. Catching these early makes repairs much simpler.
Essential Tools You’ll Need
Before you dive into repairs, gather your supplies. Having everything ready saves time and ensures a smoother process. Here’s a quick checklist:
- Plastic bonding adhesive (look for clear, strong options)
- Matching plastic wicker repair strands or rolls
- Scissors or a utility knife
- Heat gun (optional, for softening wicker)
- Small clamps or painter’s tape
- Cleaning supplies (mild soap, water, cloth)
- Gloves (for protecting your hands)
Many experts suggest choosing a UV-resistant adhesive for outdoor furniture. This helps your repair stand up to the elements.
Simple Fixes: Cracks and Fraying
For minor issues, you don’t need to be a master weaver. Simple adhesives can work wonders. This approach is great for small imperfections.
Preparing the Damaged Spot
First, clean the area thoroughly. Use mild soap and water to remove dirt, grime, and any old residue. A clean surface is key for any adhesive to bond properly. Let it dry completely. We found that a damp cloth followed by a dry one works best (Good Housekeeping).
Trim any excessively frayed or loose bits with sharp scissors. You want a clean edge for the repair. Don’t cut too much; just enough to make the area tidy.
Applying the Right Adhesive
For small cracks, a good plastic bonding adhesive is your best friend. Apply a small bead directly into the crack. Press the edges together gently for a few seconds. You want to make sure the adhesive fills the gap completely.
If you have minor fraying, apply a thin layer of adhesive to the frayed ends. This helps to seal them and prevent further unraveling. Allow ample drying time, as stated on the adhesive packaging. Don’t rush this step, as proper curing is vital for a durable repair.
Replacing Broken Wicker Strands
When a strand breaks completely, you’ll need to replace it. This sounds trickier than it is, and with a little patience, you can achieve great results.
Sourcing Matching Wicker Material
Finding the right replacement wicker is often the hardest part. Try to match the color, texture, and width of your existing strands. Many online retailers offer synthetic wicker repair kits in various shades and sizes. Some furniture manufacturers might even sell specific repair materials.
A tip we found: If you can’t get an exact match, consider using a slightly different shade that complements your furniture. It can add a unique visual accent rather than an obvious patch.
Step-by-Step Strand Replacement
Replacing a single broken strand is a focused task. Here’s how you can do it:
- Carefully remove any remaining bits of the broken strand.
- Measure the length of the missing section, adding a few extra inches for weaving.
- Cut your new wicker strand to size.
- Tuck one end of the new strand into an existing weave pattern, securing it discreetly.
- Weave the new strand through the existing framework, mimicking the original pattern.
- Use a heat gun on a low setting to soften the new wicker slightly if it’s stiff. This helps it bend more easily.
- Once woven, trim any excess material, leaving a small tail to tuck in.
- Secure both ends with a dab of strong adhesive underneath the weave.
Reweaving Larger Sections
Sometimes, more than just a single strand breaks. If a whole section is damaged, reweaving can bring your furniture back to life. This process requires a bit more planning and patience.
Understanding Weaving Patterns
Most plastic wicker furniture uses a basic weave, often a simple basket weave or a crisscross pattern. Before you start, take a moment to study the existing pattern on your furniture. You’ll want to replicate this as closely as possible for a seamless look.
Some patterns involve weaving over and under existing strands, while others might involve twisting. Don’t worry if it looks complicated at first. Break it down into smaller, manageable steps. Many instructional videos online can guide you through common patterns.
Tips for a Seamless Look
Achieving an invisible repair often comes down to attention to detail. Here’s a general guide to help you decide on the right repair approach:
| Damage Type | Recommended Repair | Difficulty Level | Estimated Time |
|---|---|---|---|
| Small cracks/frays | Adhesive bonding | Easy | 15-30 minutes |
| Single broken strand | Strand replacement | Medium | 30-60 minutes |
| Small section (2-3 strands) | Partial reweaving | Medium-Hard | 1-2 hours |
| Large section (many strands) | Extensive reweaving | Hard | 2+ hours |
When reweaving, always make sure your tension is consistent with the surrounding wicker. Too tight, and it might buckle; too loose, and it will look sloppy. We often find that practicing on a small, less visible area first can build your confidence.
Matching Colors for an Invisible Repair
Color matching is key to making your repair blend in. If you can’t find an exact color, sometimes going a shade darker can be less noticeable than a lighter one. The sun tends to fade colors over time, so consider that your original furniture might be lighter than new wicker material.
Some people opt to use a specialized plastic paint designed for outdoor use after the repair is complete. This can unify the color if the new wicker stands out too much. Just ensure the paint is suitable for plastic and outdoor conditions (Consumer Reports).
Keeping Your Wicker Strong: Post-Repair Care
Once your repair is done, you’ll want to protect your hard work. Good maintenance helps extend the life of your furniture and your repair.
Cleaning Practices
Regular cleaning is simple but effective. Use a soft brush or cloth with mild soap and water to gently wipe down your wicker. Avoid harsh chemicals or abrasive cleaners, which can damage the plastic material or weaken your repair. Rinse thoroughly with clean water.
For stubborn dirt, a soft-bristled brush can help, but always be gentle around repaired areas. Let your furniture air dry completely before using it or covering it up.
Protecting from Further Damage
The sun’s UV rays are a major culprit for wicker degradation. Consider using furniture covers when your patio set isn’t in use, especially during harsh weather or prolonged sun exposure. Many experts recommend UV-protective sprays specifically for outdoor plastics.
If possible, store your furniture indoors or in a sheltered area during the off-season. This prevents extreme temperature changes and exposure to elements that cause cracking and fading. A little prevention goes a long way.
Repair or Replace? Making the Right Choice
Sometimes, a piece of furniture is beyond repair. If the frame is severely damaged, or if the wicker is crumbling in multiple places, replacing might be more cost-effective and practical. Think about the overall investment of time and money.
If repairs feel endless, it might be time to say goodbye and invest in a new set. However, for most common damages, a thoughtful repair can give your furniture many more years of enjoyment. It’s a balance between sentimental value and practical considerations.
Conclusion
Repairing plastic wicker patio furniture is a rewarding task that extends the life of your outdoor pieces. Whether you’re mending a small crack with adhesive or reweaving a broken strand, patience and the right tools are your best allies. Remember to clean the area well, choose matching materials, and always secure your repairs properly.
With a little care and attention, your patio furniture can look great and serve you well for seasons to come. Don’t let a bit of damage send your beloved outdoor items to the landfill. Give them a second chance, and enjoy your revitalized outdoor oasis.
Can I use super glue to repair plastic wicker?
While super glue might offer a quick fix, it often becomes brittle over time and isn’t ideal for outdoor plastic wicker. It may not withstand temperature changes or UV exposure. Instead, use a specialized plastic bonding adhesive that remains flexible and durable outdoors.
How do I prevent my plastic wicker from fading in the sun?
To prevent fading, use furniture covers when not in use, especially during peak sun hours or off-season storage. You can also apply UV-protective sprays designed for outdoor plastics, which add a layer of defense against sun damage.
Where can I buy matching plastic wicker repair material?
You can often find matching plastic wicker repair material online through large retailers, specialty patio furniture stores, or directly from the furniture manufacturer. Look for repair kits that offer various colors and widths to best match your existing furniture.
Is it better to repair or replace if a large section of wicker is damaged?
If a very large section is damaged, or if the frame itself is compromised, replacement might be more practical and cost-effective. However, if the frame is sound, reweaving can restore the furniture’s appearance. Assess the cost of repair materials and your time commitment against the price of new furniture.
What’s the best way to clean plastic wicker furniture?
The best way to clean plastic wicker furniture is with a solution of mild soap and water. Use a soft cloth or brush to gently wipe away dirt and grime, then rinse thoroughly with clean water. Avoid harsh chemicals, as they can damage the plastic.
