
How To Repaint Cast Iron Patio Furniture?
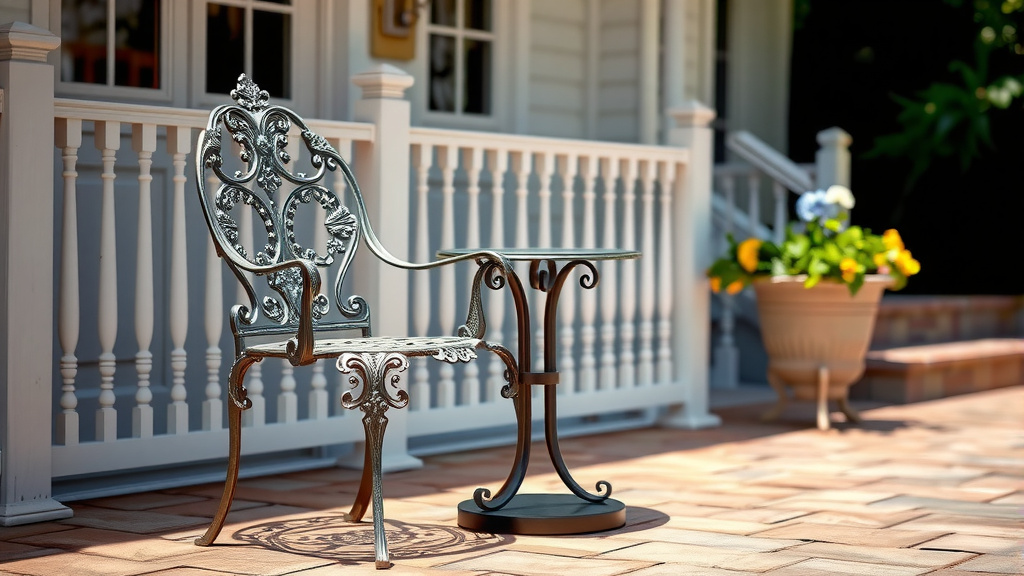
To repaint cast iron patio furniture, you begin by thoroughly cleaning and removing any rust, then apply a rust-inhibiting primer before finishing with durable outdoor paint. This process restores its look and protects against future weather damage.
You can achieve a professional-looking repaint by preparing the surface meticulously, using appropriate products, and allowing sufficient drying time between coats for maximum longevity.
Before diving deep, here’s the straightforward guide to revitalizing your cast iron furniture:
- Clean thoroughly: Wash away dirt, grime, and loose paint with soap and water.
- Remove all rust: Use a wire brush or rust remover to get rid of every spec.
- Sand gently: Rough up the surface for better paint adhesion.
- Prime with purpose: Apply a rust-inhibiting primer.
- Paint with care: Choose outdoor-grade paint and apply thin, even coats.
- Cure and protect: Allow full drying and consider a clear coat for extra durability.
How To Repaint Cast Iron Patio Furniture?
Repainting cast iron patio furniture is a satisfying project that brings old pieces back to life. You can give your outdoor items a fresh, new appearance with the right steps.
This guide walks you through each stage, making sure your effort results in a lasting finish. We aim for durability and beauty in equal measure.
Why Repaint Your Outdoor Furniture?
Cast iron is incredibly sturdy, but time and weather take their toll. Rust and faded paint make your beautiful furniture look tired. A fresh paint job offers vital protection against elements like rain and sun.
It also upgrades your patio’s appearance without buying new items. Think of it as a facelift for your outdoor living space. You are saving money and giving your furniture a second chance.
Gathering Your Essential Supplies
Preparation is half the battle when repainting. Having all your tools ready saves time and frustration. We found that a structured approach here truly helps.
You will need a few key items to make this project go smoothly. Consider gathering these before you start any work. This ensures you have everything at your fingertips.
- Wire brush or sandpaper (medium and fine grit)
- Stiff brush and mild detergent
- Rust remover (optional, but often helpful)
- Drop cloths or old newspapers
- Painter’s tape
- Rust-inhibiting primer (spray or brush-on)
- Outdoor-grade metal paint (spray or brush-on)
- Clear protective topcoat (optional)
- Safety gear: gloves, safety glasses, mask/respirator
Prepping Your Cast Iron Furniture
Surface preparation is the most critical step for a successful paint job. Any shortcuts here might lead to peeling paint later. You really want to invest your time in this stage.
A clean, smooth, and rust-free surface helps paint adhere perfectly. Think of it as creating a blank canvas for your artistry. This foundation makes all the difference.
Cleaning is Key
Start by cleaning your furniture thoroughly. Use a stiff brush, mild detergent, and water to remove dirt, grime, and loose paint chips. Many experts say a good scrub helps reveal underlying issues early.
Rinse the furniture completely and let it dry in the sun. Make sure there is no moisture hiding in crevices. Dampness can lead to future rust under the new paint.
Tackling Rust Removal
Rust is the enemy of cast iron, so you must remove it completely. For light rust, a wire brush or sandpaper can work wonders. You might need a chemical rust remover for tougher spots.
Always follow the product instructions carefully when using rust removers. Wear your safety gear, especially gloves and eye protection. Ensuring no rust remains is vital for adhesion.
Sanding for Success
After cleaning and rust removal, lightly sand the entire surface. This step creates a rough texture, helping the primer and paint grip better. We found that medium-grit sandpaper works well initially.
Follow up with fine-grit sandpaper for a smoother finish. Wipe down the furniture with a tack cloth or damp rag to remove sanding dust. The surface should feel clean and slightly rough.
Priming: The Foundation for Longevity
Primer acts as a bridge between the metal and the paint. It offers an extra layer of protection against rust and ensures your paint adheres strongly. Skipping this step is a common mistake.
You are investing in the long-term beauty of your furniture by priming. It creates a uniform surface for painting, too. This smooth base helps the topcoat look its best.
Choosing the Right Primer
Always select a primer specifically designed for metal, especially one with rust-inhibiting properties. Many brands offer excellent anti-rust primers for outdoor use. Research often connects these specialized primers with superior durability (Consumer Reports).
You can choose between spray primers for intricate designs or brush-on primers for larger, flatter areas. Whichever you choose, ensure it is suitable for outdoor cast iron.
Application Tips for Primer
Apply the primer in thin, even coats. Avoid heavy coats that might drip or pool. Light, consistent coverage is the goal here. Think of a light misting with spray primer.
Allow each coat to dry fully according to the manufacturer’s instructions before applying the next. Often, two thin coats are better than one thick one. This method builds up stronger rust protection.
Painting Your Cast Iron Masterpiece
Now comes the fun part: adding color! Selecting the right paint and applying it correctly brings your furniture to life. You want a finish that is both attractive and durable.
This stage lets you personalize your furniture. Will you go for a classic black, a vibrant color, or something subtle? The choice is entirely yours.
Selecting the Perfect Paint
For cast iron patio furniture, you need outdoor-grade metal paint. These paints are formulated to withstand UV rays, moisture, and temperature changes. Many experts say selecting a paint with built-in rust protection provides double the defense.
Here’s a quick look at common paint types:
| Paint Type | Pros | Cons |
|---|---|---|
| Oil-Based Enamel | Very durable, excellent adhesion, good gloss. | Longer drying time, strong fumes, harder cleanup. |
| Acrylic Latex (Outdoor) | Easier cleanup, faster drying, low odor. | May need more coats for durability, less hard finish. |
| Epoxy Paint | Extremely durable, chemical resistant, hard finish. | More difficult to apply, often needs a two-part mix. |
Application Methods
You can apply paint using a brush, roller, or spray can. Spray paint offers the smoothest finish for detailed cast iron work. It gets into all the small curves and designs.
Brushing might be better for larger, flatter surfaces or if you prefer more control. Apply thin, even coats, just like you did with the primer. This prevents drips and ensures a uniform appearance.
Multiple Coats for Durability
Just one coat of paint is rarely enough for outdoor furniture. Aim for at least two to three thin coats. This layering builds up a tough, protective barrier.
Allow each coat to dry completely before applying the next. This patience pays off with a much more resilient finish. You are building up the furniture’s shield against the weather.
The All-Important Curing Process
Painting is not truly finished until the paint has fully cured. Drying means the paint feels dry to the touch. Curing means it has hardened completely and reached its maximum durability.
This process can take several days or even weeks, depending on the paint type and humidity. Avoid heavy use during this time. We found that giving it extra time yields the best long-term results.
Protecting Your Work with a Topcoat (Optional)
For an extra layer of protection and shine, consider applying a clear protective topcoat. This adds another barrier against UV rays, scratches, and moisture. It can really help extend the life of your paint job.
Make sure the topcoat is compatible with your chosen paint type. Apply it in thin, even coats, following the manufacturer’s directions for drying and curing. This step is a bonus for longevity.
Simple Maintenance for Lasting Beauty
Once your furniture is repainted, a little ongoing care keeps it looking new. Regularly wipe down your furniture with a damp cloth to remove dirt and pollen. This simple act prevents buildup.
During winter months or severe weather, covering your furniture is a smart idea. We found that covers significantly reduce wear and tear. Store it indoors if possible for the longest lifespan.
Conclusion
Repainting your cast iron patio furniture is a rewarding project that combines practical restoration with aesthetic enhancement. By following these steps carefully, you can transform old, weathered pieces into beautiful, durable additions to your outdoor space. Remember, thorough preparation and patient application are the keys to a professional-looking finish. You are not just painting; you are preserving a piece of your home, ensuring it continues to bring joy for many seasons to come.
How do I know if my cast iron furniture needs repainting?
You can tell your cast iron furniture needs repainting if you see signs of rust, peeling paint, or a dull, faded surface. These are clear indicators that the protective layer is compromised and needs renewal.
Can I paint cast iron furniture without stripping all the old paint?
Yes, you can often paint over existing paint if it is firmly adhering, not peeling, and smooth. However, you must still clean and sand the surface thoroughly to ensure good adhesion for the new paint.
What’s the best way to remove stubborn rust from intricate designs?
For stubborn rust on intricate designs, a wire brush attachment for a drill or a small Dremel tool can be effective. You might also try a gel-based rust remover that can cling to complex surfaces, ensuring complete removal.
How long should I wait between paint coats on cast iron?
Always refer to the paint manufacturer’s instructions for exact drying times. Generally, you should wait at least 4-6 hours between thin coats, or until the paint feels dry to the touch. Rushing this step can lead to an uneven finish or peeling.
Is it better to spray paint or brush paint cast iron furniture?
Both methods work, but spray painting often gives a smoother, more even finish, especially on furniture with many details and curves. Brush painting offers more control and can be better for large, flat areas or if you prefer a thicker coating.
