
How To Refurbish Aluminum Patio Furniture?
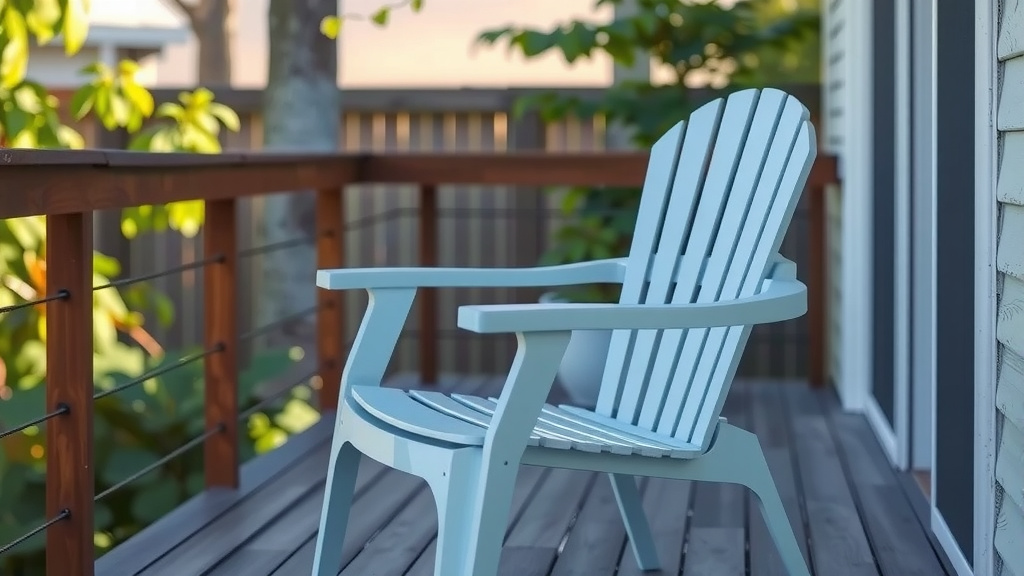
To refurbish aluminum patio furniture, you typically clean the frames thoroughly, address any surface imperfections like scratches or oxidation, apply a suitable primer, and then finish with a durable outdoor-grade paint. This process revitalizes its appearance and extends its life.
You can bring your old aluminum pieces back to life by carefully preparing the surface, applying the correct products, and allowing proper drying times for each step.
- TL;DR: Revitalize your aluminum patio furniture by following a few clear steps.
- Start with a thorough cleaning to remove dirt and grime.
- Address any visible scratches, dents, or oxidation with light sanding.
- Prime the surface properly to ensure paint adhesion and durability.
- Apply outdoor-specific paint for a fresh new look.
- Finish with a protective clear coat for lasting beauty.
How To Refurbish Aluminum Patio Furniture?
Refurbishing aluminum patio furniture involves a sequence of cleaning, surface preparation, priming, and painting to restore its original charm and durability. It’s a rewarding project that extends the life of your outdoor pieces.
Why Refurbish Your Aluminum Furniture?
Why let your tired patio furniture sit idle when a little effort can give it a new lease on life? Refurbishing is a fantastic way to save money compared to buying new sets. It also lets you customize the look to fit your evolving outdoor decor.
We found that many homeowners enjoy the satisfaction of transforming something old into something beautiful again. It’s like giving your backyard a budget-friendly facelift without breaking the bank.
Is It Worth Refurbishing Aluminum Patio Furniture?
Absolutely! Many experts say aluminum furniture is exceptionally durable, making it a prime candidate for refurbishment (Good Housekeeping). Unlike some materials, aluminum rarely rusts through, meaning surface fixes often restore it fully.
Consider the cost of new furniture versus a few supplies and a weekend of your time. You’ll often find the refurbishment option offers a much better value, especially for high-quality pieces.
Gathering Your Tools: A Quick Checklist
Before you begin, gathering everything you need makes the process smoother. Imagine trying to paint only to realize you’re missing a crucial brush! A little preparation here saves a lot of frustration later.
- Mild dish soap and water
- Stiff brush or sponge
- Fine-grit sandpaper (220-grit)
- Wire brush (for stubborn spots)
- All-purpose cleaner or degreaser
- Rust-inhibiting primer (designed for metal)
- Outdoor-grade spray paint (for metal)
- Clear protective topcoat (optional, but recommended)
- Clean cloths or rags
- Drop cloths or old newspapers
- Safety glasses and gloves
Step-by-Step Guide to Refurbishing Aluminum Patio Furniture
Let’s walk through the process together. Each step builds on the last, ensuring a beautiful and lasting finish. Think of it as a journey to a revitalized outdoor space.
Step 1: The Initial Clean-Up
This is where it all begins. A truly clean surface is the secret to any lasting finish. Don’t skip this part, as dirt and grime will prevent paint from sticking properly.
Deep Cleaning Techniques
Start by removing all cushions and accessories. Then, use a mix of warm water and mild dish soap. Scrub the entire frame with a stiff brush or sponge, paying attention to crevices. Research often connects thorough cleaning with better paint adhesion (Consumer Reports).
For tougher grime, an all-purpose cleaner or degreaser can be very effective. Rinse the furniture thoroughly with a hose, making sure no soapy residue remains. Allow it to dry completely in the sun before moving on.
Step 2: Inspecting for Damage
Once clean and dry, take a good look at your furniture. Are there any loose joints, wobbly legs, or missing bolts? Now is the time to identify these issues before you start painting.
Tighten any loose screws and replace missing hardware. You want a structurally sound piece before you invest time in its finish. This step ensures your furniture is safe and functional.
Step 3: Addressing Surface Imperfections
This stage is about creating a smooth canvas for your new finish. Think of it like smoothing out wrinkles before ironing a shirt; it just looks better.
Sanding for a Smooth Finish
Use fine-grit sandpaper (around 220-grit) to lightly scuff the entire aluminum surface. This creates a slightly rough texture, helping the primer and paint adhere better. Focus on any scratches or rough patches until they feel smooth. Many experts say a light sanding is essential for metal projects.
Dealing with Aluminum Oxidation
Aluminum doesn’t rust like iron, but it can oxidize, appearing as a dull, chalky white film. For light oxidation, sanding will usually remove it. For heavier buildup, a wire brush might be necessary, but use it gently to avoid deep scratches. We found that a small amount of elbow grease goes a long way here.
Step 4: Priming for Durability
Why prime, you ask? Primer acts as a bonding layer between the raw aluminum and your new paint. It helps the paint stick evenly and provides an extra layer of protection. It’s like creating the perfect foundation for a beautiful mural.
Apply a rust-inhibiting metal primer designed for outdoor use. Follow the product’s instructions for application and drying times. Usually, one even coat is enough to prepare the surface properly. We found that skipping this step can lead to peeling paint down the road.
Step 5: Painting Your Patio Furniture
Now for the fun part: adding color! This step truly transforms your furniture. Imagine picking a fresh new shade that complements your garden or home’s exterior.
Choosing the Right Paint
For aluminum, you need an outdoor-grade spray paint specifically formulated for metal. These paints are designed to withstand weather, UV rays, and general wear. You’ll find options for glossy, satin, or matte finishes. Many guidelines point to outdoor-specific enamel paints as a good choice (BHG).
Application Tips for a Professional Look
Apply paint in light, even coats, holding the can about 10-12 inches from the surface. Multiple thin coats are always better than one thick coat, which can drip and look uneven. Allow each coat to dry according to the manufacturer’s instructions before applying the next. This ensures a smooth, durable finish.
Step 6: Protecting Your New Finish
To really lock in your hard work and extend the life of your fresh paint job, consider adding a clear protective topcoat. This step is like putting a shield on your furniture, guarding it against the elements.
A clear outdoor sealant or varnish provides extra UV protection and helps prevent chipping or fading. Apply it just as you did the paint: in light, even coats, allowing proper drying time. This small step offers long-term benefits.
Common Refurbishing Mistakes to Avoid
Refurbishing is straightforward, but a few pitfalls can hinder your results. Don’t rush the drying times; patience is truly a virtue here. Also, avoid painting in direct sunlight or on very humid days, as this can affect paint adhesion and finish quality. We found that proper environmental conditions are key for optimal results.
Comparing DIY Refurbishment vs. Professional Services
Should you tackle this yourself or call in the pros? It’s a common question, and both paths have their merits. Your decision often depends on your budget, time, and comfort level with DIY projects.
| Feature | DIY Refurbishment | Professional Service |
|---|---|---|
| Cost | Lower (materials only) | Higher (labor + materials) |
| Time Investment | Significant personal time | Minimal personal time |
| Finish Quality | Good with care, may vary | Typically high, consistent |
| Customization | Full control over color/finish | Limited to professional’s options |
| Tools Needed | Basic household tools, paint | Specialized equipment, expertise |
Maintenance After Refurbishing
You’ve put in the effort, so let’s keep your refurbished furniture looking great for years to come! A little ongoing care makes a big difference.
- Regularly clean your furniture with mild soap and water to remove dirt.
- Cover your furniture when not in use or during harsh weather.
- Avoid using abrasive cleaners or harsh chemicals, which can damage the finish.
- Address any minor scratches or chips quickly with touch-up paint.
- Store cushions indoors when not in use to prevent mildew and fading.
Conclusion
Refurbishing your aluminum patio furniture is a truly rewarding project that breathes new life into your outdoor space. By following these steps, you can transform tired pieces into stunning, durable additions that you’ll enjoy for many seasons. It’s an investment of time that pays off in both aesthetics and savings. So, grab your supplies and get ready to enjoy a fresh, vibrant patio once again!
How long does it take to refurbish aluminum patio furniture?
The entire process typically takes a weekend, including drying times between coats. Actual working time might be 4-8 hours per piece, depending on its condition and complexity. Patience with drying is key for a lasting finish.
Can you paint aluminum patio furniture without sanding?
While possible, sanding is highly recommended. Lightly scuffing the surface with fine-grit sandpaper creates a texture that helps primer and paint adhere much better, preventing peeling and chipping over time. Skipping this step can compromise durability.
What kind of primer is best for aluminum patio furniture?
Look for a primer specifically formulated for metal and outdoor use, often labeled as “rust-inhibiting” or “etching primer.” This ensures strong adhesion to the smooth aluminum surface and provides a good base for your chosen paint.
How do you protect refurbished aluminum furniture from rust?
Aluminum itself does not rust, but it can oxidize. To protect your refurbished aluminum furniture, use an outdoor-grade metal primer and paint, followed by a clear protective topcoat. Regular cleaning and covering when not in use also help maintain the finish.
Is spray paint or brush paint better for aluminum patio furniture?
For a smooth, factory-like finish, spray paint is often preferred because it applies evenly without brush strokes. However, brush-on paints can offer thicker coverage and are better for intricate details. Both types need to be outdoor-grade metal paints.
