
How To Refresh Cast Aluminum Patio Furniture?
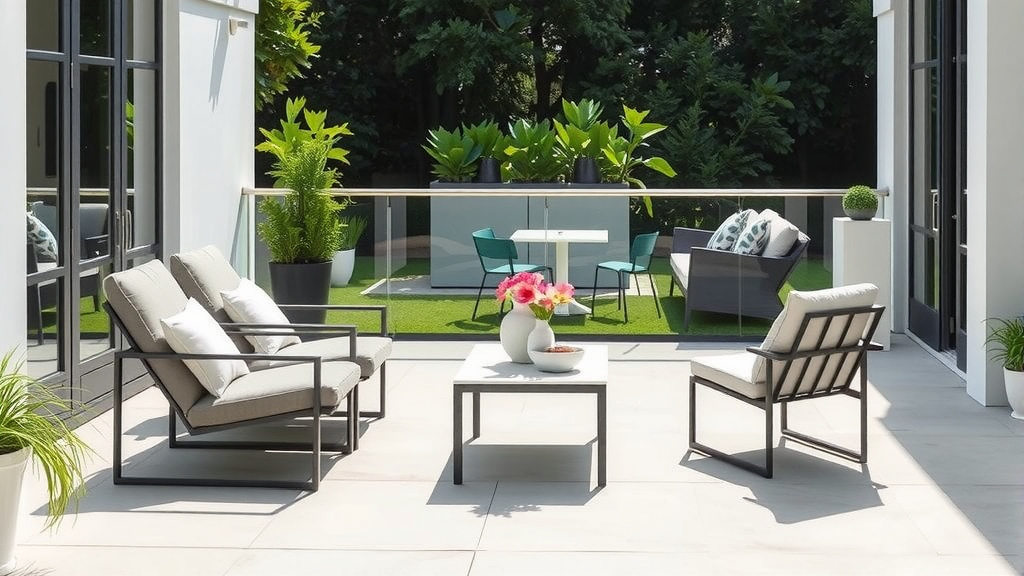
To refresh cast aluminum patio furniture, begin by thoroughly cleaning it to remove dirt and mildew, then inspect for damage.
Next, sand any rough spots, apply a suitable primer, and finish with a durable outdoor-grade paint to restore its original beauty and protection.
Here’s a quick summary of what you’ll learn to make your outdoor space shine again:
- Clean thoroughly with mild soap and water to remove grime.
- Inspect for any chips, scratches, or corrosion before proceeding.
- Sand rough areas gently to create a smooth surface for new coatings.
- Apply a high-quality primer specifically for aluminum to ensure paint adhesion.
- Finish with durable outdoor paint or powder coat for lasting beauty and protection.
How To Refresh Cast Aluminum Patio Furniture?
Refreshing your cast aluminum patio furniture involves a careful cleaning, prep work, and a fresh coat of paint to bring it back to life.
Why Bother Refreshing Your Furniture?
Cast aluminum furniture is wonderfully durable, but even the toughest materials face outdoor wear. Sun, rain, and grime can make it look dull and tired. Giving it a refresh isn’t just about looks; it also protects your investment for many more years.
Think of it like a spa day for your patio pieces. A little effort now can prevent bigger problems later. We found that proper maintenance can significantly extend the lifespan of outdoor furniture (Consumer Reports).
Gather Your Refreshing Toolkit
Before you start, gather everything you’ll need. Having the right tools makes the job much smoother. You wouldn’t start baking without your ingredients, right?
- Mild dish soap or outdoor cleaner
- Soft brushes or sponges
- Garden hose or pressure washer (use low setting)
- Safety glasses and gloves
- Drop cloths or old newspapers
- Fine-grit sandpaper (180-220 grit)
- Wire brush (for stubborn rust, if any)
- Painter’s tape
- Aluminum-specific primer
- Outdoor-grade spray paint or brush-on paint
- Tack cloth or lint-free rags
Step 1: The Deep Clean
You can’t paint over dirt! Start with a thorough cleaning. This is the foundation of a good refresh. What good is new paint on a grimy surface?
Initial Rinse and Soap Scrub
Hose down your furniture to remove loose dirt and debris. Then, mix warm water with a mild dish soap or an outdoor furniture cleaner. Use a soft brush or sponge to scrub every surface gently. Pay attention to nooks and crannies where dirt likes to hide.
Many experts say that avoiding harsh chemicals keeps your furniture safe (Environmental Protection Agency). A simple soap solution is often all you need for effective dirt removal.
Dealing with Mildew
See any black spots? That’s likely mildew. A solution of one part bleach to three parts water can help, but test it on a hidden spot first. Scrub well and rinse thoroughly to ensure all traces are gone.
Final Rinse and Dry
Rinse the furniture completely with clean water until no soap residue remains. Let it air dry fully in the sun, or use old towels to speed up the process. We found that furniture must be bone dry before any sanding or painting begins.
Step 2: Inspect for Damage and Imperfections
Once clean, take a close look at your furniture. Are there any chips, scratches, or flaking paint? This inspection helps you target areas for repair. It’s like a doctor checking a patient before treatment – you need to know the problem.
Look for any small rust spots, especially around joints or weld points. While cast aluminum resists rust well, accessories might not. Identify any areas that need extra attention during prep.
Step 3: Sanding and Surface Prep
This step is where the magic really begins. Proper sanding creates a smooth surface for paint to grip. It’s like creating a blank canvas for your artistic vision.
Light Sanding for Adhesion
Use fine-grit sandpaper (180-220 grit) to lightly sand all painted surfaces. This isn’t about removing all the old paint, but rather scuffing the surface. This “keying” action helps the new paint adhere much better.
Many research points to a light sanding as a key factor in preventing future peeling (DIY Network). Don’t skip this part; it’s vital for lasting results.
Addressing Deeper Scratches or Flakes
If you find deeper scratches or areas where paint is flaking, sand those spots more vigorously. Feather the edges so there’s no visible line between old and new surfaces. A smooth transition is what you’re aiming for.
Wipe Down After Sanding
After sanding, wipe the furniture down with a tack cloth or a damp, lint-free rag. You want to remove all sanding dust. This ensures a perfectly clean, ready-to-prime surface, free from gritty particles.
Step 4: Priming for Protection and Adhesion
Primer is your secret weapon. It creates an ideal base for your topcoat, offering better adhesion and protection. Think of it as the bodyguard for your paint.
Choosing the Right Primer
You need a primer specifically designed for aluminum or metal surfaces. Some primers even offer rust inhibition, adding an extra layer of defense. A good primer ensures your paint job lasts.
Applying the Primer Evenly
Apply one or two thin, even coats of primer. If using spray primer, hold the can about 8-12 inches away and use steady, sweeping motions. Avoid heavy coats that might drip. Thin coats are better, allowing each to dry completely between applications (Rust-Oleum guidelines).
Step 5: Painting Your Cast Aluminum Furniture
Now for the fun part! You get to choose your color and bring your vision to life. This is where your furniture truly gets its refresh.
Selecting Outdoor-Grade Paint
Always use outdoor-grade paint. These paints are formulated to withstand UV rays, moisture, and temperature changes. Many experts say that selecting a paint specifically for outdoor metal is critical for durability.
You can choose between spray paint for a smooth finish or brush-on paint for more control. Both work well; it often comes down to personal preference and the furniture’s design.
Applying Thin, Even Coats
Apply several thin coats instead of one thick one. This prevents drips and creates a more durable finish. Allow each coat to dry according to the manufacturer’s instructions before applying the next. Patience here really pays off.
Don’t rush the process! If you apply paint too thickly, it might crack or peel later. We found that multiple light coats always yield superior, longer-lasting results.
Step 6: Drying and Curing
The job isn’t done just because the paint feels dry to the touch. Paint needs time to cure, which means it hardens completely. This can take anywhere from a few days to a few weeks, depending on the product and weather.
During this curing period, try to avoid heavy use or scratching. Keep the furniture in a protected, dry area if possible. A fully cured finish will be much more resilient.
Maintaining Your Refreshed Furniture
Once your furniture is refreshed, keep it looking great with simple maintenance. Regular cleaning and occasional touch-ups will save you from another big project. Here’s a quick plan:
| Maintenance Task | Frequency | Benefit |
|---|---|---|
| Wipe down with damp cloth | Weekly/Bi-weekly | Removes dust and light grime |
| Mild soap and water wash | Monthly/Quarterly | Prevents buildup, keeps shine |
| Inspect for chips/scratches | Seasonally | Allows early touch-ups |
| Cover during off-season | Annually | Protects from extreme weather |
When to Consider Professional Help
While DIY refreshing is often successful, some situations might call for a professional. If your furniture has extensive structural damage, severe corrosion, or you desire a powder-coated finish, consider hiring an expert. They have specialized equipment and can achieve factory-like results.
Conclusion
Refreshing your cast aluminum patio furniture is a rewarding project that truly transforms your outdoor space. By following these steps – from thorough cleaning and careful prep to priming and painting – you can restore your pieces to their former glory. You’re not just repainting; you’re breathing new life into them, ensuring many more seasons of enjoyment. Take pride in your refreshed patio!
What kind of paint is best for cast aluminum patio furniture?
The best paint for cast aluminum patio furniture is an outdoor-grade, direct-to-metal (DTM) spray or brush-on paint. Look for products specifically designed for metal, offering UV resistance and protection against rust, even though aluminum itself doesn’t rust, the paint needs to withstand the elements.
Do I need to sand cast aluminum before painting?
Yes, you should always lightly sand cast aluminum before painting. This process, called “scuff sanding,” creates a slightly rough surface that allows the new primer and paint to adhere properly, preventing peeling and ensuring a long-lasting finish.
Can I use a pressure washer to clean cast aluminum furniture?
You can use a pressure washer on cast aluminum furniture, but always use a very low-pressure setting and keep the nozzle a good distance away (at least 12-18 inches). High pressure can damage the finish, lift old paint, or even harm the aluminum itself. A regular garden hose with a spray nozzle is often sufficient.
How long does it take for painted patio furniture to dry and cure?
Paint usually feels dry to the touch within a few hours, but it needs significantly longer to fully cure, which means it hardens completely. This curing period can range from 3-7 days to a few weeks, depending on the paint type, humidity, and temperature. Always check the paint manufacturer’s specific recommendations.
What is the difference between drying and curing for paint?
Drying is when the solvents in the paint evaporate, making the surface feel dry to the touch. Curing is a chemical process where the paint hardens and reaches its maximum durability and resistance. While dry paint can be handled, cured paint is ready for regular use and much more resilient against wear and tear.
