
How To Refinish Cast Aluminum Patio Furniture?
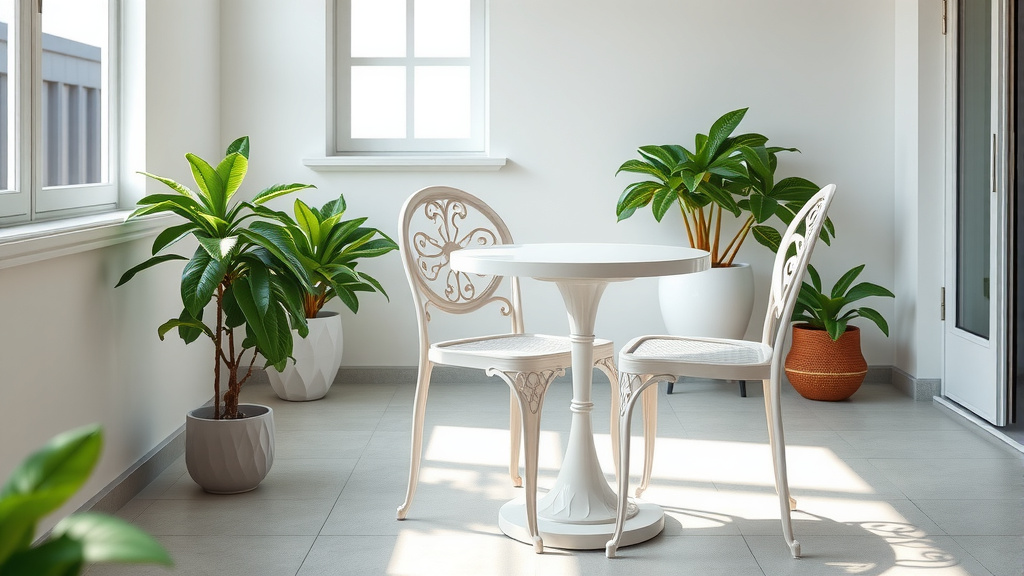
To refinish cast aluminum patio furniture, you will thoroughly clean, strip away existing paint, meticulously sand the surface, apply a quality primer, and then finish with durable outdoor paint. This comprehensive process restores your furniture’s appearance and significantly extends its lifespan.
You can give your beloved outdoor pieces a fresh look and robust protection against weather elements, making them look new again with careful preparation and the right materials.
TL;DR: Refinishing Your Cast Aluminum Furniture
- Clean First: Wash furniture thoroughly to remove dirt and grime.
- Strip Old Paint: Carefully remove flaking or old paint to create a smooth base.
- Prep the Surface: Sand any rough spots and repair minor damage.
- Prime for Adhesion: Apply an etching primer designed for aluminum.
- Paint and Protect: Finish with durable outdoor paint and allow it to cure fully.
How To Refinish Cast Aluminum Patio Furniture?
Refinishing cast aluminum patio furniture involves a series of careful steps including deep cleaning, stripping old finishes, preparing the surface, priming, and applying new paint. This process is about renewing its look and ensuring its longevity.
Why Refinish Your Cast Aluminum Furniture?
Is your patio furniture showing its age? Over time, even sturdy cast aluminum can lose its luster. Sun, rain, and daily use can cause paint to chip or fade, making your outdoor space look tired. We often find that a good refinishing job can transform worn pieces into outdoor showstoppers.
Beyond aesthetics, refinishing offers crucial protection. A fresh paint job acts as a barrier, shielding the aluminum from corrosion and further deterioration. It’s a smart way to invest in your existing furniture rather than buying new pieces.
Gathering Your Essential Tools
Before you start, gather everything you will need. This helps make the project smooth and efficient. Think of it like a chef preparing ingredients; having everything ready is key to a good result.
Safety First!
Your safety is very important during this project. We always recommend wearing safety goggles to protect your eyes from debris. A dust mask or respirator is also wise, especially when sanding or using paint strippers to avoid inhaling particles or fumes. Gloves will shield your hands from chemicals and paint (Mayo Clinic).
What You’ll Need For the Job
- Pressure washer or stiff brush, hose, and mild detergent
- Paint stripper (chemical or mechanical, depending on preference)
- Wire brush or steel wool
- Sandpaper (various grits: 100, 150, 220)
- Clean cloths or rags
- Automotive body filler (for minor repairs)
- Etching primer suitable for aluminum
- Outdoor-grade spray paint or brush-on paint (epoxy or acrylic lacquer)
- Drop cloths or tarps
- Safety goggles, dust mask/respirator, gloves
The Refinishing Process: Step-by-Step
Let’s dive into the actual work. Each step builds on the last, so taking your time now will give you better results later. Think of it as preparing a canvas before creating a masterpiece.
Step 1: Cleaning Your Furniture
Start by giving your furniture a deep clean. Use a pressure washer for efficiency, or simply a stiff brush, hose, and mild detergent. You want to remove all dirt, grime, and mildew. Ensure the furniture is completely dry before moving on; moisture can cause problems with paint adhesion.
Step 2: Removing Old Finish
This step is often the most challenging but also the most critical. You need to get rid of any loose, flaking, or degraded paint. We find that a smooth, clean surface is the foundation for a lasting finish.
| Method | Pros | Cons | Best For |
|---|---|---|---|
| Chemical Stripper | Fast, effective on multiple layers, less labor. | Harsh chemicals, requires careful handling and ventilation. | Heavily painted pieces, intricate designs. |
| Wire Brush/Steel Wool | No chemicals, good for small areas or rust (corrosion) spots. | Labor-intensive, less effective on large areas. | Minor peeling, touch-ups. |
| Sanding (Coarse) | Smooths as it strips, good for light flaking. | Dusty, can be slow on thick paint. | Lightly worn finishes. |
When using a chemical stripper, always follow the manufacturer’s instructions carefully. Apply it, let it work, and then scrape off the softened paint. For stubborn spots, a wire brush or steel wool can be very effective. Remember, your goal is a bare and clean aluminum surface.
Step 3: Prepping the Surface
After stripping, your furniture needs a bit more attention before primer. This ensures the new paint sticks well and looks smooth. Many experts say that proper preparation prevents paint failure later on.
Repairing Minor Flaws
Cast aluminum can develop small dents or scratches. For these minor imperfections, use an automotive body filler. Apply it thinly, let it dry, and then sand it smooth. This creates a flawless canvas for painting.
Sanding for Success
Even if you stripped the paint, some sanding is usually needed. Start with 100-grit sandpaper to smooth any rough areas. Then, move to 150-grit, and finally 220-grit. This progressively finer sanding creates a slight “tooth” on the aluminum, which helps the primer adhere much better. Wipe down all dust with a clean, damp cloth afterwards.
Step 4: Priming for Durability
Do not skip the primer! Aluminum is a non-ferrous metal, meaning it needs a specific type of primer to ensure paint adhesion. We have found that an etching primer or a self-etching primer designed for metals is the best choice (NIH research). This type of primer creates a chemical bond, preventing your new paint from peeling prematurely.
Apply the primer in thin, even coats, following the product’s drying recommendations. Two thin coats are always better than one thick one. This provides a uniform and strong base for your color coat.
Step 5: Applying the New Finish
Now for the fun part: adding color! This step really brings your furniture back to life. Think about the color scheme of your patio; you want the furniture to complement your outdoor oasis.
Choosing Your Paint
When choosing paint, look for outdoor-grade options specifically for metal. Epoxy paints are highly durable and offer excellent resistance to chipping and fading. Acrylic lacquer paints also work well and provide a good finish. Spray paints are convenient for intricate designs, while brush-on paints give you more control. We found that high-quality outdoor paint makes all the difference in longevity.
Painting Techniques
Whether spraying or brushing, apply the paint in thin, even coats. Multiple light coats are superior to a single heavy coat, which can lead to drips and unevenness. Allow adequate drying time between coats, as suggested by the manufacturer. This layered approach ensures a smooth, professional-looking finish.
Step 6: Curing and Protection
Once painted, your furniture needs time to fully cure. This is different from just being dry to the touch. Full curing can take several days or even weeks, depending on the paint and environmental conditions. During this time, the paint hardens and reaches its maximum durability. Many guidelines point to patience during curing as a good first step for long-lasting results.
Common Refinishing Challenges
Sometimes, unexpected issues pop up. Knowing how to handle them can save you headaches. It’s like a small detour on your road trip; a quick adjustment keeps you on track.
Dealing with Surface Imperfections
Cast aluminum does not rust like iron, but it can develop white powdery corrosion or surface pitting. If you see this, address it during the stripping and sanding phases. A wire brush can help remove the corrosion. For deeper pitting, the body filler mentioned earlier is your friend. Ensure the surface is perfectly smooth before priming to prevent bumps in your new finish.
Humidity and Drying Times
Weather plays a role in refinishing. High humidity can significantly extend drying times, and painting in direct sunlight can cause paint to dry too quickly, leading to poor adhesion or bubbling. Aim for a day with moderate temperatures and low humidity for the best results. A well-ventilated, covered area is ideal for painting and curing, allowing for controlled drying conditions.
Maintaining Your Newly Refinished Furniture
You have put in the work, so let’s keep it looking great! A little ongoing care will help your refinished furniture last for many seasons. It’s like regularly watering your garden; small efforts yield big rewards.
- Regularly wipe down furniture with a soft cloth and mild soap.
- Avoid harsh chemical cleaners, which can damage the paint finish.
- Inspect for minor chips or scratches and touch them up promptly.
- Store furniture indoors or cover it during harsh weather, especially winter.
- Tighten any loose bolts or fasteners annually for stability.
Conclusion
Refinishing your cast aluminum patio furniture is a rewarding project that breathes new life into your outdoor space. By following these steps—from thorough cleaning and stripping to careful priming and painting—you can achieve a durable, beautiful finish that will stand the test of time. It takes effort and patience, but the satisfaction of seeing your revitalized furniture will be worth every moment. Enjoy your refreshed patio!
FAQ: Is it worth refinishing old patio furniture?
Absolutely! Refinishing old patio furniture is often much more cost-effective than buying new pieces, especially if the frame is still structurally sound. It allows you to customize the look and extend the life of your furniture for many more years of enjoyment.
FAQ: How long does it take to refinish cast aluminum patio furniture?
The total time can vary widely depending on the size and complexity of your furniture, the stripping method used, and drying times. Typically, you might expect to spend a weekend on smaller pieces or several days for a larger set, factoring in drying and curing periods.
FAQ: Can you powder coat cast aluminum patio furniture at home?
While powder coating offers an extremely durable finish, it usually requires specialized equipment (an oven large enough for the furniture and electrostatic spray guns) that most homeowners do not have. For DIY projects, high-quality outdoor spray or brush-on paints are more practical and achieve excellent results.
FAQ: What kind of paint do you use on cast aluminum?
For refinishing cast aluminum, you should use paints specifically designed for outdoor metal use. Options like epoxy-based paints, acrylic lacquers, or rust-inhibiting enamels provide excellent durability, weather resistance, and adhesion to aluminum, especially when paired with an etching primer.
FAQ: How do I prevent paint from peeling on cast aluminum?
Preventing peeling comes down to meticulous surface preparation. Ensure the furniture is thoroughly cleaned, all old, loose paint is removed, and the surface is properly sanded to create a good adhesion profile. Using an appropriate etching primer for aluminum is also crucial for a strong bond that resists peeling.
