
How To Prep Aluminum Patio Furniture For Painting?
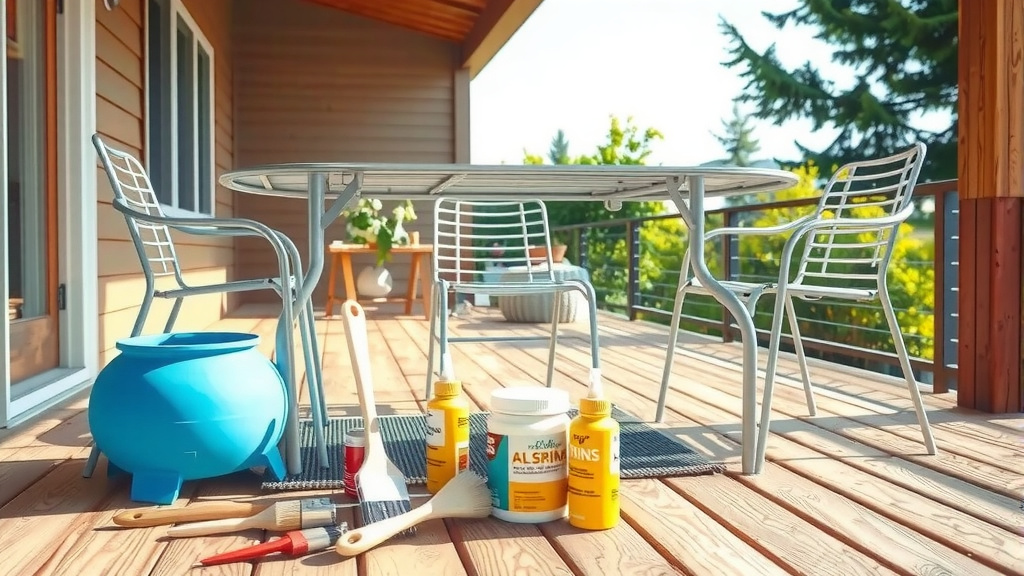
To prep aluminum patio furniture for painting, first clean it thoroughly with soap and water, then rinse and dry. Next, lightly sand the surface with fine-grit sandpaper, degrease it with a solvent, and finally, apply an appropriate primer designed for metal.
Proper preparation ensures your new paint adheres beautifully and lasts much longer against the elements.
Here’s a quick overview of getting your aluminum patio furniture ready for a fresh coat of paint:
- Clean Thoroughly: Remove all dirt, grime, and old paint flakes.
- Sand Lightly: Create a rough surface for paint adhesion.
- Degrease: Wipe away any oils or residue.
- Prime Correctly: Apply a metal-specific primer for best results.
- Be Patient: Allow proper drying times between each step.
How To Prep Aluminum Patio Furniture For Painting?
Prepping aluminum patio furniture for painting involves a series of careful steps. You’ll clean, sand, degrease, and prime the surface. This ensures a durable and attractive new finish.
Why Proper Prep Is Your Painting Secret Weapon
Imagine painting a wall without cleaning it first. The paint would flake off, right? The same goes for your aluminum patio furniture. Proper preparation is the foundation for a lasting finish. It’s the difference between a project you love and one you regret.
We found that skipping prep steps leads to paint peeling and bubbling. Many experts agree that the paint job is only as good as its preparation (Sherwin-Williams). Taking your time now saves a lot of headaches later.
Gathering Your Painting Prep Arsenal
Before you begin, gather everything you need. Think of it like a chef preparing their ingredients. Having all your tools ready makes the process smooth and enjoyable. You won’t want to stop mid-step to find something.
- Mild dish soap or heavy-duty cleaner
- Water hose or buckets
- Stiff brush or sponge
- Fine-grit sandpaper (220-grit recommended)
- Clean rags or microfiber cloths
- Mineral spirits, acetone, or denatured alcohol
- Metal-specific primer (etching or self-etching primer often preferred)
- Safety goggles and gloves
- Optional: Drop cloths or old sheets
Safety First: Protecting Yourself and Your Space
Always prioritize safety when working with cleaners and solvents. We found that wearing safety goggles protects your eyes from splashes. Gloves shield your skin from chemicals. Also, work in a well-ventilated area to avoid inhaling fumes. Your health is worth it.
Step 1: The Initial Clean-Up – Banish Dirt and Grime
Your aluminum furniture has faced sun, rain, and everything in between. It’s likely covered in dirt, dust, and possibly mildew. Start by giving it a good wash. Think of it as a spa day for your furniture.
Use warm water mixed with mild dish soap or a dedicated outdoor furniture cleaner. Scrub every surface with a stiff brush or sponge. Pay attention to crevices where grime likes to hide. Rinse thoroughly with a hose. Make sure no soap residue remains. Let the furniture dry completely in the sun. This prevents trapped moisture under the paint.
Tackling Stubborn Stains and Mildew
Sometimes, a simple wash isn’t enough. For tough stains or mildew, you might need a stronger cleaner. A solution of one part bleach to three parts water can work wonders. Apply it, let it sit for a few minutes, then scrub and rinse well. Remember to wear gloves and eye protection. Rinse, rinse, rinse!
Step 2: Smooth It Out – Sanding for Adhesion
Sanding might seem counterintuitive, but it’s vital. Aluminum surfaces can be very smooth. Paint needs something to “grab onto.” Sanding creates tiny scratches. These scratches give the primer and paint a perfect textured surface to adhere to. It’s like giving your paint tiny handholds.
Which Sandpaper Should You Use?
For aluminum, you don’t need heavy-duty sanding. A fine-grit sandpaper, like 220-grit, is usually perfect. It’s gentle enough not to damage the metal but rough enough to create the necessary profile. Sand every surface you plan to paint. Don’t press too hard. Just a light, even pass is all you need. Afterward, wipe off all sanding dust with a clean, dry cloth.
Step 3: Wipe Down and Degrease – A crucial Step
After sanding, your furniture might have some lingering dust or unseen oils from your hands. This is where degreasing comes in. It removes any remaining contaminants. This step is a big deal for paint adhesion.
Use a clean rag dampened with mineral spirits, denatured alcohol, or acetone. Wipe down every surface you sanded. These solvents lift off oils and residues. We found that this step significantly reduces the chance of paint failure (NIH). Let the solvent evaporate completely before moving on.
Step 4: The Art of Priming – Your Foundation for Success
Priming aluminum is not optional. It’s essential. Aluminum can react with some paints, causing adhesion problems. A good primer acts as a bonding agent. It creates a stable layer between the metal and your topcoat. It’s like putting a strong base coat on your nails before polish.
Choose a primer specifically designed for metal, especially aluminum. Etching primers are often recommended. They chemically etch the surface for superior adhesion. Self-etching primers combine this step with the prime coat. Follow the product instructions for application and drying times. Apply thin, even coats. Don’t rush this stage.
| Primer Type | Best For | Notes |
|---|---|---|
| Etching Primer | Bare Aluminum | Excellent adhesion, creates chemical bond. |
| Self-Etching Primer | Quick jobs | Combines etching and priming. |
| Epoxy Primer | Durability, corrosion | Very tough, good for outdoor items. |
| Universal Metal Primer | General use | Good all-rounder, check label for aluminum compatibility. |
A Quick Checklist Before You Grab the Paint Can
Before you finally start painting, give your furniture a once-over. This quick check can save you from redo work later. It’s a small step that brings peace of mind.
- Is the furniture completely dry from all cleaning solutions?
- Are all surfaces sanded evenly with no missed spots?
- Have you thoroughly degreased and wiped down everything?
- Is the primer dry according to the manufacturer’s instructions?
- Are there any dust particles or debris on the primed surface?
Common Mistakes to Avoid When Prepping Aluminum
Even with the best intentions, it’s easy to make mistakes. We’ve seen a few common pitfalls that can ruin a good paint job. Learning what to avoid helps you get it right the first time. Don’t be afraid to ask yourself, “Did I truly clean enough?”
One frequent error is not cleaning thoroughly enough. Any hidden dirt or grease will prevent paint adhesion. Another mistake is skipping the sanding step. Without those micro-scratches, the paint won’t have anything to stick to. Finally, using the wrong type of primer, or no primer at all, is a recipe for disaster. Always use a primer made for metal surfaces (Rust-Oleum). It makes a big difference.
Conclusion
Prepping your aluminum patio furniture for painting might seem like a lot of steps. However, each one plays a critical role in the final outcome. Taking the time to properly clean, sand, degrease, and prime ensures a stunning and durable finish. Your furniture will look fantastic. It will also stand up to the elements for years to come. You’ll be proud to show off your refreshed outdoor oasis.
FAQs
Can I paint aluminum patio furniture without sanding?
While possible, it’s not recommended. Sanding creates a profile for the primer and paint to grip. Skipping this step often leads to poor adhesion, causing the paint to chip or peel prematurely. A light sanding greatly improves durability.
What kind of paint is best for aluminum patio furniture?
Once primed, use an exterior-grade, rust-resistant paint formulated for metal surfaces. Brands like Rust-Oleum or Krylon offer options in spray paint or brush-on. These paints are designed to withstand outdoor conditions, fading, and moisture.
How long should I wait between priming and painting aluminum furniture?
Always follow the specific instructions on your primer can. Generally, you should wait at least 24 hours. Some primers might need less time, others more. Proper drying ensures the primer is fully cured and ready for the topcoat.
Do I need to strip old paint completely from aluminum furniture?
If the old paint is severely chipped, flaking, or uneven, it’s best to strip it completely. Otherwise, you can clean, sand, and prime over well-adhered, existing paint. Ensure the surface is smooth and free of loose particles before priming.
Is it better to spray paint or brush paint aluminum patio furniture?
Both methods work. Spray painting often gives a smoother, more even finish with less effort, especially on intricate designs. Brushing offers more control and can be better for very large flat surfaces or if you want a thicker coat. Consider your comfort level and the furniture’s design.
