
How To Paint Plastic Wicker Patio Furniture?
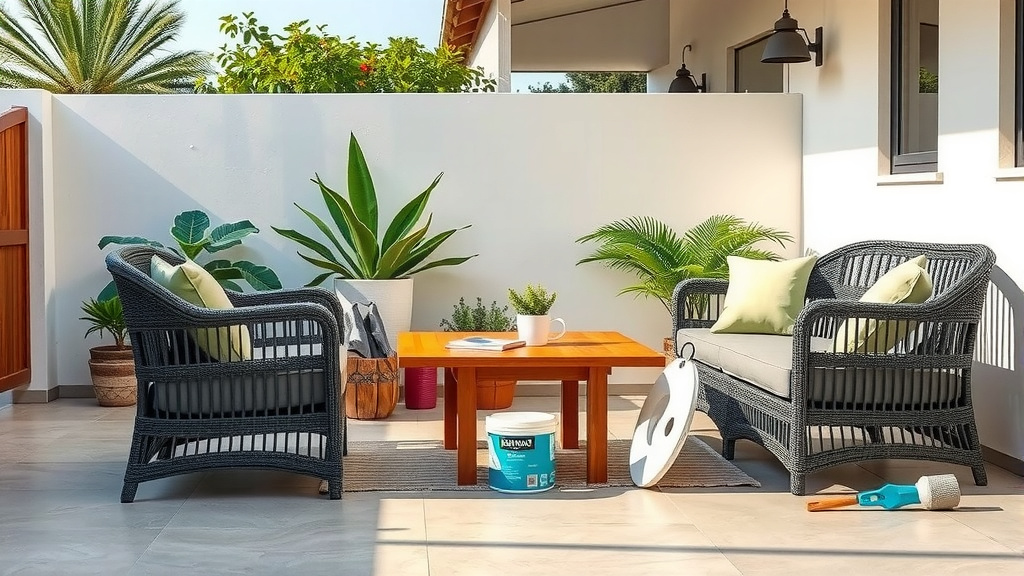
To paint plastic wicker patio furniture, thoroughly clean the surface, lightly scuff it with fine-grit sandpaper, apply a plastic-specific adhesion primer, then finish with multiple thin coats of spray paint designed for plastics.
Allow ample drying time between each coat and consider a clear sealant for added durability and protection against the elements.
Here’s a quick overview of how to refresh your plastic wicker:
- Clean the furniture deeply to remove all dirt and grime.
- Lightly sand the surface for better paint adhesion.
- Apply a primer specifically formulated for plastic materials.
- Use multiple thin coats of plastic-compatible spray paint.
- Let each coat dry completely before adding the next.
- Consider a clear protective topcoat for lasting results.
How To Paint Plastic Wicker Patio Furniture?
Painting plastic wicker patio furniture involves careful preparation and using the correct products. This project can give your outdoor pieces a whole new life and look.
Gathering Your Supplies: The First Step
Before you begin, gathering everything you need saves time and hassle. Think of it like a chef prepping ingredients before cooking. Having tools ready ensures a smooth process.
Essential Tools and Materials Checklist
Having the right gear makes all the difference. We found that using high-quality materials truly impacts the finished look and durability. Many experts recommend investing in good products (Paint Manufacturers Association).
- Mild cleaner (dish soap and water or a specialized cleaner)
- Stiff brush or sponge
- Fine-grit sandpaper (220-320 grit)
- Tack cloth or microfiber towel
- Plastic-specific adhesion primer (spray can recommended)
- Spray paint for plastic (ensure it states “for plastic” on the label)
- Clear sealant (optional, but highly recommended for protection)
- Drop cloths or old sheets
- Painter’s tape (for masking off areas)
- Personal protective equipment: gloves, safety glasses, respirator mask
Preparation is Key: Cleaning and Repairing
You cannot skip this step. Proper cleaning creates a clean canvas for your paint. Paint sticks best to a surface free of dirt, grease, and grime.
Thorough Cleaning for Better Adhesion
Start by washing your plastic wicker furniture. Use warm water mixed with a mild dish soap or an outdoor furniture cleaner. Scrub all surfaces with a stiff brush or sponge.
Reach into all the woven areas, as dirt loves to hide there. Rinse the furniture thoroughly with a hose, making sure no soap residue remains. Allow it to dry completely, which might take several hours in direct sunlight.
Repairing Minor Damage
Does your wicker have any loose strands or small breaks? Now is the time to fix them. Use a strong, flexible outdoor adhesive to reattach loose pieces. Let the glue cure fully according to the product instructions. A smooth surface helps the paint look uniform.
Light Sanding: A Crucial Prep Step
You might wonder, “Do I really need to sand plastic?” Yes, a light sanding is important. It creates a slightly rough surface, which gives the primer something to grip onto. This process is called “creating a mechanical bond.”
Use fine-grit sandpaper (220-320 grit) and gently scuff every surface you intend to paint. You are not trying to remove the existing finish, only to create tiny scratches. After sanding, wipe down the furniture with a tack cloth or damp cloth to remove all dust particles. Let it dry.
Priming for Success: The Foundation
Priming is not an optional step for plastic. Plastic surfaces are often slick, making it hard for paint to stick. A good primer acts as a bridge between the plastic and your new paint color.
Choosing the Right Primer
Always use a primer specifically designed to bond with plastic. Research often shows these primers contain special agents that etch into the plastic surface. This creates a superior bond for your topcoat.
Spray primers work best for wicker furniture due to its intricate design. They cover evenly and reach into all the nooks and crannies. We recommend a light, even coat.
Applying the Primer
Set up your furniture on drop cloths in a well-ventilated area, preferably outdoors on a calm day. Wear your safety glasses, gloves, and a respirator mask. Hold the spray can about 8-12 inches away from the surface.
Apply one thin, even coat of primer. Use sweeping motions to prevent drips. Don’t try to get full coverage on the first pass. Let the primer dry completely according to the manufacturer’s instructions, which is usually about 30-60 minutes.
Painting Your Plastic Wicker
Now for the fun part: adding color! This step transforms your old furniture into something new. Patience here will be your best friend.
Selecting the Ideal Paint
You must use spray paint specifically labeled for use on plastic. These paints have ingredients that adhere better to plastic without cracking or peeling. There are many colors and finishes available, from matte to glossy.
Outdoor-specific spray paints often contain UV inhibitors, which help protect the color from fading in the sun. Many experts say this is a key factor for longevity (Good Housekeeping Institute).
Applying Multiple Thin Coats
Shake your spray paint can well before and during use. Apply the paint in light, even coats, just as you did with the primer. Hold the can 8-12 inches away and use steady, sweeping motions.
Avoid applying a thick coat all at once, as this leads to drips and an uneven finish. It’s better to apply 2-3 thin coats than one heavy one. Allow each coat to dry to the touch before applying the next, typically 15-30 minutes.
Rotate the furniture to access all sides and angles. Ensure you cover all the woven areas thoroughly. Pay attention to the underside and less visible spots.
Drying and Curing Time
After your final coat of paint, allow the furniture to dry for at least 24 hours. The paint might feel dry to the touch much sooner, but it needs time to “cure,” or fully harden. This curing process strengthens the paint film.
The total curing time can vary, often taking 3-7 days, especially in humid conditions. Refer to your paint can for specific recommendations. Bringing the furniture indoors during the curing period can help protect it from moisture.
Adding a Clear Sealant for Durability
A clear sealant is an optional but highly recommended step. It adds an extra layer of protection against UV rays, scratches, and general wear and tear. Think of it as a clear shield for your new paint job.
Benefits of a Protective Topcoat
A clear topcoat extends the life of your paint. It helps prevent fading from sun exposure and makes the surface easier to clean. Many outdoor furniture experts suggest this step for any painted piece that will face the elements.
Applying the Sealant
Choose a clear spray sealant that is compatible with your chosen paint and suitable for outdoor use. Apply it in 1-2 thin, even coats, following the same technique as the paint. Allow each coat to dry completely.
Give the sealant adequate time to cure before placing the furniture back outside or using it. This might take another 24-48 hours. Patience now means a beautiful, long-lasting finish.
Common Painting Pitfalls to Avoid
Even with the best intentions, mistakes can happen. Knowing what to avoid can save you headaches. Let’s look at some common issues.
| Problem | Cause | Solution |
|---|---|---|
| Drips or Runs | Too much paint applied at once; holding can too close. | Apply thinner coats; hold can 8-12 inches away. |
| Peeling Paint | Improper cleaning or no primer; wrong paint type. | Thoroughly clean and sand; use plastic-specific primer and paint. |
| Uneven Coverage | Insufficient shaking of can; inconsistent spray pattern. | Shake can well; use steady, overlapping strokes. |
| Rough Texture | Dust or debris on surface before painting; not wiping after sanding. | Clean thoroughly; use tack cloth after sanding. |
Maintaining Your Painted Wicker Furniture
Your newly painted furniture needs a little care to stay looking fresh. Regular cleaning and attention will preserve its beauty.
Clean your furniture with mild soap and water periodically. Avoid harsh chemicals or abrasive scrubbers, which can damage the paint. Store furniture in a sheltered area or cover it during extreme weather conditions. This helps prevent unnecessary wear and tear.
Conclusion
Giving your plastic wicker patio furniture a fresh coat of paint is a rewarding project. With proper preparation, the right materials, and careful application, you can enjoy a revitalized outdoor space. Remember, patience through cleaning, priming, and multiple thin coats truly pays off. Your efforts will lead to beautiful, durable results, extending the life and style of your patio furniture.
How long does plastic wicker paint last?
The longevity of paint on plastic wicker typically depends on the paint quality, preparation, and exposure to weather. With proper priming and sealing, it can last several years, often 3-5 years, before needing touch-ups.
Can you paint faded plastic outdoor furniture?
Absolutely, painting faded plastic outdoor furniture is a fantastic way to restore its look. The new paint will cover the fading, giving your pieces a vibrant, refreshed appearance as long as the underlying plastic is structurally sound.
What is the best type of paint for outdoor plastic?
The best type of paint for outdoor plastic is a spray paint specifically formulated for plastic surfaces. These paints contain special adhesion promoters that help them bond effectively to plastic, resisting peeling and cracking.
Do you need to sand plastic wicker before painting?
Yes, light sanding is highly recommended. It creates a slightly rough surface that allows the primer and paint to adhere better, improving durability. Use fine-grit sandpaper (220-320 grit) for this purpose.
Is a clear coat necessary after painting plastic wicker?
While not strictly necessary, applying a clear coat is highly recommended. It adds an extra layer of protection against UV rays, scratches, and weather, significantly extending the life and vibrancy of your paint job.
