How to Light a Fire Pit Table Safely?
On this page (7 sections)
You can absolutely light your fire pit table safely with a few simple steps. It’s all about proper preparation and following the manufacturer’s instructions. We found that taking these precautions ensures a warm and worry-free experience for everyone.
Keeping your fire pit table safe starts before you even strike a match. This includes checking your propane levels, ensuring a clear space around the unit, and having a plan for emergency situations. Many people overlook these basics, but they are key to safe operation and enjoying your table for years to come.
- Always read your fire pit table’s manual first.
- Ensure proper ventilation and clear the area around the table.
- Check propane levels and connections securely.
- Use the correct ignition method for your table type.
- Have a plan for extinguishing the flame safely.
Let’s walk through exactly how to get your fire pit table going safely, step by step.
Your Step-by-Step Guide to Lighting a Fire Pit Table
Lighting your fire pit table might seem straightforward, but doing it safely is key. You want to create a warm, inviting atmosphere without any unexpected surprises. We found that taking a few simple precautions before you even turn the knob makes all the difference.
Before You Strike the First Match: Essential Preparations
Gathering Your Tools and Supplies
Think of this like preparing for a picnic. You wouldn’t show up without the food, right? The same goes for your fire pit table. Having everything ready beforehand ensures a smooth and safe ignition.
- A reliable lighter or long fireplace matches.
- Propane tank (if applicable) with sufficient fuel.
- The fire pit table’s instruction manual.
- A cozy blanket, just in case the evening gets chilly!
Checking Your Propane (If Applicable)
Most fire pit tables run on propane. Before you start, make sure your tank is properly connected and has enough fuel. Running out mid-light is a bummer, and a loose connection can be a safety hazard. Many experts suggest checking the tank’s gauge if it has one. If it’s low, swap it out for a full one.
Clearing the Area Around Your Table
This step is non-negotiable for fire safety. You need a clear zone around your fire pit table. We found that a minimum of 3 to 6 feet is generally recommended. This prevents nearby items from catching fire. Think about furniture, curtains, overhanging branches, or anything else that could get too hot. Keeping this space clear is a simple but vital safety measure.
Ensuring Proper Ventilation
Fire needs air to burn. Your fire pit table is designed for this, but it’s good to double-check. Make sure the air vents aren’t blocked by debris or decorative elements. Proper airflow not only helps the flame burn cleanly but also contributes to your overall safety.
The Ignition Process: Lighting Your Fire Pit Table
Understanding Your Ignition Type
Fire pit tables come with different ignition systems. Most have an electronic ignition button or a pilot light system. Some older or simpler models might require manual lighting. Knowing which type you have is the first step to lighting it correctly and safely.
Electronic Ignition Systems
These are often the most user-friendly. You’ll typically see a small button, usually red or black, near the control knob. Push and hold this button while turning on the gas. You should hear a click or a spark. Keep holding it for about 15-30 seconds after the flame appears. This ensures the thermocouple heats up and the flame stays lit. We found that consulting your manual is best if you’re unsure about the exact procedure for your model.
Manual Ignition Systems
For tables requiring manual lighting, you’ll need a long lighter or a match. First, turn on the gas. Then, carefully bring the flame of your lighter or match to the burner. Once the burner ignites, remove the lighter or match. You might need to hold the gas on for a few seconds until the flame is stable. This method demands a bit more caution, so always keep your hands and face clear of the burner area. Safety first!
Step-by-Step Ignition Guide
Let’s break down the actual lighting process. It’s not rocket science, but a little attention goes a long way!
- Turn off all control knobs on the fire pit table.
- If using propane, ensure the valve on the propane tank is also turned off.
- Inspect all connections to make sure they are secure.
- Slowly turn on the valve on the propane tank.
- Turn the control knob on the fire pit table to the “Low” or “Ignite” setting.
- For electronic ignitions, push and hold the ignition button. For manual, carefully apply your lighter or match to the burner.
- Once the flame ignites, continue to hold the ignition button (if applicable) for about 30 seconds.
- Slowly turn the control knob to your desired flame height.
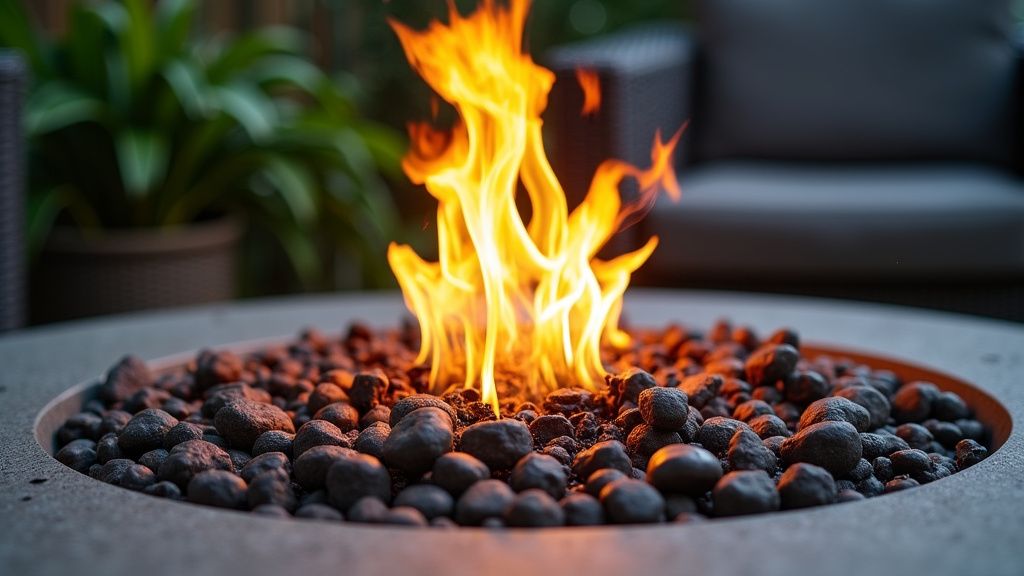
Safety Checklist: Your Fire Pit Lighting Routine
Before you settle in by the fire, run through this quick checklist. It ensures you haven’t missed any vital safety steps. We found that making this a habit is the best way to prevent accidents.
- Is the area around the table clear of flammable materials?
- Is the propane tank connected securely and the valve open?
- Are the air vents unobstructed for proper ventilation?
- Do you have a long lighter or matches ready?
- Is everyone aware of the “no-go” zones around the fire?
What to Do If Things Don’t Go as Planned
Sometimes, fire pit tables can be a little stubborn. Don’t panic! If the burner doesn’t ignite right away, turn the gas off immediately. Wait a few minutes for any accumulated gas to dissipate. Then, try the ignition process again. If you continue to have trouble, consult your owner’s manual or contact the manufacturer. It’s better to be safe than sorry, and many issues have simple solutions.
Remember, the goal is a cozy and safe experience. By following these steps, you’re well on your way to enjoying your fire pit table with peace of mind.
Conclusion
You’ve now got the knowledge to safely light your fire pit table and enjoy its warmth. Remember, the process is all about careful preparation and following those manufacturer guidelines. We found that sticking to the safety checklist before and during ignition makes all the difference for a worry-free experience. Don’t hesitate to consult your manual if anything seems unclear. Now, go ahead and get that flame started for a perfect evening!
Frequently Asked Questions
How long should I hold the ignition button on my fire pit table?
For electronic ignitions, you should typically hold the button for about 15-30 seconds after the flame appears. This ensures the thermocouple gets hot enough to keep the flame lit. Always check your specific manual for the exact recommended time.
What should I do if my fire pit table produces a strong gas smell?
If you smell a strong gas odor, turn off the gas supply at the tank immediately. Do not attempt to light the fire pit. Ventilate the area well by opening doors and windows. Wait several minutes for the gas to dissipate before trying to light it again, or contact a professional if the problem persists.
Can I use my fire pit table on a wooden deck?
Generally, it’s not recommended to place a fire pit table directly on a wooden deck without proper protection. We found that using a heat-resistant mat or fire pad underneath is essential. This prevents heat damage to the wood and reduces fire risk. Always check your table’s manual for specific deck-use guidelines.
What’s the best way to store my propane tank when not in use?
When not in use, ensure the valve on the propane tank is turned off completely. Store the tank in an upright position outdoors, away from direct sunlight and any ignition sources. Never store propane tanks indoors or in enclosed spaces like garages. This keeps your tank safe and ready for your next use.
My fire pit table’s flame is too low, what could be the issue?
A low flame can be due to several factors. First, check if your propane tank is running low; a weak supply will result in a weak flame. Also, ensure the control knob is turned to a higher setting and that the air vents are not obstructed. Sometimes, a dirty burner can also affect flame height, so a gentle cleaning might be needed.