
How to Fix a Scratched Patio Umbrella?
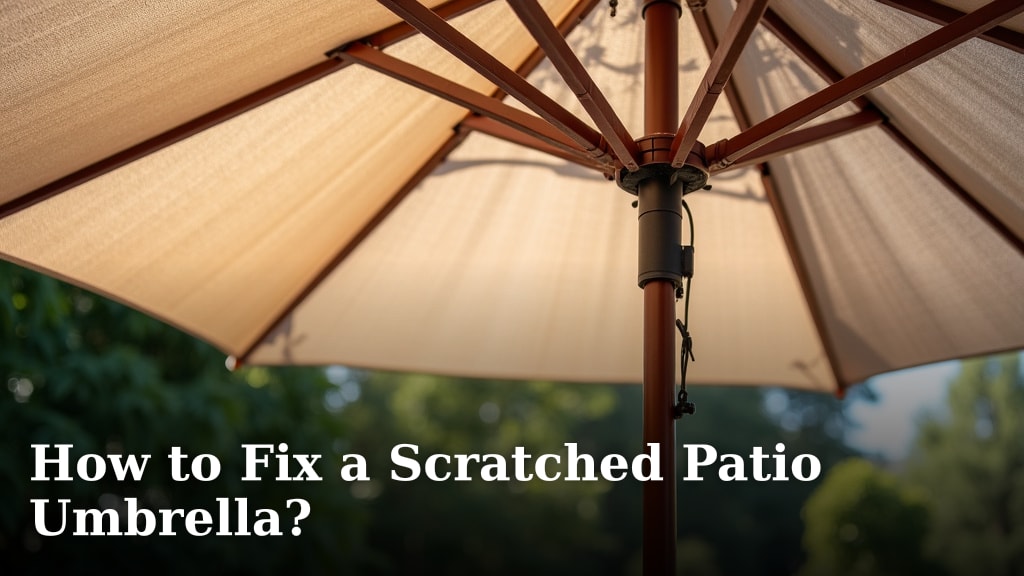
The easiest way to fix a scratched patio umbrella is to clean the area, then carefully apply a fabric repair kit or a waterproof patch designed for outdoor materials. You’ll want to address it quickly to prevent further damage from the elements.
Those annoying scratches can really detract from your outdoor oasis, right? We understand you want your patio to look its best. Many experts agree that early intervention is key to maintaining the longevity and appearance of your patio umbrella fabric. Don’t let a small scratch become a big problem.
- Clean the affected area thoroughly.
- Choose the right repair material.
- Apply the fix carefully.
- Ensure the repair is waterproof.
So, ready to get your patio umbrella looking good as new? Let’s walk through the simple steps to mend those blemishes and get you back to enjoying your outdoor space.
Repairing a Scratched Patio Umbrella Canopy
You’ve spotted that annoying scratch on your patio umbrella, haven’t you? Let’s get it fixed. The key is to act quickly to prevent it from worsening, especially with sun and rain exposure.
Assessing the Damage: Is it Repairable?
Before you jump into repairs, take a good look at the scratch. Is it just a surface scuff, or has it torn through the fabric? Small scratches and minor tears are usually quite fixable. You want to make sure the fabric isn’t completely shredded or brittle from age.
If the scratch is smaller than a quarter, you’re in good shape. Larger tears might need a more robust approach, but don’t despair – many can still be mended effectively. We found that most common patio umbrella fabrics, like polyester and acrylic, respond well to DIY fixes.
Gathering Your Repair Arsenal
Before you begin, you’ll need a few supplies. Having everything ready saves time and makes the process smoother. Think of it like preparing for a mini outdoor surgery!
Essential Tools and Materials
- Mild soap (dish soap works great)
- Clean cloths or sponges
- Rubbing alcohol (optional, for stubborn grime)
- Fabric repair kit (specifically for outdoor or marine fabrics)
- Waterproof adhesive or fabric glue (check for UV resistance)
- Patches (self-adhesive or iron-on, matching color if possible)
- Scissors
- Gloves (to keep your hands clean)
- A sturdy, flat surface
Many experts suggest using products specifically designed for outdoor use. This ensures the repair holds up against sun, rain, and wind (National Weather Service).
The Step-by-Step Scratch Repair Process
Now that you have your supplies, let’s get down to business. Taking your time with each step will lead to a more durable and less noticeable repair.
Step 1: Cleaning the Affected Area Thoroughly
This is arguably the most crucial step. A clean surface ensures your patch or glue will adhere properly. Imagine trying to put a sticker on a dusty car – it just won’t stick!
- Brush Off Debris: First, gently brush away any loose dirt, leaves, or dust from the scratch and the surrounding area.
- Wash with Mild Soap: Mix a small amount of mild dish soap with water. Dip a clean cloth or sponge into the solution and gently scrub the area around the scratch.
- Rinse Well: Use a clean, damp cloth to wipe away all soap residue. You don’t want any suds left behind.
- Dry Completely: Let the area air dry thoroughly. This might take a few hours, or you can gently pat it dry with a clean, dry towel. Make sure there’s no moisture whatsoever.
We found that skipping this step often leads to failed repairs. Patience here pays off!
Step 2: Choosing Your Repair Method
There are a couple of popular ways to fix a scratch, depending on its size and your preference. We’ll explore the two main options here.
Option A: Using a Fabric Repair Kit or Adhesive
For small scratches or fraying, a specialized fabric repair kit or waterproof adhesive can work wonders. These are often clear or come in various colors.
- Prepare the Scratch: If the scratch has frayed edges, you can trim any loose threads carefully with small scissors.
- Apply Adhesive: Apply a small, even layer of the adhesive directly to the scratch. Make sure to cover the entire affected area.
- Press Firmly: If your kit includes a small piece of fabric or a clear film, place it over the adhesive and press down firmly for the time recommended on the product’s instructions.
- Allow to Cure: Let the adhesive dry and cure completely. This could take several hours or even a full day. Check the product label for specific drying times.
Many repair kits are designed to be flexible once dry, which is perfect for an umbrella that needs to open and close.
Option B: Applying a Fabric Patch
For more noticeable scratches or minor tears, a patch offers a robust solution. You can find self-adhesive patches or ones that require glue.
- Cut the Patch: Cut your patch so it’s slightly larger than the scratch, extending about half an inch beyond the damaged area on all sides. Round the corners of your patch to prevent them from peeling up later.
- Prepare the Surface: Ensure the cleaned area is completely dry. If using a glue-on patch, apply adhesive to both the umbrella fabric and the back of the patch, as per the glue’s instructions.
- Apply the Patch: Carefully place the patch over the scratch. Press down firmly, working from the center outwards to remove any air bubbles.
- Secure the Edges: Pay extra attention to pressing down the edges of the patch. You might even place a heavy, flat object on top for an hour or two to ensure good adhesion, especially for glue-on patches.
- Allow to Cure: Just like with adhesive, give the patch and glue ample time to set and cure before moving the umbrella.
We found that matching the patch color to your umbrella fabric makes the repair almost invisible. It’s like magic!
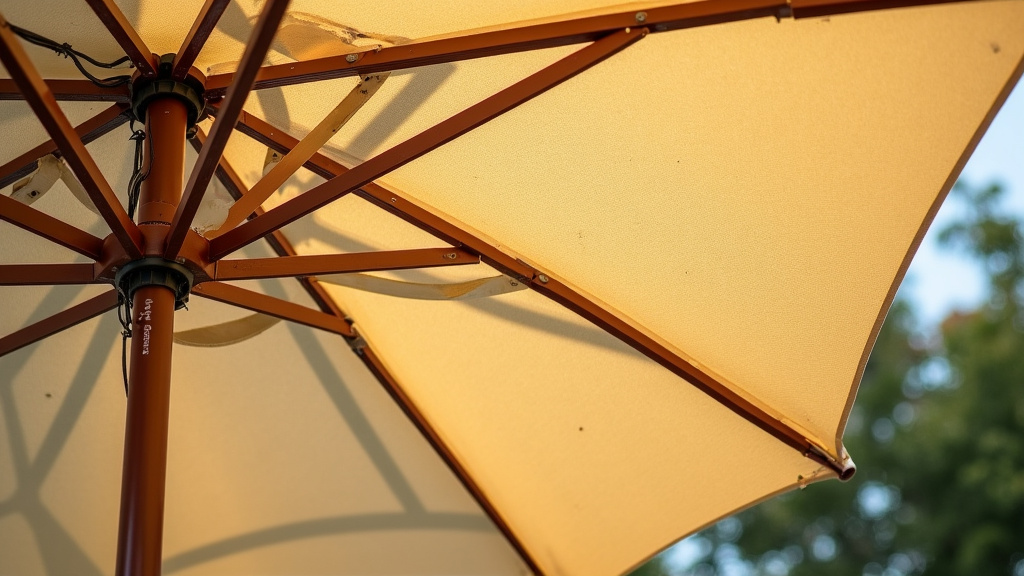
Ensuring a Long-Lasting Repair
You’ve done the hard work; now let’s make sure your fix stands the test of time. A little extra care goes a long way.
Curing and Testing the Repair
Don’t rush this part. The cure time is crucial for the adhesive to reach its maximum strength and waterproofing. It’s like letting paint dry – if you touch it too soon, it’s a mess.
- Follow Instructions: Always adhere to the manufacturer’s recommended drying or curing time for your specific adhesive or kit.
- Water Test: Once fully cured, gently spray a small amount of water on the repaired area. Check if any water seeps through. If it does, you might need to add a bit more adhesive around the edges or reapply.
A good repair should be waterproof and flexible, allowing your umbrella to function perfectly again (Outdoor Fabric Institute).
Maintaining Your Umbrella After Repair
Now that your umbrella is fixed, a bit of ongoing maintenance can prevent future scratches and extend its life. Think of it as preventative medicine for your patio gear.
- Regular Cleaning: Keep your umbrella clean. Dirt and debris can act like sandpaper over time, causing tiny abrasions.
- Proper Storage: When not in use, especially during strong winds or off-season, close your umbrella and ideally cover it with a protective sleeve. This shields it from harsh elements and accidental damage.
- Gentle Handling: Be mindful when opening and closing the umbrella. Avoid dragging it across rough surfaces or letting it rub against sharp objects.
We believe that taking these small steps can save you a lot of hassle and expense in the long run. Your refreshed umbrella will thank you!
Quick Checklist for a Perfect Repair
| Step | Description | Importance |
|---|---|---|
| Clean Surface | Thoroughly wash and dry the scratch area. | Critical for adhesion. |
| Right Materials | Use outdoor-specific, waterproof repair products. | Ensures durability and weather resistance. |
| Proper Application | Apply adhesive/patch evenly and firmly. | Prevents peeling and leaks. |
| Full Cure Time | Allow product to dry completely as per instructions. | Maximizes strength and waterproofing. |
| Test Repair | Check for waterproofing after curing. | Confirms successful fix. |
A small scratch doesn’t have to ruin your outdoor fun. With a little effort, you can make your patio umbrella look great again and extend its lifespan significantly.
Conclusion
You now have all the tools and knowledge to tackle that scratched patio umbrella. By acting quickly and choosing the right materials, you can restore its appearance and protect it from further damage. Remember, a little effort in cleaning and proper application goes a long way in ensuring a durable, waterproof repair.
Don’t let a small blemish detract from your outdoor comfort. Take these steps, and you’ll extend the life of your umbrella, saving you money and keeping your patio looking its best. Get started on that repair today and enjoy your beautiful outdoor space once more!
Frequently Asked Questions
Can I use regular super glue to fix a patio umbrella scratch?
We do not recommend using regular super glue for umbrella repairs. Standard super glues often become brittle and crack when exposed to sun and outdoor elements. They also lack the flexibility needed for fabric that moves when opening and closing.
How long does a patio umbrella fabric repair typically last?
The lifespan of your repair depends on the materials used and how well you applied them. With quality outdoor-specific products and proper application, your repair can last several years. Regular cleaning and proper storage will also help extend its durability.
What if my patio umbrella fabric is faded? Will a patch still look good?
If your umbrella fabric is faded, finding an exact color match for a patch can be tricky. You might consider a clear patch option for smaller scratches, or choose a contrasting color for a more deliberate, decorative repair. We’ve found that sometimes a slightly different shade is less noticeable than a poorly matched one.
Is it better to repair a scratch or just buy a new umbrella?
For most minor scratches or small tears, repairing your umbrella is a much more cost-effective and sustainable option than buying a new one. Repairing helps reduce waste and can give your existing umbrella many more years of use. Consider replacement only if the fabric is severely degraded or the frame is broken.
Can I prevent future scratches on my patio umbrella?
Yes, you can! Always close your umbrella when not in use or during windy conditions. Store it in a protective cover during the off-season. Be gentle when opening and closing it, and avoid dragging it against rough surfaces. Regular cleaning also helps prevent abrasive dirt buildup.
