
How to Assemble a Patio Bistro Set?
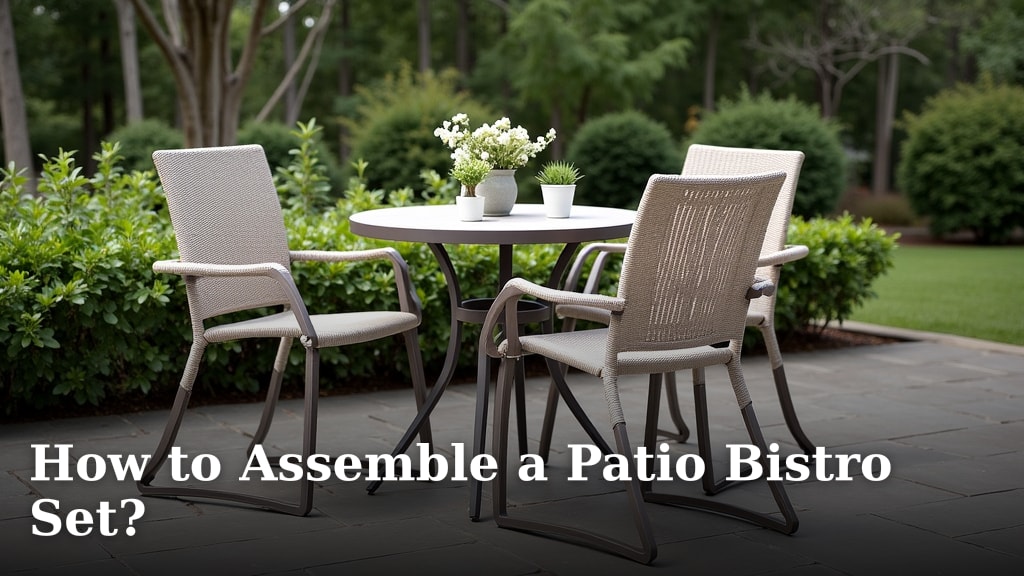
Assembling your new patio bistro set is usually a straightforward process that you can complete in an hour or two. You’ll typically need just a few basic tools, often included in the box. Following the manufacturer’s instructions carefully is the best way to ensure a stable and safe setup for your new outdoor seating.
Many patio bistro sets are designed for easy DIY assembly. We found that most sets come with clear diagrams and numbered parts. Don’t worry if you’re not a DIY expert; even beginners can If your bistro set is made of wicker, our guide on how to put together wicker patio furniture offers specific tips.successfully assemble these charming sets for their patio or balcony.
- Gather all parts and tools first.
- Read the instruction manual thoroughly.
- Attach legs and then the tabletop or seat.
- Tighten all screws securely, but don’t overtighten.
- Check for stability before use.
Ready to get started? Below, we’ll guide you through each step to get your patio bistro set assembled and ready for relaxing.
“`htmlGetting Your Patio Bistro Set Ready for Action
So, you’ve picked out the perfect patio bistro set. Now comes the fun part: putting it all together! Most bistro sets are designed with home assembly in mind, and you can usually tackle it with just a few common tools. We found that assembly can be a really rewarding experience, leading to a sturdy and stylish spot for your morning coffee or evening chats.
Before You Begin: Preparation is Key
Before you even think about opening that box, take a moment to set yourself up for success. A little preparation goes a long way to prevent frustration later on. Think of it like setting the stage for a smooth performance.
Clear Your Workspace
Find a spacious, flat area where you can work without tripping over things. Your patio, deck, or even a cleared spot in your garage can work. You’ll need room to lay out all the pieces and move around them easily.
Unpack Everything Carefully
Open the box and gently take out all the parts. Lay them out so you can see everything. Check for any damage that might have happened during shipping. If something looks off, now’s the time to address it.
Inventory All Parts and Hardware
This is a critical step. Your bistro set should come with a parts list and a hardware list. Compare what’s in the box to the list. Make sure you have all the nuts, bolts, screws, washers, and any other small pieces. We found that keeping them organized in small bowls or even the plastic bags they came in can prevent them from rolling away.
Gather Your Tools
Most bistro sets include basic tools like an Allen wrench. You might also want a Phillips head screwdriver and perhaps a small adjustable wrench. Having these handy means you won’t have to stop assembly to hunt for them.
Step-by-Step Assembly Guide
Now that you’re prepped, let’s get to the actual assembly. Remember, take your time and follow the instructions that came with your specific set. They are your best guide.
Review the Instruction Manual
Even if you’re eager to get started, spend a few minutes reading through the entire instruction manual first. This gives you an overview of the whole process. You’ll see the order of operations and understand how the pieces fit together. We found that understanding the sequence beforehand makes the actual assembly much smoother.
Attaching the Legs to the Table Base or Chairs
This is usually the first main step. For tables, you’ll likely be attaching the legs to the underside of the tabletop or to a support frame. For chairs, you’ll attach the legs to the seat base.
- Look for pre-drilled holes and corresponding bolts or screws.
- Don’t tighten everything down completely just yet. Leave a little wiggle room. This allows for slight adjustments as you add other parts. Think of it like not fully tightening the wheels on your car until all are in place.
Connecting Other Structural Components
Depending on your set, there might be crossbars, support brackets, or other pieces that connect the legs or form the main structure. Attach these according to your manual. Again, keep the screws slightly loose until everything is in place.
Attaching the Tabletop or Seat
Once the base structure is assembled and stable (even if not fully tightened), you’ll attach the main surface. This could be screwing the tabletop onto the leg assembly or securing the seat to the chair frame. Ensure it’s aligned correctly before proceeding.
Final Tightening and Stability Check
This is where your patience pays off! Go back over every screw, bolt, and nut. Tighten them securely. You want the set to be rock-solid, but be careful not to overtighten. Overtightening can strip screws or even crack the material, especially with certain plastics or softer metals.
Once everything is tightened, give the set a gentle wobble. Is it steady? If you notice any rocking or instability, go back and check the connections. Often, a slightly loose bolt is the culprit.
A Quick Checklist for Success
Here’s a handy checklist to keep you on track:
- All parts unpacked and accounted for?
- Tools readily available?
- Instruction manual reviewed?
- Legs attached securely but not fully tightened?
- Main tabletop/seat secured?
- All hardware fully tightened and checked for stability?
Enjoying Your New Bistro Set
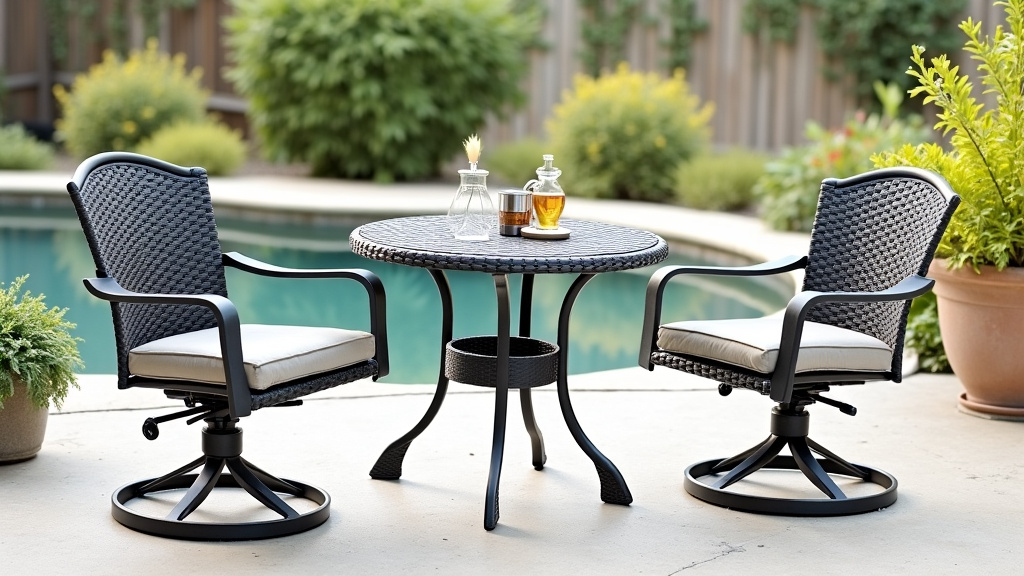
Congratulations! You’ve successfully assembled your patio bistro set. Take a step back and admire your work. Now you can finally relax and enjoy the fruits of your labor. We found that the sense of accomplishment is a great bonus to having a new cozy spot outdoors.
“`
Conclusion
You’ve successfully navigated the assembly of your new patio bistro set. By gathering your parts, carefully following instructions, and taking your time with each step, you’ve created a sturdy and inviting outdoor space. Remember, a little preparation and attention to detail make all the difference. Now that your bistro set is ready, your next step is simple: pour yourself a drink, sit back, and enjoy the comfort and charm you’ve just put together.
Frequently Asked Questions
What if I’m missing a part for my bistro set?
If you discover a missing part, don’t panic. Your first step should be to re-check the packaging thoroughly, as small items can sometimes get overlooked. If it’s truly missing, contact the manufacturer or the retailer where you purchased the set immediately. They will typically send you the replacement part.
How do I know if I’m tightening screws enough?
You’ll want to tighten screws until they feel snug and the parts are held firmly together. We found that when you can no longer easily turn the screw with the included tool, and the pieces don’t move independently, you’re usually at the right point. Avoid forcing it further to prevent stripping the threads.
Can I assemble a bistro set by myself?
Yes, most patio bistro sets are designed for single-person assembly. While an extra pair of hands can sometimes be helpful for holding larger pieces steady, it’s typically not required. You can manage the assembly on your own by taking your time and working methodically.
My bistro set still wobbles after assembly, what’s wrong?
A slight wobble often means one or more screws aren’t fully tightened. Go back and check all the connections, especially where the legs meet the main structure. Sometimes, slightly loosening all screws, letting the set settle on a flat surface, and then re-tightening everything can resolve wobbling.
How often should I check the tightness of my bistro set’s screws?
It’s a good practice to check the tightness of all screws and bolts at the beginning of each outdoor season, or about once a year. You should also give them a quick once-over after the first few weeks of use to ensure everything remains secure as the set settles.
