
How To Refinish Rusty Patio Furniture?
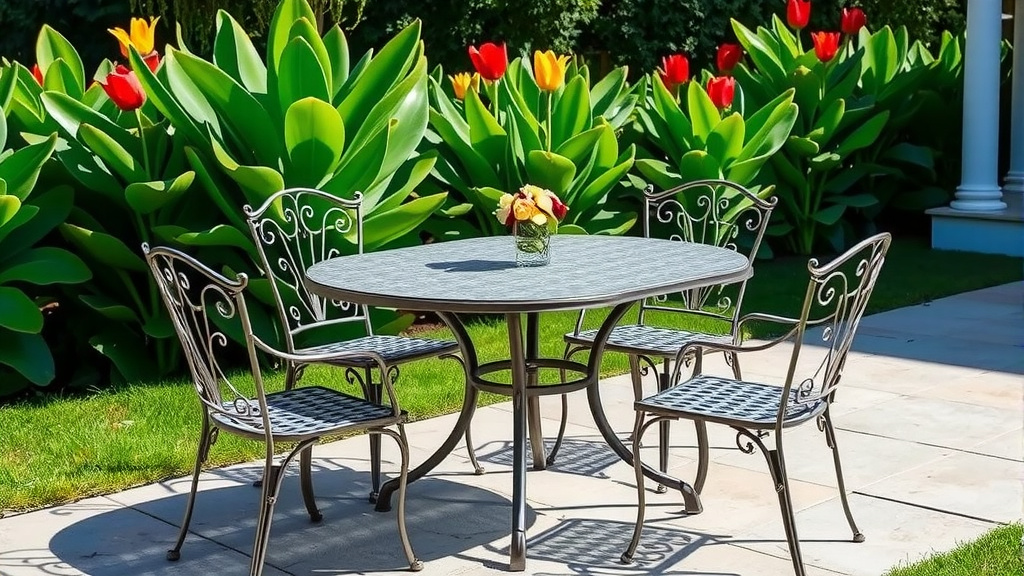
To refinish rusty patio furniture, you will need to clean the surface thoroughly, remove all rust, prime it with a rust-inhibiting primer, and then apply a durable exterior-grade paint.
This process revitalizes your outdoor pieces, making them look new again and protecting them from future corrosion.
Gather your supplies: safety gear, wire brush, sander, rust remover, primer, paint.
Clean the furniture first to remove dirt and loose debris.
Scrub away rust using brushes, sandpaper, or chemical removers.
Apply a rust-inhibiting primer for long-lasting protection.
Finish with exterior paint designed for metal to restore its look.
How To Refinish Rusty Patio Furniture?
You can refinish rusty patio furniture by carefully cleaning, preparing, and repainting the metal surfaces. It’s a rewarding project that extends the life and beauty of your outdoor pieces.
Is your favorite patio chair looking more like an antique from a shipwreck than a comfy outdoor seat? Rust happens! The good news is, you don’t have to toss those treasured pieces. With a little elbow grease and the right supplies, you can bring them back to life. Think of it as a spa day for your outdoor furniture; it’s going to feel refreshed and look amazing.
Why Does Patio Furniture Rust Anyway?
It’s all about chemistry. When iron or steel, common materials for patio furniture, mix with oxygen and moisture, rust forms. This reddish-brown flaky stuff, scientifically known as iron oxide, weakens the metal over time. Leaving furniture exposed to rain, dew, and even humidity speeds up this natural decay process.
Identifying the Rust Severity
Before you jump in, take a moment to assess the damage. Is it just a few spots, or has the rust taken over? Surface rust might just need a good scrub. Deep, pitting rust, however, could mean structural compromise, and you might need to think about replacing very weak pieces. Most patio furniture falls into the easily treatable category, thankfully!
Gathering Your Rust-Busting Arsenal
Preparation is key, right? Just like baking a cake, you need all your ingredients ready. Having the right tools makes the job smoother and safer. Don’t skip the safety gear; your health is more important than a perfect patio chair. Many experts suggest a good pair of gloves and eye protection (OSHA guidelines).
- Safety glasses or goggles
- Work gloves
- Wire brush and/or steel wool
- Sandpaper (various grits, like 80-grit to 220-grit)
- Electric sander or wire brush attachment (optional, for larger areas)
- Rust converter or rust remover (chemical solution)
- Degreaser or mild detergent
- Clean cloths or rags
- Drop cloths or plastic sheeting
- Painter’s tape
- Rust-inhibiting primer (spray or brush-on)
- Exterior-grade metal paint (spray or brush-on)
- Mineral spirits or paint thinner (for cleanup)
Step-by-Step: Your Furniture’s Makeover Journey
Ready to get started? This process isn’t complicated, but it does require patience. Think of it as a methodical transformation, like a caterpillar becoming a butterfly. Each step builds on the last, ensuring a durable and beautiful finish.
Clean First, Always
Before any rust removal, give your furniture a good wash. Use a degreaser or mild dish soap with water. Scrub away all dirt, grime, and loose paint flakes. Rinse thoroughly and let it dry completely. Any lingering moisture can trap rust underneath your new paint, defeating the whole purpose (NIH research on corrosion prevention).
The Battle Against Rust
Now, the main event! This is where you tackle the rust head-on. You have a few options here, depending on how stubborn the rust is. You might even use a combination of methods.
| Rust Removal Method | Best For | Pros | Cons |
|---|---|---|---|
| Wire Brush / Steel Wool | Surface rust, small spots | Simple, low cost, no chemicals | Labor-intensive, less effective on pitting |
| Sandpaper (80-220 grit) | Rough spots, smoothing | Good control, fine finish | Can be time-consuming, dusty |
| Electric Sander / Wire Wheel | Large areas, heavy rust | Fast, powerful | Requires skill, safety gear essential |
| Chemical Rust Remover | Intricate designs, deep rust | Less physical effort, gets into crevices | Requires careful handling, ventilation |
Work diligently to remove as much rust as possible. If you leave even tiny bits behind, the rust can creep back, peeking through your fresh paint like a stubborn weed. Aim for a clean, bare metal surface where rust used to be. For very stubborn spots, we found that a rust converter can be quite useful; it changes the rust into a paintable surface (Corrosion Science Journal).
Smooth Things Over with Sanding
After rust removal, your surface might feel a bit rough. Use a finer-grit sandpaper (around 120-220 grit) to smooth out any remaining imperfections or scratch marks from the coarser abrasives. This step creates a much better canvas for your primer and paint. A smooth surface helps paint adhere evenly.
The Primer Power-Up
This step is non-negotiable! Applying a rust-inhibiting primer is like putting on a protective force field. It seals the metal, prevents future rust, and provides an ideal surface for the paint to grip. Many experts say two thin coats are better than one thick one (Paint Quality Institute). Allow each coat to dry fully according to the product instructions.
Time for a Color Splash!
Finally, the fun part! Choose an exterior-grade metal paint. These paints are formulated to withstand the elements, resist fading, and provide a durable finish. You can use spray paint for a smooth, even finish on intricate designs, or a brush for more control. Apply multiple thin coats, waiting for each to dry before the next. Remember, patience yields the best results.
Curing and Cautious Use
Once painted, your furniture isn’t quite ready for guests. Paint needs time to “cure,” meaning it hardens completely. This can take several days or even weeks, depending on the paint type and humidity. Refer to the paint can for specific curing times. Using the furniture too soon can lead to chips and damage.
Maintaining Your Refinished Treasures
You’ve put in the work, so let’s keep those pieces looking great! A little regular care goes a long way. Think of it as routine maintenance for your car; it prevents bigger problems later.
Clean regularly: Wipe down furniture with mild soap and water.
Touch up quickly: Address any new scratches or chips as soon as you spot them.
Winter storage: Store furniture indoors or cover it during harsh weather (Cleveland Clinic suggests protecting items from extreme conditions).
Check drain holes: Ensure water can drain from tabletops or seats to prevent pooling.
Use protective pads: Place pads under feet to avoid scratching decks and furniture.
Checklist for Success
Here’s a quick reminder of the key steps to ensure your project goes smoothly:
- Did you wear all safety gear?
- Is the furniture thoroughly cleaned and dry?
- Have you removed all visible rust?
- Is the surface smooth and ready for primer?
- Did you apply a rust-inhibiting primer?
- Are you using exterior-grade metal paint?
- Will you allow adequate drying and curing time?
Conclusion
Refinishing rusty patio furniture is a satisfying project that saves you money and gives new life to old favorites. It’s more than just painting; it’s about restoring durability and beauty. By following these steps, you’ll enjoy your rejuvenated outdoor space for many seasons to come. Your patio will thank you for the effort!
How do I choose the right type of paint for outdoor metal furniture?
When selecting paint, look for products specifically labeled as “exterior metal paint” or “rust-preventative enamel.” These paints are designed to withstand weather, UV rays, and temperature changes, offering better adhesion and durability than standard paints.
Can I refinish aluminum patio furniture, or just iron and steel?
You can refinish aluminum patio furniture, though the process is slightly different. Aluminum doesn’t rust, but it can corrode (form white oxidation). You’ll need to clean, sand any oxidation, and then use a self-etching primer specifically for aluminum before applying exterior-grade paint.
What if there’s pitting from deep rust? Can I still refinish it?
If there’s significant pitting from deep rust, you might be able to fill the pitted areas with an exterior-grade metal filler or epoxy putty after removing as much rust as possible. Sand it smooth once dry, then proceed with priming and painting. This helps create a more even surface.
How long does a refinished patio furniture set usually last?
The longevity of refinished furniture depends on the quality of your prep work, the products used, and how well you maintain it. With proper cleaning, priming, and painting, you can expect your refinished pieces to last anywhere from 3 to 7 years, possibly longer with good covers and winter storage.
Is it worth refinishing very old or heavily damaged furniture?
Whether it’s worth it depends on the furniture’s sentimental value and structural integrity. If the rust has severely compromised the metal, making it flimsy or unsafe, it might be better to replace it. For pieces with sentimental value or sturdy frames, refinishing is often a worthwhile and cost-effective solution.
