
How To Refinish An Aluminum Patio Table?
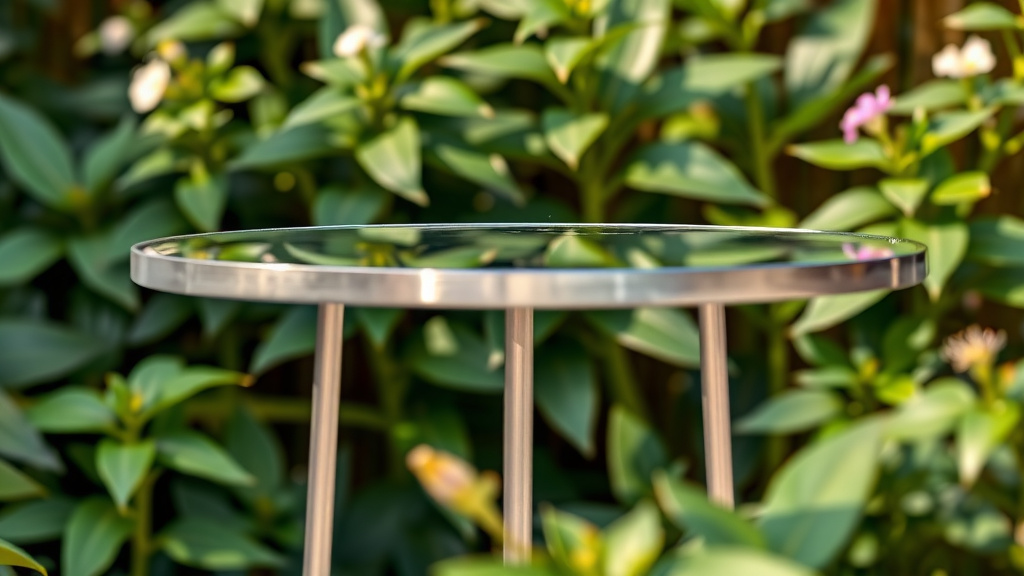
To refinish an aluminum patio table, you will need to clean it thoroughly, sand down the old finish, prime the surface, and then apply several thin coats of a suitable outdoor-grade paint. This process restores its look and extends its lifespan, protecting it from weathering.
You can give your tired aluminum patio table a fresh, durable appearance by carefully following steps like surface preparation, proper paint selection, and consistent application techniques.
Here’s a quick summary of how you can refinish your aluminum patio table, giving it a brand new look:
- Clean First: Wash away all dirt, grease, and grime.
- Sand Smooth: Lightly sand to remove loose paint and create a bond for new layers.
- Prime Right: Apply an etching primer specifically for aluminum.
- Paint Smart: Use several thin coats of outdoor-rated spray paint.
- Seal It: Finish with a clear topcoat for extra protection and shine.
How To Refinish An Aluminum Patio Table?
Refinishing your aluminum patio table is a rewarding weekend project that can bring new life to your outdoor space. It requires a few steps, but each one is straightforward and achievable.
You’ll transform a faded or chipped table into a beautiful centerpiece. Are you ready to dive in?
Why Refinish Your Patio Table?
Over time, even the toughest aluminum patio tables can show wear. Sun, rain, and daily use take a toll on their appearance. The paint might chip, fade, or show corrosion.
Refinishing isn’t just about looks. It also protects the aluminum from further damage. It prevents oxidation and keeps your investment lasting longer.
Gather Your Essential Tools and Materials
Before you begin, gather everything you will need. Having all your supplies ready saves time and makes the process smooth. We found that preparation is half the battle for any home project.
Refinishing Checklist
- Mild detergent and water
- Stiff brush or sponge
- Safety glasses and gloves
- Drop cloths or tarps
- Wire brush (optional for heavy rust)
- Various grit sandpaper (120, 220, 320)
- Aluminum etching primer
- Outdoor-grade spray paint (for metal)
- Clear protective topcoat
- Painter’s tape and plastic sheeting
Preparation: The Foundation of Success
The success of your refinishing project depends heavily on how well you prepare the table. This is not a step to rush through.
A clean, smooth surface helps the new paint adhere properly. Otherwise, your beautiful new finish might peel or chip quickly.
Disassemble If Possible
If your table has legs or a top that can be easily removed, consider taking it apart. This makes cleaning and painting much easier. You can reach all the nooks and crannies.
Make sure to keep all screws and bolts organized. A small container works perfectly for this.
Deep Clean Your Table
Start by giving the table a thorough cleaning. Use warm water and a mild detergent. A stiff brush helps remove stubborn dirt and grime.
Many experts say that any remaining dirt will prevent paint from sticking (Sherwin-Williams). Rinse it completely with clean water afterward.
Sanding for a Smooth Canvas
Sanding is where you create the perfect surface for your new paint. It removes loose paint and roughens the existing finish. This “roughness” gives the new primer something to grip onto.
Always wear safety glasses and gloves during this step to protect yourself.
Start with Coarser Grit
Begin with 120-grit sandpaper to remove any peeling or heavily oxidized areas. You do not need to remove all the old paint. Focus on creating a consistent, dull surface.
If you have some minor corrosion, a wire brush can help gently scrub it away. Be careful not to damage the aluminum.
Smooth with Finer Grit
After the initial sanding, move to 220-grit sandpaper. This smooths out the scratches from the coarser paper. Finish with 320-grit sandpaper for an exceptionally smooth feel.
The goal is a surface that feels consistently smooth to the touch, without any rough patches or flaking paint.
Final Cleaning Before Primer
Once sanding is complete, you will have a lot of dust on your table. This dust must go.
Use a damp cloth to wipe down the entire surface. Let it dry completely. You might use a tack cloth to pick up any remaining tiny particles.
Priming: The Essential Bonding Layer
Priming is a non-negotiable step when working with aluminum. Aluminum is a tricky surface for paint to adhere to directly.
A specialized etching primer creates a chemical bond. This bond helps the topcoat stick firmly and prevents future peeling.
Apply Etching Primer
Shake your can of aluminum etching primer well. Apply it in thin, even coats. Hold the can about 8-12 inches from the surface.
Avoid applying too much at once. This can cause drips and runs. Allow each coat to dry according to the manufacturer’s instructions, usually 15-30 minutes.
Usually, one to two thin coats of primer are sufficient. You want a consistent, even base.
Painting Your Aluminum Table
Now for the fun part: adding color! Choose an outdoor-grade spray paint designed for metal. These paints are formulated to withstand the elements.
They offer excellent durability and a wide range of color choices.
| Paint Type | Pros | Cons |
|---|---|---|
| Spray Paint | Easy application, smooth finish, quick drying | Limited color matching, can be messy if not careful |
| Brush-On Paint | Precise application, wider color choice, thicker coat | Can leave brush marks, takes longer to apply |
Apply Thin Coats of Paint
Just like with the primer, apply your chosen paint in several thin, even coats. Multiple thin coats are far superior to one thick coat. A thick coat will likely drip, run, and peel.
Allow each coat to dry completely between applications. Check the can for specific drying times. Often, this is 30 minutes to an hour between coats.
Keep your spraying motion consistent. Overlapping each pass slightly ensures full coverage. We found that 3-4 thin coats often provide the best coverage and durability.
Sealing for Longevity
Once your paint has fully dried, consider adding a clear protective topcoat. This step adds an extra layer of defense against scratches, UV rays, and moisture.
It also enhances the finish, whether you prefer a glossy, satin, or matte look.
Apply Clear Topcoat
Use an outdoor-grade clear coat, again applied in thin, even layers. Follow the same spraying technique as with your paint. Two to three coats usually offer excellent protection.
This final layer acts like a shield. It keeps your refinished table looking great for years to come.
Curing: The Final Wait
Your table might feel dry to the touch after a few hours, but it needs more time to “cure.” Curing means the paint fully hardens and reaches its maximum durability.
This can take anywhere from 24 hours to several days, sometimes even a week. Refer to your paint can’s instructions.
Avoid using or placing heavy objects on the table until it’s fully cured. Patience here pays off immensely.
Conclusion
Refinishing an aluminum patio table is an excellent way to rejuvenate your outdoor living space without buying new furniture. By carefully following the steps—cleaning, sanding, priming, painting, and sealing—you can achieve a professional-looking finish that will withstand the elements for many seasons.
You have the power to transform a tired piece into a vibrant highlight of your patio. Enjoy your “new” table!
FAQs About Refinishing Aluminum Patio Tables
Can you paint aluminum patio furniture?
Yes, you can absolutely paint aluminum patio furniture. It requires specific preparation, including thorough cleaning and sanding, followed by an etching primer designed for aluminum. Once primed, you can apply outdoor-grade paint suitable for metal surfaces to achieve a durable and attractive finish.
What kind of paint do you use on an aluminum patio table?
For an aluminum patio table, you should use an outdoor-grade spray paint specifically formulated for metal. Many experts recommend paints that offer rust protection, even for aluminum, as they tend to be very durable against weather. An etching primer must be used beforehand to ensure proper adhesion.
How do I prevent paint from peeling off my aluminum table?
To prevent paint from peeling, proper surface preparation is critical. Ensure the table is completely clean and dry before sanding to remove all loose paint and create a slightly rough surface. Always use an aluminum etching primer before painting, and apply several thin coats of paint, allowing each to dry fully. A clear topcoat also adds protection.
How long does a refinished aluminum patio table last?
The lifespan of a refinished aluminum patio table depends on the quality of materials used and the thoroughness of the application. With proper preparation, high-quality outdoor paint, and a protective topcoat, your refinished table can last anywhere from 3 to 7 years or even longer. Regular cleaning and occasional touch-ups can extend its beauty.
Do I need to sand all the old paint off an aluminum table?
No, you typically do not need to sand all the old paint off your aluminum table. The main goal of sanding is to remove any loose, peeling, or heavily oxidized paint and to create a dull, slightly roughened surface. This texture helps the new primer and paint adhere better. If the old paint is still firmly attached and smooth, a light scuff sanding is usually sufficient.
