How To Refinish A Metal Patio Table?
To refinish a metal patio table, you should first clean the surface thoroughly, sand away rust and old paint, prime with a rust-inhibiting primer, and then apply several coats of outdoor-appropriate metal paint for a durable new look.
This process typically involves preparation, painting, and drying, ensuring your table withstands the elements beautifully for years to come.
- Get your metal patio table looking brand new again with a step-by-step guide.
- Discover the right tools and materials for a lasting refinish.
- Learn proper cleaning, sanding, and painting techniques for outdoor metal.
- Understand common mistakes and how to avoid them for a smooth finish.
- Protect your refinished table to keep it beautiful season after season.
How To Refinish A Metal Patio Table?
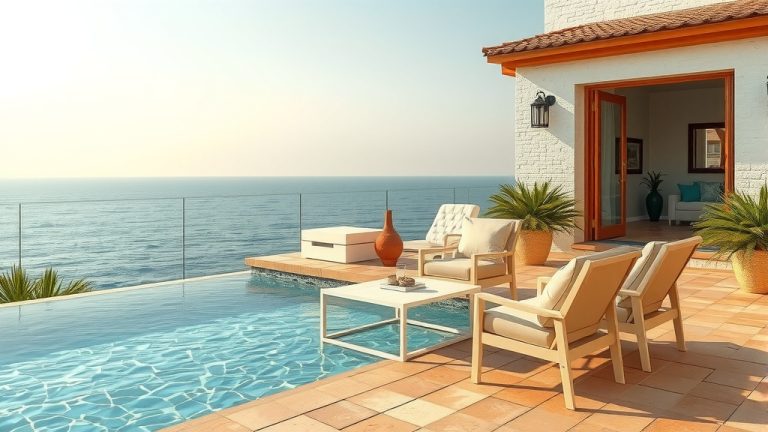
Refinishing a metal patio table brings new life to a tired piece. You’re not just repainting; you are giving your outdoor space a fresh, vibrant centerpiece.
It’s a rewarding project that can save you money compared to buying new furniture.
Why Refinish Your Metal Patio Table?
Your outdoor table endures sun, rain, and temperature changes. Over time, paint chips, rust appears, and the color fades.
Refinishing protects the metal and restores its aesthetic appeal. It’s an act of care for your belongings.
Benefits of a Fresh Finish
A new finish dramatically improves your table’s appearance. It also creates a protective barrier against future damage.
Many experts say this process extends the lifespan of your patio furniture (Consumer Reports).
Gathering Your Supplies: The Essentials
Before you start, collect everything you need. This prevents interruptions and keeps your workflow smooth.
Thinking ahead makes the entire project much easier and more enjoyable.
- Safety glasses and gloves
- Wire brush and sandpaper (various grits: 80, 120, 220)
- Degreaser or mild dish soap
- Water hose or power washer
- Drop cloths or old newspapers
- Painter’s tape
- Rust-inhibiting primer
- Outdoor metal paint (spray or brush-on)
- Clear topcoat (optional, but recommended)
Step 1: Thorough Cleaning and Inspection
Start by removing any loose debris from the table. A dirty surface means paint won’t stick well.
This initial cleaning step is vital for a smooth and lasting finish.
Washing Away Grime
Use a degreaser or dish soap with warm water. Scrub the entire table, focusing on stubborn spots.
We found that a stiff brush helps remove caked-on dirt effectively (Home Depot guides).
Rinsing and Drying
Rinse the table thoroughly with a hose. Ensure all soap residue is gone, as it can affect paint adhesion.
Let the table dry completely in the sun or with towels before moving on.
Step 2: Tackling Rust and Old Paint
This is where you prepare the surface for new paint. Neglecting this step often leads to peeling paint later.
Think of it as laying a strong foundation for your project.
Wire Brushing for Heavy Rust
For significant rust, use a wire brush or an orbital sander with a coarse pad. Remove as much rust as possible.
You want a clean, rust-free metal surface for the best results.
Sanding Smooth the Surface
Start with 80-grit sandpaper for stubborn old paint or remaining rust. Then, move to 120-grit for general smoothing.
Finish with 220-grit sandpaper to create a finely textured surface. This texture helps the new paint adhere better.
Step 3: Priming for Protection and Adhesion
Primer is like a bridge between the metal and your new paint. It prevents rust and helps the paint stick evenly.
Don’t skip this step; it’s a game-changer for durability.
Applying Rust-Inhibiting Primer
Choose a primer specifically designed for metal and outdoor use. Rust-inhibiting properties are key here.
Apply in thin, even coats. Two thin coats are usually better than one thick one.
Drying Time Matters
Always follow the primer manufacturer’s drying instructions. Rushing this can lead to a sticky mess.
Patience now pays off with a professional-looking finish later.
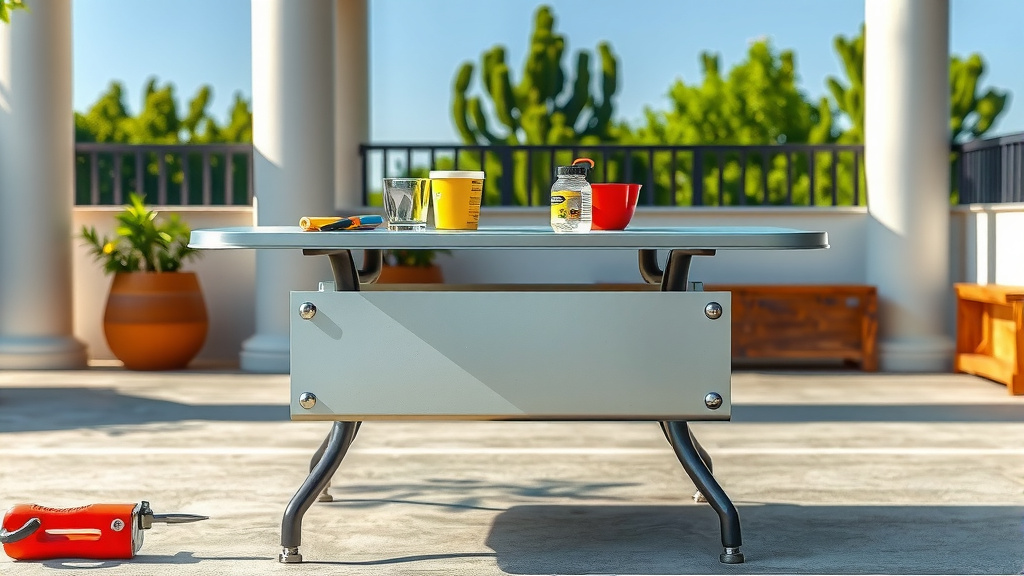
Step 4: Painting Your Patio Table
Now for the fun part: adding color! Selecting the right paint is just as important as the application.
This decision impacts both the look and the longevity of your table.
Choosing the Best Paint Type
Outdoor metal paint comes in various formulas. Each has its pros and cons for your project.
Consider the ease of use and the desired finish.
| Paint Type | Pros | Cons |
|---|---|---|
| **Oil-Based Enamel** | Very durable, excellent rust protection | Longer drying time, requires mineral spirits for cleanup |
| **Acrylic Latex (Water-Based)** | Easier cleanup, faster drying, low odor | May require more coats for durability, less rust protection alone |
| **Spray Paint for Metal** | Quick application, smooth finish, good for intricate designs | Less control, can be wasteful, requires good ventilation |
| **Direct-to-Metal (DTM)** | Primer and paint in one, saves a step | Often more expensive, limited color choices |
Applying Even Coats of Paint
Whether spraying or brushing, apply paint in thin, consistent coats. Avoid drips by not overloading your brush or going too slow with spray paint.
Allow each coat to dry completely before applying the next.
Step 5: Optional Clear Topcoat for Extra Protection
A clear topcoat adds another layer of defense. It protects against UV rays, scratches, and chips.
We found that this step significantly extends the life of your refinish.
When to Apply a Topcoat
Once your final paint coat is dry, apply a clear outdoor topcoat. Choose one compatible with your chosen paint type.
It seals in your hard work and provides a beautiful sheen.
Finishing Touches and Curing
Your table isn’t quite ready for use right away. Proper curing is critical for a hard, durable finish.
This waiting period ensures your effort lasts.
The Curing Process
Paint often feels dry to the touch long before it’s fully cured. Follow the manufacturer’s recommendations for full cure time, which can be several days.
During this time, handle the table gently and keep it out of harsh weather.
Final Checklist Before Use
- Did you remove all painter’s tape?
- Is the table fully dry to the touch?
- Has the paint cured for the recommended time?
- Are there any missed spots or areas needing touch-up?
- Is the area cleaned of any paint dust or debris?
Conclusion
Refinishing your metal patio table is a project that delivers tangible rewards. You transform an old, weathered piece into something vibrant and functional again.
By following these steps, you create a durable, attractive addition to your outdoor living space. Enjoy your renewed patio table!
What kind of sandpaper should I use for a metal patio table?
You should start with a coarser grit like 80 for heavy rust or old paint, then move to 120-grit for smoothing, and finish with a finer 220-grit sandpaper to prepare the surface for primer and paint. This progression ensures a smooth, even base.
Can I refinish a rusted metal patio table?
Yes, you can absolutely refinish a rusted metal patio table. The key is to thoroughly remove all loose rust with a wire brush or sandpaper, then treat any remaining rust with a rust converter before priming with a rust-inhibiting primer.
How long does it take for patio table paint to dry?
Drying time for patio table paint varies. Paint often feels dry to the touch in a few hours, but it needs a full “cure” time, which can be several days to a week. Always check the paint manufacturer’s instructions for specific recoat and full cure times to ensure durability.
Do I need to prime a metal patio table before painting?
Yes, priming a metal patio table is highly recommended. A good quality rust-inhibiting primer creates a strong bond between the metal and the new paint, preventing future rust and ensuring better adhesion for a longer-lasting, smoother finish.
What kind of paint is best for a metal patio table?
For metal patio tables, outdoor-rated metal paints are best. Options include oil-based enamel for superior durability and rust protection, acrylic latex (water-based) for easier cleanup, or specialized direct-to-metal (DTM) paints that combine primer and paint. Choose one specifically formulated for outdoor use.