
Can You Recover Patio Cushions Yourself?
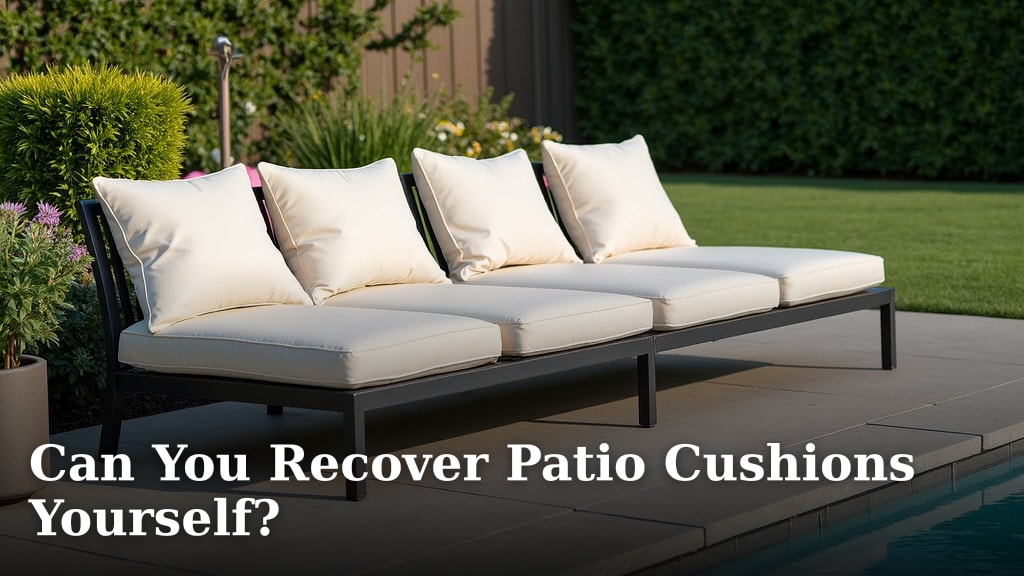
Yes, you can absolutely recover patio cushions yourself! It’s a fantastic way to save money and give your outdoor space a fresh look. Many DIYers successfully update their worn-out cushions without needing professional help. You just need a little patience and the right supplies.
When your favorite outdoor cushions start to look a bit sad, you might wonder if they’re beyond repair. We found that recovering them is often much simpler than people think. It’s a great project for breathing new life into outdoor furniture and avoiding costly replacements.
- Yes, recovering patio cushions yourself is doable!
- It’s a cost-effective way to refresh your patio.
- You’ll need fabric, a sewing machine (or needle/thread), and basic tools.
- This DIY project can save you a lot of money compared to buying new.
Let’s get started on giving your patio cushions a much-needed makeover. We’ll walk through the steps to help you achieve a professional-looking result.
Updating Your Outdoor Cushions: A DIY Guide
Yes, recovering your patio cushions yourself is a very achievable project! It’s a smart way to refresh your outdoor furniture without breaking the bank. Many people find they can do this with basic tools and a little bit of time. You can absolutely give your beloved cushions a new lease on life.
Assessing Your Cushion Project
Before you jump in, it’s smart to take a moment to assess your current cushions. Are they just faded, or is the foam inside lumpy and worn out? Knowing this will help you decide if you need just new fabric, or if you should also consider replacing the stuffing.
Is It Just a Cover or a Full Rebuild?
Sometimes, your cushion cover might be ripped or faded, but the foam inside is still perfectly good. In other cases, the foam might have compressed over time, making the cushion uncomfortable. If the foam is still firm and supportive, you’re in luck! You can likely just focus on recovering it.
If the foam feels squishy or lumpy, you might need to replace it. We found that many DIYers opt to replace the foam to get that “like new” feel. You can purchase new foam inserts at fabric stores or online. Measure your old foam carefully before buying new. Many guidelines point to using high-density foam for outdoor use (Cleveland Clinic).
What Kind of Fabric Do You Need?
This is where the fun really begins! Choosing the right fabric is key to a successful and long-lasting cushion cover. You’ll want something that can stand up to the elements. We’ve researched that outdoor-specific fabrics are designed to resist fading from the sun and moisture.
Look for fabrics made from materials like acrylic or polyester. These are generally more durable. Many brands offer solutions that are specifically treated to repel water and resist mildew. Sunbrella is a popular brand that many homeowners trust for its quality and weather resistance. Always check the fabric’s label for care instructions and suitability for outdoor use.
Gathering Your Supplies
Once you know what you’re working with, it’s time to gather everything you need. Having all your supplies ready makes the process much smoother. It’s like preparing ingredients before you start cooking; it prevents mid-project scrambling.
Essential Tools and Materials
- Outdoor Fabric: Enough to cover your cushions, plus a little extra for seams and mistakes.
- Heavy-Duty Thread: UV-resistant thread is best for outdoor projects.
- Sewing Machine: While hand-sewing is possible, a machine makes it much faster and easier.
- Sharp Scissors or Rotary Cutter: For clean fabric cuts.
- Measuring Tape or Ruler: Accuracy is important here.
- Fabric Pins or Clips: To hold the fabric in place while sewing.
- Zipper or Velcro (Optional): For easy removal and washing of cushion covers.
- Old Cushion or Cardboard: To use as a pattern for cutting new fabric.
- Staple Gun (for some methods): If you’re attaching fabric directly to a frame.
Step-by-Step: Recovering Your Cushions
Let’s dive into the actual process. We found that breaking it down into smaller steps makes it feel much more manageable. Don’t worry if you’re new to sewing; many people successfully complete this project.
Step 1: Measure and Cut Your Fabric
First, you’ll need to get precise measurements. If you’re recovering an existing cushion cover, you can use it as a template. Lay your old cover flat and measure its dimensions. You’ll typically want to add about 1 inch on all sides for seam allowance. This extra bit helps ensure a snug fit and gives you room to sew.
If you’re starting fresh, measure the length, width, and height of your cushion. For example, if your cushion is 20x20x4 inches, you’ll need fabric for the top, bottom, and sides. We found that it’s easier to cut one large piece for the top and bottom, and then separate strips for the sides. Always double-check your measurements before cutting!
Step 2: Sewing the New Cover
This is where your sewing machine comes in handy. If you don’t have one, a heavy-duty needle and strong thread can work, but it will take considerably more time and effort. You’ll be creating a “bag” for your cushion to fit into.
Start by sewing the side strips together to create a long loop. Then, attach this loop to the edge of your top fabric piece. Finally, attach your bottom fabric piece. We found that leaving one side open, or adding a zipper or Velcro strip along one edge, is essential for getting the cushion in and out. Many DIYers prefer zippers for a clean look.
Here’s a quick look at how much fabric you might need:
| Cushion Size (Approx.) | Fabric Needed (Approx.) |
|---|---|
| 18″ x 18″ x 3″ | 1.5 yards |
| 20″ x 20″ x 4″ | 1.75 yards |
| 24″ x 24″ x 5″ | 2 yards |
| Bench Cushion (e.g., 48″ x 18″ x 3″) | 2.5 yards |
Note: Always buy a little extra fabric for pattern matching or potential mistakes.
Step 3: Stuffing the Cover
Once your cover is sewn and you’ve checked that your cushion fits inside nicely, it’s time to insert your foam or stuffing. If you’re using new foam, carefully slide it into the newly sewn cover. If you’re reusing old foam, make sure it’s clean and dry before inserting.
If you’re using a zipper or Velcro closure, close it up securely. If you left an opening to be hand-sewn, carefully stitch it closed. We found that using a whipstitch creates a strong and neat seam for hand-sewing.
Step 4: Final Touches and Care
Give your newly recovered cushion a good shake. Smooth out any wrinkles. If you added a zipper, test it a few times. You’ve done it! Now your outdoor furniture looks fresh and inviting again. Remember to follow the fabric manufacturer’s care instructions to keep your cushions looking their best for seasons to come.
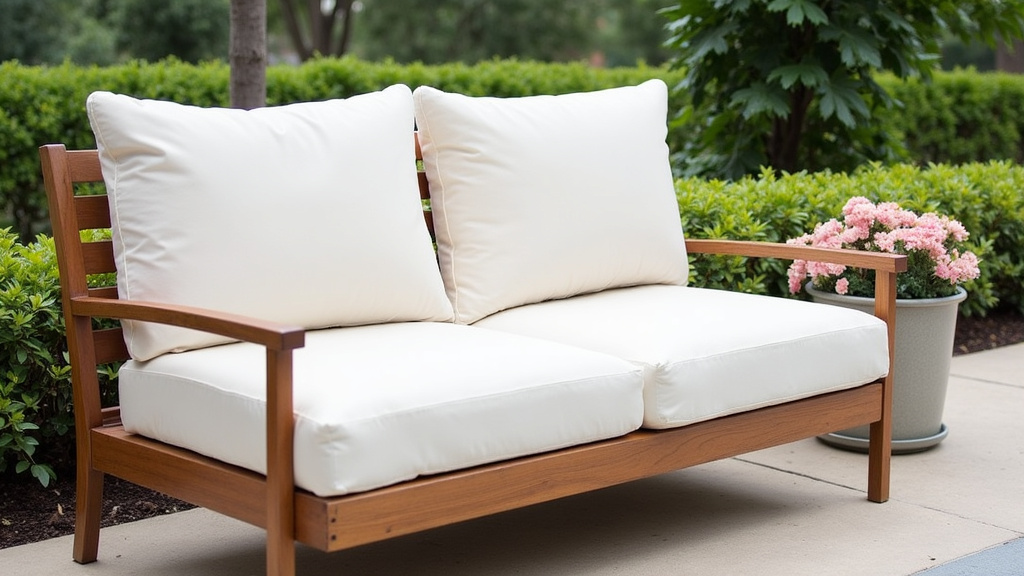
Common DIY Cushion Recovery Challenges
While recovering cushions is rewarding, you might run into a few snags. It’s helpful to be aware of common issues. Many people find these solutions work well.
Dealing with Curves and Piping
If your cushions have rounded corners or decorative piping, this adds a bit more challenge. For rounded corners, you’ll need to ease the fabric around the curve. This is done by making small clips in the seam allowance of the fabric, allowing it to lay flat. Many sewing tutorials show this technique.
Piping requires sewing a cord into the seam. You can buy pre-made piping or make your own by wrapping cording with a strip of your chosen fabric. We found that practicing sewing piping on a scrap piece first is a good idea.
Ensuring a Snug Fit
A loose cushion cover can look sloppy and might not be as comfortable. The key to a snug fit is accurate measuring and adding the correct seam allowance. If your cover ends up too loose, you can often take in the seams slightly. If it’s too tight, you might need to recut your fabric.
When to Call a Professional
While DIY is fantastic, there are times when professional help might be the better option. If your cushions are very large, have complex shapes, or if you’re working with expensive designer fabrics, you might consider it. Sometimes, a professional upholstery service can offer finishes and durability that are hard to replicate at home. We found that for very ornate furniture or delicate fabrics, professional help can be worth the investment.
A Quick Checklist for Success
Ready to start? Here’s a quick checklist to keep you on track:
- Measure twice, cut once.
- Choose durable, outdoor-rated fabric.
- Use UV-resistant thread.
- Test your sewing machine tension.
- Add a zipper or Velcro for easy removal.
- Inspect your finished cover for loose threads or seams.
Conclusion
You’ve learned that recovering your patio cushions yourself is entirely achievable and a truly rewarding DIY project. It’s a fantastic way to refresh your outdoor living space and give your furniture a new look without a huge expense. With the right outdoor fabric, a few basic tools, and a bit of patience, you can create durable, attractive cushions that you’ll be proud of. Don’t be afraid to try it; you might surprise yourself with how professional your results look! Your next step? Gather your supplies and pick out that perfect outdoor fabric to start your cushion makeover.
Frequently Asked Questions
How much outdoor fabric do I actually need?
The amount of fabric you need depends on the size of your cushions. Our guide provides a helpful table with approximate yardage for common cushion sizes. Always purchase a little extra fabric to account for any mistakes or for pattern matching.
Can I use a regular sewing machine for outdoor fabric?
Yes, most standard sewing machines can handle outdoor fabric, especially if you use a sturdy needle. You’ll want to ensure your machine’s tension is set correctly for heavier materials. Heavy-duty or UV-resistant thread is recommended for durability.
What if my cushion foam is lumpy or flat?
If your cushion’s foam has seen better days, it’s best to replace it. You can purchase new foam inserts at fabric stores or online. Make sure to measure your old foam accurately before buying to ensure a good fit for your new cover.
Is it better to use a zipper or Velcro for the cushion cover closure?
Both zippers and Velcro offer easy ways to remove your cushion covers for cleaning. Zippers often provide a cleaner, more finished look. Velcro can be quicker to install and adjust. The choice often comes down to your personal preference and sewing skill.
How do I make my recovered cushions last longer outdoors?
Choosing the right fabric is key; opt for materials specifically designed for outdoor use that resist UV rays and moisture. Regular spot cleaning and storing cushions indoors during harsh weather or off-season can also significantly extend their lifespan.
