
How to Build a DIY Fire Pit Table?
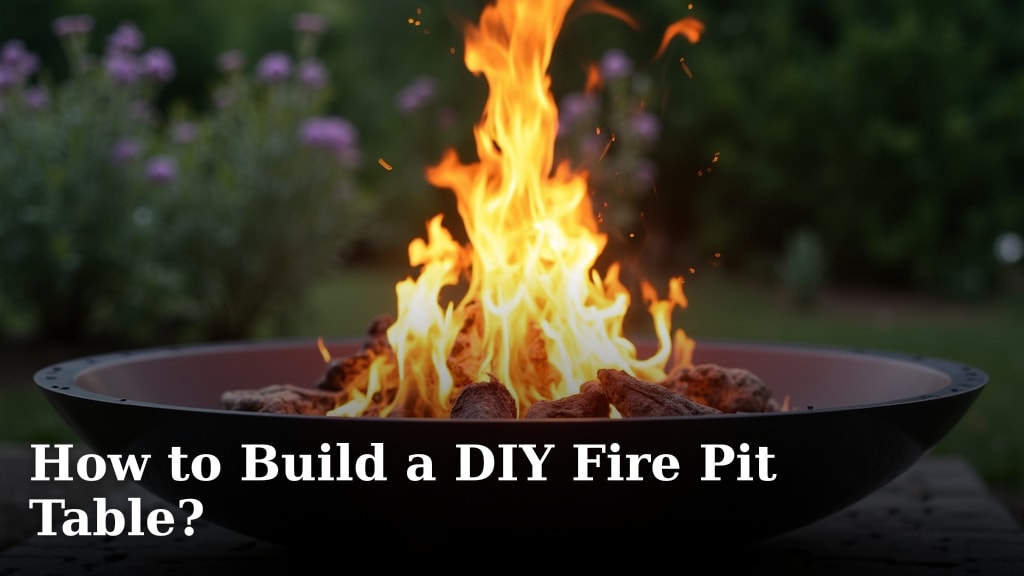
Yes, you can absolutely build your own DIY fire pit table and create a cozy outdoor gathering spot. It’s a rewarding project that adds warmth and style to your patio. You’ll be amazed at how achievable it is with the right plan and some basic tools. We found that many homeowners successfully tackle this project to customize their outdoor living space.
Building a fire pit table yourself means you get to choose the exact size, materials, and style to match your backyard decor. Imagine hosting friends and family around a beautiful, custom-made fire pit. It’s more affordable than buying a similar store-bought model, too. Many DIYers report saving a significant amount of money by creating their own.
- Gather your materials and tools.
- Prepare your chosen location.
- Construct the fire pit base.
- Add the tabletop structure.
- Install your fire pit insert.
Ready to get your hands dirty and build a fantastic fire pit table? We’ve put together a straightforward guide to help you through each step.
Your Guide to Building a DIY Fire Pit Table
Creating your own fire pit table is a fantastic project. You’ll end up with a custom piece that perfectly fits your backyard. It’s more affordable than you might think. Let’s break down how you can build one yourself.
Planning and Preparation for Your Fire Pit Project
Before you grab your tools, a little planning goes a long way. Think about the size and style you want. This will help you determine the materials and budget.
Choosing the Right Location
Pick a spot that’s level and safe. Keep it away from any structures, overhanging branches, or flammable materials. Safety first is always a good motto.
We found that local building codes often have specific requirements for fire pit placement. It’s wise to check with your local municipality for any regulations. This step can save you a lot of headaches later on.
Gathering Your Materials and Tools
You’ll need some basic building materials and tools. Think of it like gathering ingredients before baking a cake. Having everything ready makes the process smooth.
Essential Materials
- Concrete blocks or pavers: These form the base.
- Cement mortar: To hold the blocks together.
- Steel fire pit ring or insert: This is where the fire goes.
- Gravel: For drainage at the bottom.
- Optional: Wooden frame materials: If you want a tabletop.
- Optional: Tile or stone veneer: For a decorative finish.
Key Tools You’ll Need
- Shovel: For digging and leveling.
- Level: To ensure everything is straight.
- Trowel: For applying mortar.
- Measuring tape: For accurate dimensions.
- Work gloves and safety glasses: Essential for protection.
- Optional: Saw: If you’re working with wood.
Constructing the Fire Pit Base
This is where your fire pit starts to take shape. You’ll be building a sturdy foundation. It needs to be strong enough to hold the heat and the materials.
Preparing the Foundation
Dig out an area slightly larger than your planned fire pit. You want a stable base. Remove any grass or topsoil. Fill the area with a layer of gravel. This provides drainage and helps prevent frost heave.
Compact the gravel well. You can do this by tamping it down with a shovel or a tamper tool. A solid foundation prevents settling and shifting later on.
Building the Block Walls
Start laying your concrete blocks or pavers. Apply a layer of mortar to the base and between each block. Ensure each course is level and plumb.
You’ll typically build two or three courses high. This creates a good height for your fire pit. Many guides recommend staggering the blocks like brickwork for extra strength.
Place your steel fire pit ring or insert inside the block structure. Make sure it fits snugly. This ring protects the blocks from direct heat. It’s a critical safety component.
Adding the Tabletop Structure (Optional)
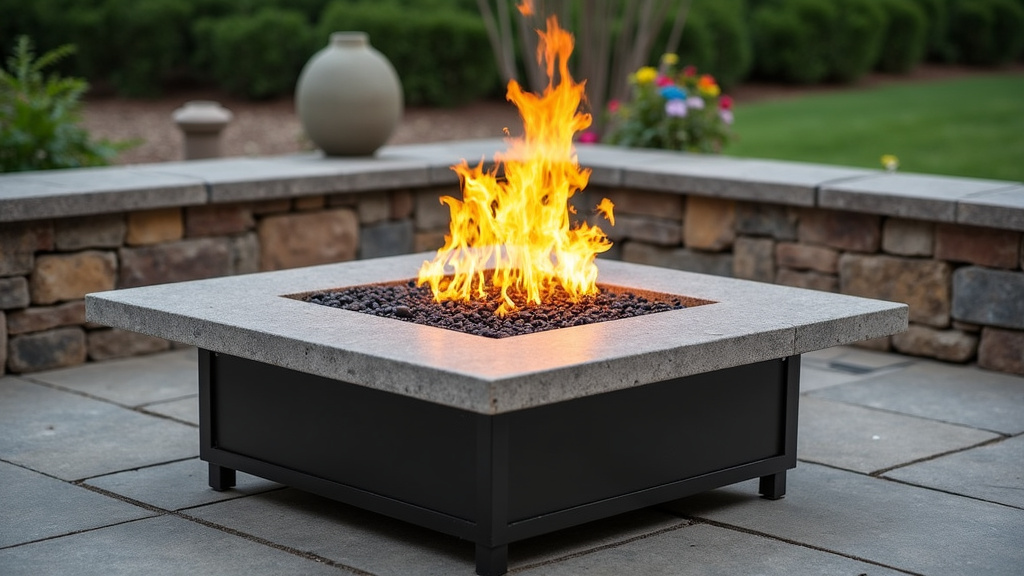
If you want a table around your fire pit, this is the next step. This adds functionality and a finished look. You can create a surface for drinks and snacks.
Designing Your Tabletop Frame
Measure the outer dimensions of your fire pit base. You’ll build a frame that extends outward from the blocks. This frame can be made from pressure-treated lumber. Think about how far you want the tabletop to overhang.
A common design uses 2x4s or 2x6s to create a square or rectangular frame. Attach these pieces securely to the block base. Make sure the frame is square and stable.
Creating the Table Surface
You can cover the wooden frame with plywood for a sub-surface. Then, you can add your desired finishing material. Options include concrete, tile, or stone pavers.
If you’re using tile or stone, apply a layer of tile adhesive. Place your chosen material carefully, leaving space for the fire pit insert. Grout the tiles once the adhesive is dry. This gives it a polished appearance.
Installing the Fire Pit Insert
This is the heart of your DIY fire pit table. The insert contains the fire and ensures safety. Make sure it’s positioned correctly.
Placing the Insert Securely
If you built your block walls to the exact size of the insert, it should simply sit in place. If you built a slightly larger opening, you might need to add some support. Ensure there’s no excessive movement.
For a propane or natural gas fire pit, this step involves more complex installation. You’ll need to connect the gas line. We found that many people opt for a wood-burning insert for simplicity. If you’re installing a gas line, consulting a professional is highly recommended for safety.
Final Touches and Safety Check
You’re almost there! A few final steps will make your fire pit table complete and safe.
Finishing and Curing
Allow any mortar or adhesive to cure fully. This can take a few days. Check the manufacturer’s recommendations for drying times. Proper curing ensures the structure is strong.
Safety First Checklist
Before you light your first fire, run through this quick safety check:
- Is the fire pit stable and on level ground?
- Are there at least 10 feet of clearance from any structures or plants?
- Is the fire pit ring or insert securely in place?
- Have you checked for any local fire pit regulations?
- Is there a fire extinguisher or water source nearby?
Once everything checks out, you’re ready to enjoy your brand-new DIY fire pit table. Gather your friends and family for some cozy evenings!
Conclusion
You’ve done it! You’ve transformed your backyard with a custom DIY fire pit table. This project not only adds a warm focal point for gatherings but also reflects your personal style and craftsmanship. Remember that careful planning and attention to safety are key to enjoying your creation for years to come. Now that your fire pit is built, your next step is simple: gather your favorite people, light a fire, and make some lasting memories around the glow of your new centerpiece.
Frequently Asked Questions
How much does it typically cost to build a DIY fire pit table?
The cost can vary widely depending on your material choices. For a basic wood-burning model using concrete blocks and a steel insert, you might spend between $100-$300. Opting for more decorative finishes like tile or stone can increase the price, but it’s often still less than buying a comparable store-bought unit.
What’s the best type of fire pit insert to use?
For DIY projects, steel fire pit rings or inserts are very popular because they’re durable and relatively easy to install. If you’re considering a gas fire pit, we found that professional installation of the gas line is highly recommended for safety. Wood-burning inserts are generally the simplest for beginners.
Can I build a fire pit table on a wooden deck?
Building directly on a wooden deck is generally not recommended due to fire risk. If you want a fire pit table near a deck, we suggest building a non-combustible base for it, such as a paver patio, or ensuring a substantial non-combustible barrier is in place between the fire pit and the deck.
How do I ensure my fire pit table is safe for use?
Safety is paramount. Always ensure your fire pit is on a level, stable surface and away from any flammable materials, including structures and overhanging branches. A minimum clearance of 10 feet is often advised. Regularly inspect your fire pit for any signs of damage, and always have a fire extinguisher or water source nearby.
What maintenance is required for a DIY fire pit table?
Basic maintenance includes cleaning out ash after each use. Periodically, you’ll want to check the mortar for cracks and the tabletop for any wear and tear. Covering your fire pit table when not in use can help protect it from the elements and prolong its lifespan.
