
How to Apply Teak Oil Evenly?
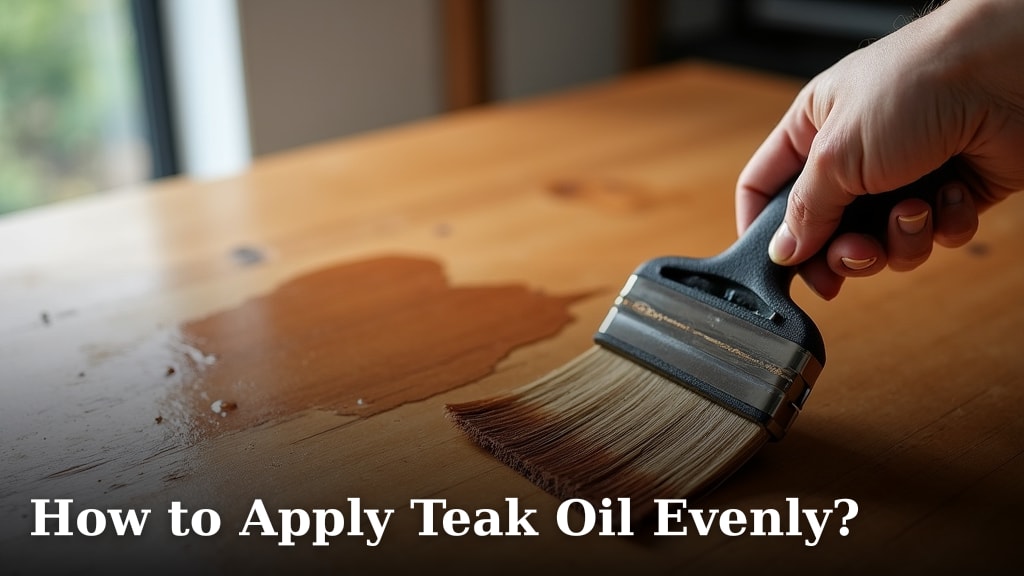
Applying teak oil evenly to your wood surfaces is quite straightforward. The key is to Our guide on how to oil teak patio furniture explains the process.apply thin coats, allow adequate drying time between applications, and wipe off excess oil before it dries. This process helps ensure a smooth, consistent finish that protects and beautifies your teak wood.
Many homeowners worry about blotchy finishes or sticky residue. We found that proper preparation and a methodical approach are essential for achieving that desired, satiny look. Understanding how teak oil penetrates the wood will help you get the best results and keep your outdoor furniture or indoor pieces looking their best for years to come.
- Prep your wood surface thoroughly.
- Apply oil in thin, even layers.
- Allow proper drying time between coats.
- Always wipe off excess oil promptly.
Let’s walk through exactly how to apply teak oil step by step to achieve that perfect, even coat you’re looking for.
Achieving a Beautiful, Even Teak Oil Finish
Applying teak oil evenly is all about patience and technique. You want that gorgeous, satiny look without sticky spots or uneven patches. We’ve found that following a few key steps makes all the difference. It’s not about speed; it’s about getting the oil to penetrate the wood uniformly.
Why Even Application Matters
An even coat of teak oil does more than just look good. It creates a protective barrier. This shield keeps moisture out and prevents your teak from drying and cracking. When the oil is applied unevenly, some areas might be over-protected while others are left vulnerable. This can lead to premature wear and tear. Your beautiful teak furniture or deck deserves a finish that’s consistent from every angle.
Gathering Your Teak Oiling Supplies
Before you start, make sure you have everything you need. This prevents interruptions and keeps your workflow smooth. You’ll need your chosen teak oil, of course. We recommend a good quality, dedicated teak oil for the best results. Other essential items include clean, lint-free cloths – old cotton t-shirts work well. You might also want a fine-grit sandpaper (around 220-grit) for any touch-ups or to smooth out rough spots. Gloves are a good idea too, to keep your hands clean. Don’t forget a small brush for getting into tight corners. Lastly, a clean, dry workspace is key. Avoid areas with a lot of dust or direct sunlight, which can make the oil dry too quickly.
Preparing Your Teak Surface for Oil
This is arguably the most important step for an even finish. Skipping preparation is like trying to paint a dirty wall; the results won’t be pretty. We’ve seen that a clean, smooth surface allows the oil to soak in evenly. Any dirt or grime can get sealed into the wood, causing dark spots.
Cleaning the Teak Wood
Start by giving your teak a good clean. For general dust and grime, a simple wipe-down with a damp cloth is often enough. If your teak has been outdoors, it might have mildew or algae. In this case, you’ll need a dedicated teak cleaner. Follow the product instructions carefully. Many cleaners require you to scrub the wood with a soft brush or cloth. After cleaning, rinse the wood thoroughly with fresh water. Allow the teak to dry completely before you proceed. This can take 24 hours or more, depending on the weather. You can speed up drying with a clean towel, but air-drying is best.
Sanding for a Smooth Finish
Once the teak is completely dry, you might want to give it a light sanding. This step is especially important if the wood feels rough or has raised grain after cleaning. Use a fine-grit sandpaper, like 220-grit. Sand with the grain of the wood. This helps to open up the wood pores, allowing the oil to penetrate better. After sanding, wipe away all the dust with a clean, dry cloth. You can also use a vacuum cleaner with a brush attachment. Ensuring there’s no dust left is critical for a smooth, even finish. If you skip this, you might find that the oil looks patchy where the dust prevented absorption.
The Art of Applying Teak Oil Evenly
Now for the main event! The trick to an even application is working in manageable sections and applying thin coats. Think of it like feeding a thirsty plant; you give it water gradually, not all at once. We found that over-applying oil leads to stickiness and blotches.
Working in Small Sections
Don’t try to oil the entire piece of furniture or deck at once. Divide your project into smaller, manageable sections. For a table, you might do one plank at a time. For a chair, you might do the legs, then the seat, then the back. This allows you to focus on applying the oil evenly to each area before moving on. It also prevents the oil from drying out on one part while you’re still working on another. Keeping a wet edge is important here, meaning you’re blending the new oil application into the oiled section.
Applying Thin, Liberal Coats
Open your teak oil. Dip a clean, lint-free cloth into the oil, or use a brush to apply it. You don’t need to soak the cloth. You’re aiming for a liberal but thin coat. Spread the oil evenly over your chosen section. Work it into the wood grain. Don’t let the oil puddle. If you see any thick spots, spread them out. The goal is for the wood to absorb the oil. It should look wet, but not swimming in oil. We found that applying it too thickly is a common mistake that leads to uneven finishes. Less is often more with teak oil.
Using a Brush for Detailed Areas
For areas with carvings, crevices, or tight corners, a small brush is your best friend. Dip the brush lightly into the oil and carefully apply it to these detailed spots. Make sure to get the oil into all the nooks and crannies. Then, use your cloth to gently spread it and remove any excess. This ensures that even the most detailed parts of your teak get the protection they need.
Allowing Proper Drying Time
This is where patience really pays off. After applying a thin coat to a section, let it sit for a bit. The wood needs time to absorb the oil. How long? It depends on the oil and the wood, but typically 15 to 30 minutes is a good starting point. You’ll notice the wood’s sheen changing as it absorbs the oil. Some areas might look dry sooner than others. This is normal.
Wiping Off Excess Oil Promptly
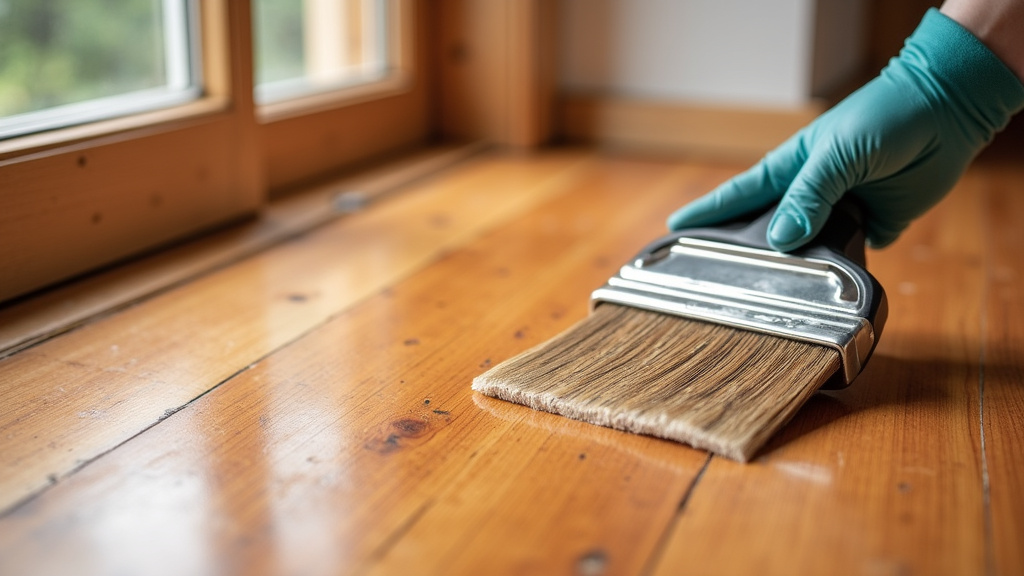
This step is non-negotiable for an even finish. After the oil has had time to soak in, grab a clean, dry cloth. You need to wipe off any oil that hasn’t been absorbed by the wood. If you don’t, this excess oil will dry on the surface, creating a sticky, uneven, and potentially gummy finish. This is where many DIYers run into trouble. Gently wipe down the entire section you just oiled. You’re essentially buffing the surface. The wood should look satiny, not wet and shiny. We found that checking thoroughly for any missed oily spots is key. Pay close attention to corners and edges.
Building Up Coats for Durability
One coat of teak oil is rarely enough. Building up multiple thin coats is what gives your teak its beautiful, deep luster and long-lasting protection. Each coat adds another layer of defense and enhances the wood’s natural beauty. Remember, we’re aiming for thin, even applications each time.
Repeating the Process
Once you’ve oiled a section, wiped off the excess, and it has dried to a satiny finish, you can move on to the next section. Continue this process until the entire piece of teak is covered. Then, let the first section you oiled dry further before applying a second coat. The total drying time between coats is crucial. Many experts suggest waiting at least 4 to 6 hours between coats, but some recommend up to 24 hours, especially in humid conditions (Woodworking Network). This allows the oil to cure properly.
Assessing When to Add More Coats
How many coats do you need? It varies. For a good initial protection, three to four coats are often recommended. You’ll know you’ve achieved a good level of protection when water beads up on the surface rather than soaking in. After the first few coats, you can assess the wood’s appearance. If it still looks a bit dull or dry in areas, another coat might be beneficial. Always remember to wipe off the excess oil after each application. This prevents build-up and ensures that satiny finish you’re after.
A Checklist for Success
To make sure you get that perfect, even coat, keep this simple checklist handy:
- Clean your teak thoroughly.
- Lightly sand with the grain if needed.
- Wipe away all sanding dust.
- Work in small, manageable sections.
- Apply oil in thin, even layers.
- Allow adequate drying time between coats.
- Crucially, wipe off ALL excess oil before it dries.
Common Pitfalls to Avoid
Even with the best intentions, you might run into a few issues. Knowing what to look out for can save you a lot of frustration. We found that understanding these common problems helps in preventing them.
The Dreaded Sticky Residue
This is the most common problem. It happens when excess oil isn’t wiped off properly. The oil dries on the surface instead of penetrating the wood. If you find your teak is sticky, don’t panic. You might be able to fix it. Try buffing the sticky areas with a clean cloth, applying a little pressure. If that doesn’t work, you may need to very lightly sand the sticky spots with fine-grit sandpaper and then reapply a thin coat of oil, making sure to wipe off all excess this time.
Uneven Color or Blotching
This can occur if the wood wasn’t prepared properly, or if the oil was applied unevenly in the first place. Teak can sometimes have natural variations in color and density, which can lead to blotching. Applying oil in thin, consistent coats and allowing adequate drying time can help minimize this. If blotching is significant, you might consider sanding the entire piece again and starting the oiling process from scratch. Sometimes, a good quality oil with pigments can help even out the color over time.
Over-Oiling in Corners and Edges
It’s easy to get a bit too much oil in the nooks and crannies. These areas can become puddles if you’re not careful. Always pay extra attention when wiping off excess oil from edges and corners. A clean, dry cloth can be folded to get into tighter spaces. If you notice too much oil pooling, gently wick it away with the corner of a cloth.
Conclusion
You’ve learned that achieving a beautiful, even teak oil finish is entirely within your reach. Remember, patience and preparation are your best friends throughout this process. By cleaning and sanding your teak thoroughly, working in thin, manageable coats, and diligently wiping off any excess oil, you’ll protect your wood and achieve that gorgeous, satiny look you desire. Don’t rush the drying times between coats; this step is key to preventing sticky residue. Your beautiful teak furniture will thank you for the care you’ve given it. Now, go ahead and give your teak the royal treatment it deserves!
Frequently Asked Questions
How often should I reapply teak oil?
The frequency of reapplication depends on your teak’s exposure to the elements. For outdoor furniture, we’ve found that reapplying once or twice a year is often sufficient. Bring your teak indoors or cover it during harsh weather to extend the time between oilings.
Can I use a different type of oil on teak?
While other oils might seem similar, dedicated teak oil is formulated to penetrate teak wood effectively and provide optimal protection. Using a different oil might lead to a sticky finish or less durable protection. We recommend sticking with a quality teak oil for the best results.
What should I do if I accidentally apply too much oil?
If you’ve applied too much oil and it hasn’t dried, grab a clean, lint-free cloth and wipe away the excess thoroughly. If the oil has already started to dry and feels sticky, try buffing the area with a clean cloth. For stubborn stickiness, you might need to lightly sand and reapply a thin coat.
Is sanding really necessary every time I oil?
Light sanding before the first coat is highly recommended to open the wood pores for better oil absorption. For subsequent coats, you generally only need to sand if the wood feels rough or if there are imperfections. Always sand with the grain and wipe away all dust.
Can I oil teak in direct sunlight?
We strongly advise against oiling teak in direct sunlight or in very hot conditions. The sun’s heat can cause the oil to dry too quickly on the surface, leading to an uneven finish and potential blotchiness. Work in a shaded area for the best results.
