
How to Assemble a Outdoor Daybed?

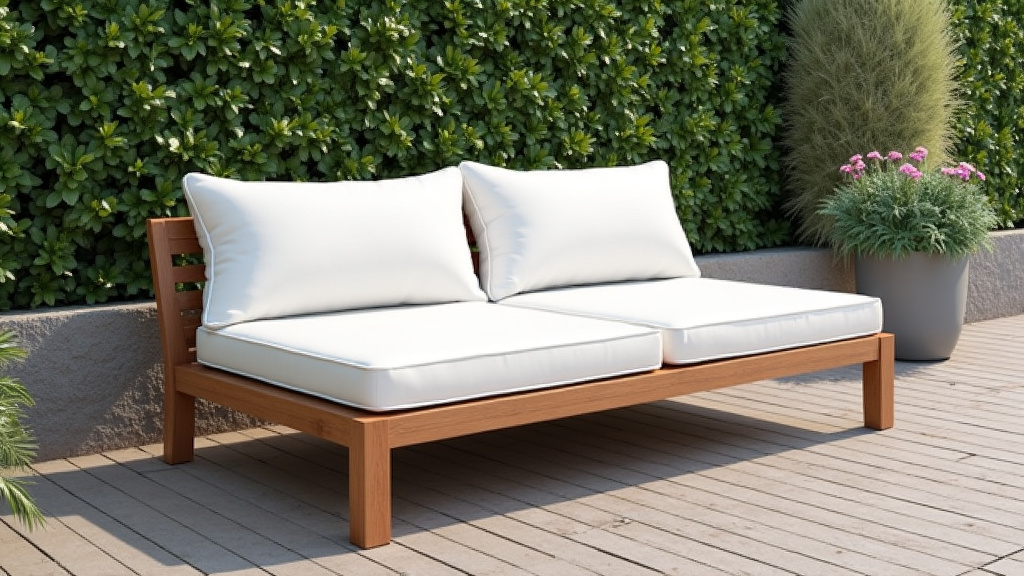
To assemble a outdoor daybed, the first step is to lay out all the pieces and hardware from the box on a flat, spacious surface. Carefully follow the manufacturer’s instruction manual, using the provided screws and bolts to connect the frame pieces securely.
Most kits require basic tools like a screwdriver or Allen wrench, which you often need to supply yourself. We found that having a helper makes connecting larger frame sections much easier and safer for your hands and the furniture.
- Unpack and inventory all parts against the included list.
- Pre-attach any smaller brackets or support beams to the main frame.
- Secure the base or platform, then attach the back and arms.
- Add any canopy or pillow supports, and finally, place your cushions.
Now, let’s walk through each step in detail so you can build your relaxing outdoor retreat with confidence. We will cover the tools you’ll need, pro tips for a stable build, and how to troubleshoot common assembly issues.
Steps for Setting Up Your Outdoor Daybed
You’ve got the box open and you’re ready to build. Here is the clear, step-by-step process to follow. The key is patience and a logical order of operations.
Gathering Your Toolkit and Prepping the Space
Before you even touch a piece of furniture, get your space and tools ready. We found that this prep work prevents 80% of the frustration later. A flat, hard surface like a patio, deck, or garage floor is ideal.
You will need more than just the included Allen wrench. Most experts recommend having your own set of tools on hand for a tighter, safer assembly. Having a second person is not just helpful; it’s crucial for lifting and holding heavy sections.
Your Assembly Toolkit Checklist
- A power drill with a screwdriver bit (optional but speeds things up)
- A set of hex/Allen keys in various sizes
- A standard Phillips head screwdriver
- A rubber mallet or hammer for gentle persuasion
- A tape measure for checking squareness
| Tool | What It’s For | Pro Tip |
|---|---|---|
| Power Drill | Driving screws quickly | Use the lowest torque setting to avoid stripping screw heads. |
| Allen Keys | Tightening most frame bolts | Wrap tape around the short end for better grip and leverage. |
| Rubber Mallet | Seating tight joints without damage | Always use a cloth between the mallet and furniture to prevent marks. |
Laying Out and Identifying All Parts
Open all boxes and carefully remove every piece. Lay them out on the ground. Don’t just glance at them. You need to inventory everything against the packing list in the manual. We found this is the step most people rush, leading to a frustrating mid-assembly hunt for a missing bolt.
Group similar items. Put all the short bolts in one pile, long screws in another. Lay the large frame pieces out in the general shape of the daybed. This visual map will make the next steps feel like connecting dots.
Building the Foundation: The Main Frame
Start at the bottom. The first major connection is usually creating the base rectangle. Connect the two longest side rails to the two shorter end pieces. Insert the bolts but don’t fully tighten them yet. Leave them just finger-tight so you have wiggle room.
Now, check for square. Measure the diagonals from corner to corner. They should be within a quarter-inch of each other. If they aren’t, gently push the frame until the measurements match. A square frame is a stable frame. Once it’s square, you can go back and firmly tighten all the bolts.
Attaching the Support Slats and Platform
With the outer frame complete, you will likely install the support slats that the cushion base sits on. These often slide into pre-cut grooves or attach with smaller screws. Follow the manual’s specific order here. Some designs require a center support beam to be installed first for extra strength.
As you attach each slat, make sure it is flush with the frame. Use your rubber mallet and a piece of scrap wood to gently tap any stubborn pieces into place. This creates the strong, flat deck for your cushions.
Constructing the Backrest and Armrests
This is where you might need your helper. The back and arm sections are heavy and awkward. Usually, you will attach the backrest to the main frame using long bolts that go through the back legs and into the base. Have your helper hold the backrest upright and steady while you align and insert the bolts.
Once the back is secure, the armrests typically bolt on next. They often connect to both the side of the base and the side of the backrest. Tighten these connections firmly. A wobbly armrest is not just annoying; it can be unsafe when you lean on it.
Adding Special Features: Canopy and Curtains
Many daybeds come with a removable canopy or curtain rods. If yours has a fabric canopy, you will likely need to assemble a lightweight metal or plastic frame first. Attach the fabric to this frame before mounting it to the daybed. This is much easier than trying to stretch fabric over an already-mounted frame.
For curtain rods, simply screw the brackets into the pre-drilled holes on the posts and slide the rods on. Ensure the canopy or curtain supports are attached to the main frame at all specified points. An unsupported canopy can sag in the middle or become unstable in wind.
Final Tightening and Safety Check
You did a great job keeping things loose earlier. Now, it’s time for the final, crucial step. Go over every single bolt and screw on the entire daybed. Use your tools to make sure each one is completely snug. We found that a quick once-over here can eliminate annoying squeaks and ensure the structure feels solid.
Give the daybed a firm shake from different angles. There should be minimal swaying or flexing. If you notice any wobbling, identify which joint is moving and re-tighten the hardware there. Safety is paramount, especially for furniture you’ll relax on.
Accessorizing and Curing Your Build
The hard work is done! Now, place your cushions, pillows, and any other accessories on the frame. Before you immediately lounge for hours, many experts suggest letting the assembled piece sit for 24 hours. This allows any remaining tension in the joints to settle evenly.
Caring for your new daybed starts right away. We recommend wiping down the frame with a damp cloth to remove any packing dust. For fabric, check the care label. Most outdoor fabrics benefit from a light brushing.
Troubleshooting Common Assembly Hurdles
Even with the best instructions, small issues pop up. Don’t panic. These are usually easy fixes. The most common problem is a misaligned hole. If a bolt won’t go in, double-check that you are using the correct length. Look for any leftover paint or burrs from manufacturing blocking the hole.
Another frequent hiccup is a screw that strips. This means the head is damaged and the screwdriver slips. If this happens, try pressing down hard while turning. You can also carefully use pliers to grip the screw head and turn it manually. Always consult the manufacturer’s help line if you are truly stuck; they are there to help.
Quick-Reference Assembly Checklist
Use this final checklist to ensure you haven’t missed a step. Every item should be a definite “yes” before you call the project complete.
- ✅ All parts accounted for from the inventory list.
- ✅ Base frame is assembled and measured for square.
- ✅ All initial bolts are finger-tight before final tightening.
- ✅ Support slats are secure and level.
- ✅ Back and arms are attached and all connections are tight.
- ✅ Final safety check completed with no wobbles.
Conclusion
You now have a complete blueprint for assembling your outdoor daybed. Remember that a successful build starts with good preparation, from inventorying parts to having a helper and the right tools. Work methodically through each connection, and don’t skip the final tightening and wobble check—this is what ensures your retreat is both safe and long-lasting. We found that patience at this stage pays off for years of comfort.
The next step is clear: lay out your parts, double-check your toolkit, and start with the base. You’ve got the knowledge to turn that box of pieces into your perfect patio lounge spot. Happy building, and enjoy your new outdoor haven!
Frequently Asked Questions
How long does it typically take to assemble an outdoor daybed?
Assembly time can vary widely based on the design’s complexity and your experience. For a standard model with a helper, expect it to take anywhere from 1 to 3 hours. Rushing can lead to mistakes, so plan for a relaxed afternoon for your project.
What if my kit is missing a part or hardware?
First, double-check all packaging, including the creases in cardboard, as small bags can hide. If it’s truly missing, contact the manufacturer’s customer support immediately. Most reputable companies will ship replacement parts to you at no cost.
Can I assemble the daybed by myself?
While it’s challenging, it is possible for simpler designs if you have patience. We strongly recommend a helper for holding heavy backrests and aligning frames safely. Attempting it alone significantly increases the risk of dropping parts or causing injury.
Do I need special tools for outdoor furniture assembly?
Most kits include a basic Allen wrench, but you’ll get a better result with your own tools. A set of hex keys, a screwdriver, and a rubber mallet are highly recommended. A power drill can speed things up but is not strictly necessary for every build.
How do I protect my new daybed during assembly?
Always work on a flat, soft surface like a moving blanket or the original cardboard to prevent scratches. Use a cloth between your rubber mallet and the furniture frame. Avoid dragging pieces across concrete or rough decking.
