
How to Season Teak Furniture?

To properly season teak furniture, you should clean it thoroughly first, then apply a high-quality teak sealer or protector. This process helps maintain its natural beauty and protects it from the elements. Skipping this step can lead to premature aging and damage.
You might wonder if teak oil is the right choice, but many experts actually advise against it for outdoor teak. We found that teak sealers offer better UV protection and prevent mildew growth. Your goal is to preserve the wood’s integrity and lovely appearance.
- Clean teak thoroughly before any treatment.
- Choose a quality teak sealer or protector.
- Avoid traditional teak oil for outdoor pieces.
- Protect your teak from sun and moisture.
- Maintain its golden-brown color or let it naturally gray.
Let’s walk through exactly how to season your teak furniture, step by step, so you can enjoy it for years to come.
Preparing Your Teak Furniture for Seasoning
Proper preparation is the secret to long-lasting results. Think of it like preparing a canvas before painting. You wouldn’t skip sanding, would you? The same care applies to your teak.
Assessing Your Teak’s Current Condition
Before you begin, take a good look at your furniture. Is it new? Has it been outside for years? Is it coated with anything? This helps you choose the right approach. New teak needs less cleaning. Older, weathered teak might need more effort.
New Teak vs. Weathered Teak
New teak has a beautiful golden-brown color. It’s often smooth and clean. Weathered teak, on the other hand, usually has a silvery-gray patina. It might feel a bit rough or even have some mildew spots. We found that the condition dictates your first steps.
- New Teak: A gentle cleaning is usually enough.
- Weathered Teak: Requires a more thorough cleaning to remove grime and graying.
Gathering Your Supplies
Having everything ready before you start makes the process much smoother. No one wants to stop mid-task to hunt for a brush! Here’s what you’ll likely need:
- Soft-bristle brush or sponge
- Clean cloths or rags
- Bucket(s)
- Garden hose or pressure washer (use with caution)
- Teak cleaner (specifically designed for teak)
- Teak sealer or protector
- Fine-grit sandpaper (180-220 grit, optional)
- Gloves and eye protection
- Drop cloths or plastic sheeting
The All-Important Cleaning Process
You can’t season dirty teak. It’s like trying to wax a muddy car. Cleaning is a non-negotiable step. It removes dirt, grime, and any previous treatments, allowing the new protector to bond properly.
Gentle Cleaning for New or Lightly Soiled Teak
For furniture that’s fairly new or just a little dusty, a simple wash often does the trick. You want to remove surface impurities without harsh chemicals.
- Rinse thoroughly: Use a garden hose to wet the entire surface. This helps loosen dirt.
- Apply mild soap: Mix a few drops of mild dish soap with water. We found this often works well.
- Scrub gently: Use a soft-bristle brush or sponge. Always scrub in the direction of the wood grain.
- Rinse again: Make sure all soap residue is gone. Any leftover soap can interfere with your sealer.
- Dry completely: Allow the furniture to air dry fully. This can take 24-48 hours depending on humidity.
Deep Cleaning for Weathered or Heavily Stained Teak
If your teak has turned gray, has mildew, or stubborn stains, you’ll need a stronger approach. This is where teak cleaners really shine.
Choosing and Using a Teak Cleaner
Not all cleaners are created equal. Always choose a cleaner specifically formulated for teak. These are designed to lift grime without harming the wood itself. Many experts say to avoid harsh household cleaners. They can strip natural oils or leave residues (The Wood Database).
- Wet the furniture: Thoroughly wet the teak with water.
- Apply cleaner: Follow the product instructions carefully. Some cleaners are sprays, others are concentrates.
- Let it dwell: Allow the cleaner to sit for the recommended time. This gives it time to break down dirt.
- Scrub with purpose: Use a medium-bristle brush, again moving with the grain. You’ll often see the gray or dirt lifting away.
- Rinse extensively: This is critical. Rinse, rinse, and rinse again. You want absolutely no cleaner residue left.
- Inspect and repeat (if necessary): If some areas are still gray or stained, you might need a second application.
- Allow to dry fully: This step cannot be rushed. Moisture can trap under the sealer, leading to problems.
Sanding: When and How to Do It
Sanding isn’t always necessary, but it can dramatically improve the feel and appearance of your teak. It smooths rough surfaces and can help remove stubborn graying.
Deciding if Sanding is Needed
You might skip sanding if your teak is new and smooth. However, if your furniture feels rough, has raised grain after cleaning, or you want to restore that “like new” smoothness, sanding is a great option. It’s often recommended after a deep cleaning to open the wood pores for better sealer absorption.
The Sanding Technique
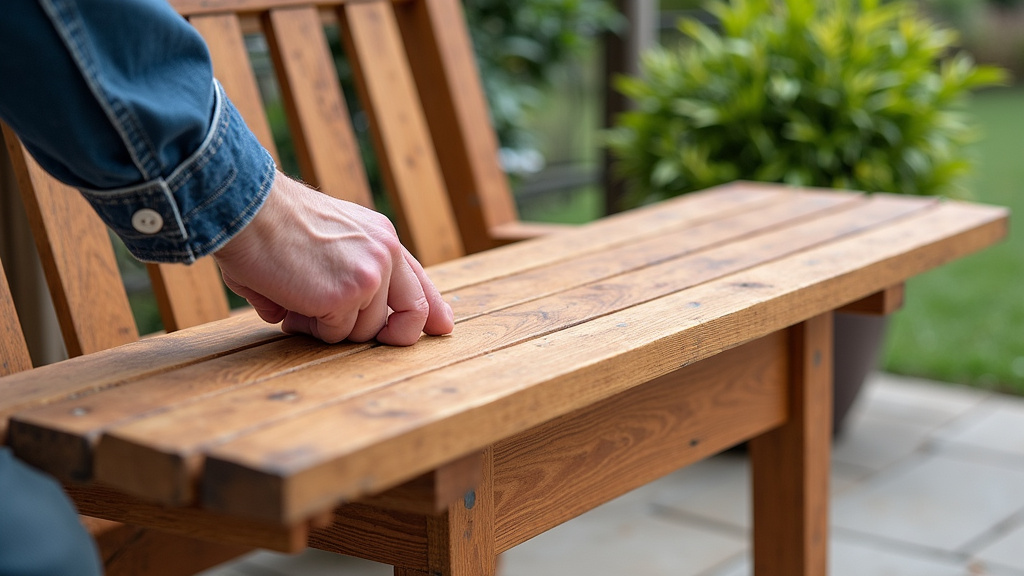
Always use fine-grit sandpaper (180-220 grit). Coarser grits can scratch the teak too deeply. Always sand with the grain of the wood. Sanding against the grain creates noticeable scratches that are hard to remove.
- Light, even pressure: You’re not trying to remove a lot of wood, just smooth the surface.
- Work in sections: This helps ensure you cover everything evenly.
- Wipe away dust: After sanding, use a clean cloth to wipe away all dust. You can even give it a light rinse and let it dry again to be sure.
Choosing the Right Teak Protector: Sealer vs. Oil
This is where many people get confused. Teak oil sounds logical, right? But for outdoor furniture, it’s often not the best choice. Let’s clarify why.
Why Teak Sealers are Generally Preferred
We found that teak sealers offer superior protection for outdoor furniture. They create a barrier on the wood surface that repels water and provides UV protection. This means your teak will resist graying and mildew much better. Many experts point to teak sealers as offering longer-lasting protection (Teak Furniture Care Guide).
Think of a sealer like sunscreen for your teak. It blocks harmful rays and keeps moisture out. It helps preserve the golden-brown color you love.
The Lowdown on Traditional Teak Oil
Traditional teak oil is often linseed or tung oil based. While it makes teak look beautiful initially, we found it has some downsides for outdoor use. Teak oil often provides little to no UV protection. This means your teak will still gray relatively quickly.
It also tends to attract mildew and dirt, turning the wood dark and blotchy over time. If you use teak oil, you’ll likely need to reapply it much more frequently, sometimes every few months, compared to a sealer. Many experts recommend against it for outdoor applications.
| Feature | Teak Sealer/Protector | Traditional Teak Oil |
|---|---|---|
| Protection Type | Forms a protective barrier | Penetrates and “feeds” the wood |
| UV Protection | Excellent | Minimal to none |
| Mildew Resistance | Very Good | Poor (can encourage growth) |
| Color Retention | Maintains golden-brown color | Allows graying, can darken wood |
| Application Frequency | Annually or bi-annually | Every 3-6 months |
Applying Your Chosen Teak Sealer or Protector
Now for the main event! Applying the sealer correctly ensures your hard work pays off. This is where you protect your teak’s beauty for the long haul.
Step-by-Step Application
Before you start, make sure you’re working in a well-ventilated area. Avoid direct sunlight during application, as it can cause the sealer to dry too quickly and unevenly. Always read the specific instructions on your chosen product, as formulas can vary slightly.
- Stir the product: Don’t shake it, stir it gently to ensure all components are mixed.
- Apply with a cloth or brush: Use a clean, lint-free cloth or a foam brush. Apply the sealer in a thin, even coat, always moving with the grain of the wood.
- Wipe off excess: This is crucial. After 5-15 minutes (check product directions), wipe off any unabsorbed sealer with a clean cloth. If you leave it on, it can become sticky or uneven.
- Allow to cure: Most sealers need a specific drying time between coats and a longer curing time before full use. This could be 24-48 hours. Avoid rain or heavy dew during this period.
- Consider a second coat: Many sealers benefit from a second thin coat after the first has dried to the touch. This often provides enhanced protection.
Important Tips for Best Results
A little extra care during application can make a big difference in the outcome and longevity of your sealing job.
- Test in an inconspicuous area: Always do a patch test first. This lets you see how the sealer looks and behaves on your specific teak.
- Wear protective gear: Gloves protect your hands, and eye protection is always a good idea.
- Avoid puddling: Ensure the coat is thin and even. Puddles can lead to sticky spots or an uneven finish.
- Proper ventilation: Work outdoors or in a very well-ventilated space to avoid inhaling fumes.
- Dispose of rags properly: Some oil-based products can spontaneously combust if rags are balled up. Lay them flat to dry or immerse them in water before disposal.
Maintenance After Seasoning
Your work isn’t done forever! Regular maintenance keeps your teak looking its best. It’s like checking the oil in your car – small, consistent efforts prevent bigger problems.
Routine Cleaning and Inspection
Even with a sealer, dust and dirt will accumulate. A simple wipe-down with a damp cloth regularly will help keep your furniture clean. We also recommend inspecting your teak periodically. Look for any signs of wear, fading, or damage.
Keep an eye out for these:
- Dull spots where the sealer might be wearing thin.
- Water not beading up as much as it used to.
- Any signs of mildew returning.
- Cracks or splits in the wood.
Reapplication Schedule
How often you need to reapply sealer depends on your climate, how much sun your furniture gets, and the specific product you used. Many sealers recommend reapplication every 12-24 months. You’ll know it’s time when water stops beading on the surface or the color starts to fade slightly.
When it’s time to reapply, usually a good cleaning (often without the deep scrub) and another thin coat of sealer are all you need. You’re simply refreshing the protective layer.
