
How to Paint Metal Patio Furniture?
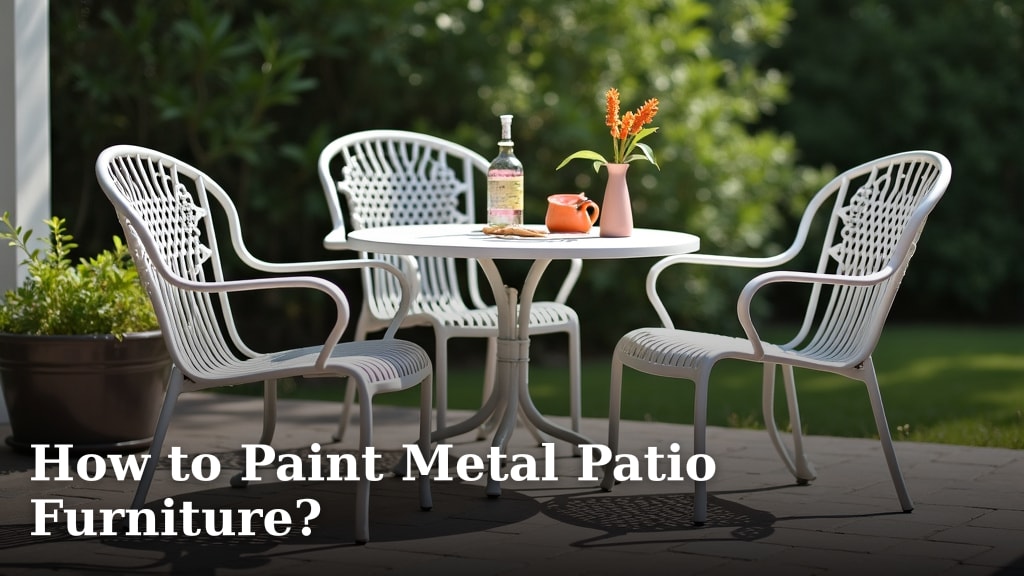
The easiest way to paint metal patio furniture is by thoroughly cleaning and prepping the surface, then applying rust-inhibiting spray paint for outdoor use. This process revives your outdoor pieces, making them look new again.
You can give your tired metal patio furniture a fresh lease on life with just a little effort. A good paint job protects it from the elements and adds a pop of color to your yard. We found that choosing the right paint and technique makes all the difference.
- Clean furniture thoroughly.
- Sand rough spots.
- Apply primer.
- Use outdoor-specific paint.
- Allow proper drying time.
Ready to transform your outdoor space? Let’s walk through exactly how to paint metal patio furniture, step by step.
Revitalizing Your Metal Patio Furniture: A Step-by-Step Guide
Transforming your patio furniture might seem like a big job. But with the right approach, you can give those metal pieces a stunning makeover. We’ll walk you through each step, making sure your furniture looks great and lasts for years.
Gather Your Supplies Before You Start
Before you begin, gathering all your materials is key. Nothing slows down a project like having to stop for another trip to the store. We found that having everything ready makes the process much smoother.
Essential Tools and Materials You’ll Need
You’ll need a few basics to get started. Think about what you’ll use for cleaning, sanding, and painting. Don’t forget your safety gear!
- Wire brush or sandpaper (medium and fine-grit)
- Degreaser or heavy-duty cleaner
- Rust-inhibiting primer
- Metal-specific spray paint for outdoor use
- Clear topcoat (optional, but recommended for extra protection)
- Drop cloths or old newspapers
- Painter’s tape
- Gloves, safety glasses, and a respirator mask
- Clean rags or sponges
- Bucket of water
Preparation Is Half the Battle: Cleaning and Sanding
Prepping your furniture is perhaps the most important part of this whole project. Skipping this step can lead to a peeling, uneven finish. We can’t stress this enough: a clean, smooth surface is vital for paint to adhere properly.
Thoroughly Clean Your Furniture
First, remove all loose dirt and debris. A good rinse with a hose can do wonders. Then, it’s time for a deeper clean.
Use a strong cleaner to cut through grime. Many sources, like the Environmental Protection Agency (EPA), suggest choosing cleaners that are effective yet environmentally friendly. Mix your degreaser with water according to the product’s instructions. Scrub every surface of your furniture with a brush or sponge. Make sure to get into all the nooks and crannies.
After scrubbing, rinse the furniture completely. You want to remove all traces of the cleaner. Let the furniture dry fully. This might take several hours, especially on a humid day.
Address Rust and Rough Spots
Rust is the enemy of a good paint job. If your furniture has rust, you need to tackle it head-on. Ignoring rust means it will eventually come through your new paint.
Use a wire brush or sandpaper to remove any visible rust. Medium-grit sandpaper (around 100-150 grit) works well for initial rust removal. For smoother areas, use a finer grit (220 grit) to scuff the surface. This creates tiny scratches that help the paint stick better. Your goal is a dull, even surface, not a shiny one.
After sanding, wipe down the furniture with a damp cloth to remove any dust. Let it dry completely again.
Priming for Perfection: Laying the Foundation
Primer is your secret weapon. It creates a uniform surface for the paint and helps prevent rust from reappearing. Think of it as a blank canvas for your color.
Choosing the Right Primer
For metal outdoor furniture, you absolutely need a rust-inhibiting primer. This type of primer contains special chemicals that fight rust. We found that using a spray primer is often easiest for furniture with intricate details.
You can choose a primer that’s close to your final paint color, or a neutral gray. Either way, make sure it’s designed for outdoor metal use. Always read the label for specific instructions.
Applying the Primer Evenly
Before you spray, shake the can well for at least a minute. This ensures the pigments are properly mixed. Hold the can about 8-12 inches away from the surface. Use steady, sweeping motions. Apply several thin coats instead of one thick one. This prevents drips and runs.
Allow each coat of primer to dry according to the manufacturer’s directions. This is usually 15-30 minutes between coats. Once the final coat is on, let it cure fully before moving to the next step. This could be a few hours.
| Step | Purpose | Key Action | Drying Time (Approx.) |
|---|---|---|---|
| Cleaning | Remove dirt, grime, grease | Scrub with degreaser, rinse thoroughly | 1-2 hours |
| Sanding | Remove rust, scuff surface | Wire brush/sandpaper until dull | N/A (dry process) |
| Priming | Prevent rust, improve adhesion | Apply 2-3 thin coats of rust-inhibiting primer | 15-30 min between coats, 2-4 hours final cure |
Painting Your Furniture: Adding Color and Protection
Now for the fun part: adding color! This is where your furniture truly starts to come back to life. Choose a color that complements your outdoor space.
Selecting the Best Outdoor Paint
You need paint that can stand up to the elements. Look for spray paints specifically designed for outdoor metal surfaces. We recommend “all-in-one” paint and primer products if you want to save a step, but separate primer and paint often offer superior durability. Rust-Oleum and Krylon are popular brands known for their outdoor metal paints.
Consider the finish you want: matte, satin, semi-gloss, or gloss. Each offers a different look. Glossier finishes are often easier to clean.
Applying Multiple Thin Coats of Paint
Just like with primer, thin, even coats are best. Shake the can well. Hold it at the recommended distance and use smooth, overlapping passes. Avoid stopping in the middle of a pass, as this can create uneven spots.
Apply 2-3 coats of paint, allowing adequate drying time between each. Usually, 30 minutes to an hour between coats is sufficient, but always check the can. Patience is your friend here. Rushing can lead to drips, uneven coverage, and a less durable finish.
We’ve found that trying to cover everything in one thick coat almost always leads to disappointment. It’s like trying to bake a cake too fast; it just doesn’t turn out right.
Finishing Touches: Topcoat and Curing
You’re almost there! A clear topcoat isn’t always necessary, but it’s a great way to add an extra layer of protection and shine to your newly painted furniture.
Optional: Applying a Clear Topcoat
A clear topcoat provides additional durability against UV rays, scratches, and general wear and tear. It can also enhance the sheen of your paint. If you opted for a matte paint, you might skip this step, or choose a matte topcoat.
Apply the clear topcoat in the same way you applied the paint: thin, even coats. Two coats are usually sufficient. Again, let each coat dry thoroughly according to the product’s instructions.
Allowing for Full Curing Time
This is arguably as important as the initial prep. Paint feels dry to the touch long before it’s fully cured. “Dry to touch” simply means it won’t smudge. “Cure time” means the paint has hardened completely and reached its maximum durability.
For outdoor furniture, this can take anywhere from 24 hours to several days, or even a week, depending on humidity and temperature. Placing your furniture back outside too soon can lead to chipping, scratching, or sticking. Read your paint can’s instructions carefully for exact curing times. We found that waiting an extra day or two often pays off in the long run.
Maintain Your Refinished Furniture
Now that your furniture looks fantastic, how do you keep it that way? A little ongoing care will make your hard work last.
- Clean regularly: Wipe down with mild soap and water to remove dirt and pollen.
- Touch up scratches: Keep a small can of your paint for quick touch-ups if scratches occur.
- Store properly: During harsh weather seasons, consider covering or storing your furniture indoors. This greatly extends its life.
- Reapply a topcoat: Every few years, you might consider reapplying a clear topcoat to refresh protection.
Painting Project Checklist
Before you begin, use this quick checklist to ensure you’re ready to tackle your metal patio furniture painting project with confidence.
- All supplies gathered (cleaners, sandpaper, primer, paint, safety gear).
- Work area prepped with drop cloths.
- Furniture thoroughly cleaned and degreased.
- All rust and rough spots sanded smooth.
- Dust wiped away and furniture completely dry.
- Weather conditions checked (low humidity, moderate temperature).
- Enough time allotted for all drying and curing steps.
Conclusion
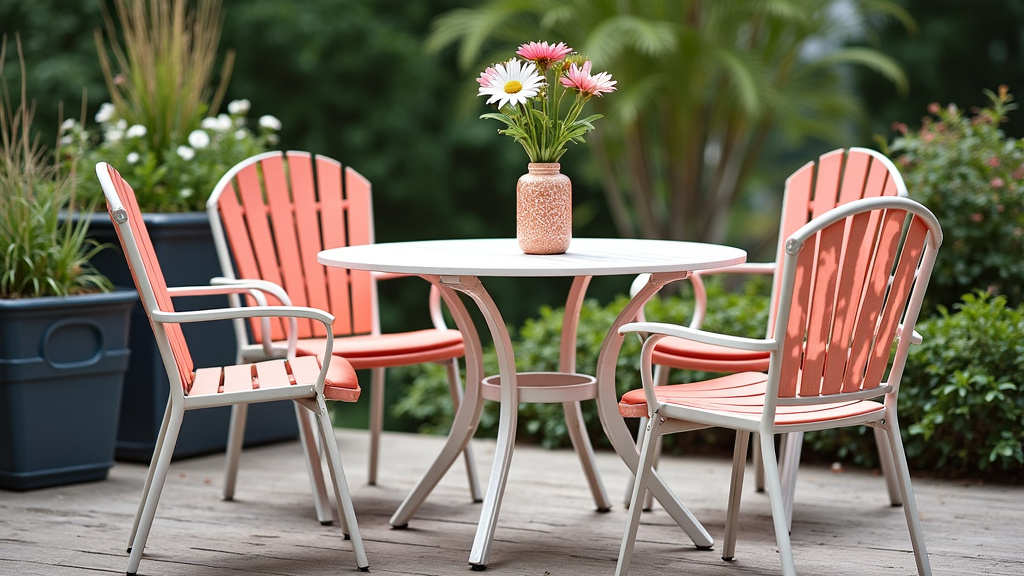
Painting your metal patio furniture is a rewarding project that truly transforms your outdoor space. By focusing on thorough preparation, selecting the right rust-inhibiting products, and applying thin, even coats, you’re setting your furniture up for long-lasting beauty.
Remember that patience during drying and curing times is just as important as the effort you put into cleaning and sanding. With these steps, you not only refresh your furniture’s appearance but also add a protective layer against the elements.
You now have all the information you need to confidently tackle this project. So, gather your supplies and get ready to enjoy your vibrant, revitalized patio furniture for years to come!
Frequently Asked Questions
How long does painted metal patio furniture typically last outside?
With proper preparation, quality outdoor paint, and a clear topcoat, your painted metal patio furniture can last for 3-5 years or even longer. Regular cleaning and touch-ups will help extend its life significantly.
Can I paint over existing paint on metal furniture?
Yes, you can often paint over existing paint if it’s in good condition and adhering well. Just make sure to clean and lightly sand the old paint to create a good surface for the new coat to stick to. Remove any peeling or flaking paint first.
What if my furniture is made of aluminum instead of steel?
The painting process for aluminum is very similar to steel, but you’ll need a primer specifically formulated for aluminum. Aluminum doesn’t rust, but it can corrode, so the right primer is key for good adhesion and protection.
Is it better to use a brush or spray paint for metal patio furniture?
For most patio furniture with intricate designs or slatted surfaces, spray paint is usually easier and provides a smoother, more even finish. Brushes can be good for larger, flat surfaces or if you want to avoid overspray.
How do I prevent the paint from chipping or peeling prematurely?
Chipping and peeling are usually caused by inadequate surface preparation. Ensure you thoroughly clean, sand, and prime the furniture, and apply paint in multiple thin coats. Allowing full cure time before use is also vital.
