
How To Touch Up Aluminum Patio Furniture?
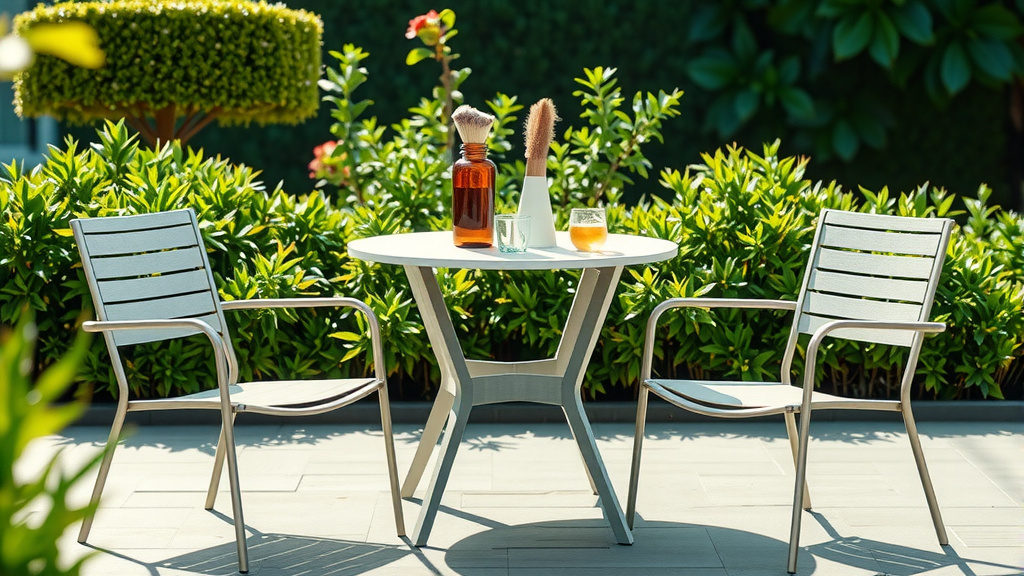
To touch up aluminum patio furniture, first clean the area thoroughly with soap and water, then gently sand the blemish with fine-grit sandpaper.
Next, apply an aluminum-specific primer, followed by several thin coats of outdoor-grade paint matched to the original color, and finish with a clear protective coat for durability.
- Get started by giving your furniture a good cleaning.
- Gently sand any chipped or scratched spots.
- Apply a primer designed for aluminum surfaces.
- Follow up with several thin layers of outdoor paint.
- Seal your work with a clear coat to protect it.
How To Touch Up Aluminum Patio Furniture?
Touching up aluminum patio furniture involves cleaning, sanding, priming, painting, and applying a clear coat to restore its appearance and protect it from further damage.
Why Touch Up? It’s More Than Just Looks
You might think touching up is just about making your patio furniture pretty again. But it’s much more than that. Those small scratches and chips in the paint can let moisture reach the aluminum beneath.
Over time, this exposure can lead to oxidation, causing dull spots or even pitting. Fixing these minor blemishes now helps to protect your investment and keep your furniture strong for years. It’s like putting a tiny bandage on a small cut before it becomes a bigger problem.
When Should You Touch Up Your Furniture?
When is the right time to pull out the paint? You should consider touching up your aluminum patio furniture at the first signs of wear. Look for any small paint chips, surface scratches, or areas where the finish seems to be fading or flaking.
Don’t wait until the damage is extensive. Addressing these issues early prevents them from spreading and becoming harder to repair. Think of it as preventative maintenance for your outdoor oasis.
Gathering Your Touch-Up Arsenal
Before you begin, gathering all your supplies makes the job much smoother. You wouldn’t start baking a cake without all your ingredients, right? Having everything ready means you can stay focused and efficient.
- Mild soap and water (or a specialized aluminum cleaner)
- Fine-grit sandpaper (around 220-400 grit)
- Clean cloths or rags
- Painter’s tape and newspaper/drop cloth
- Self-etching or DTM (Direct To Metal) primer suitable for aluminum
- Outdoor-grade spray paint or brush-on paint (matched to your furniture’s color)
- Clear protective topcoat (optional, but highly recommended)
- Safety gear: gloves, safety glasses, respirator mask (especially for spray paint)
Choosing the Right Paint for Aluminum
The type of paint you choose is incredibly important for lasting results. We found that not all paints adhere well to aluminum. Many experts say to look for paints specifically labeled for metal or outdoor use.
A self-etching primer or a “direct to metal” (DTM) paint can make a huge difference in how well your new finish bonds. It creates a stronger grip, almost like tiny microscopic hooks, ensuring your touch-up withstands the elements.
Prepping Your Furniture: The Crucial First Step
Proper preparation is often the most important part of any painting project. It lays the groundwork for a smooth, durable finish. Skimping on this step is like trying to build a house on a shaky foundation – it just won’t last.
This phase ensures your paint has the best possible surface to stick to. Here’s a quick checklist to guide you:
- Thoroughly clean the entire furniture piece.
- Inspect for any loose or peeling paint.
- Lightly sand any damaged areas to create a smooth surface.
- Wipe away all dust and debris completely.
- Mask off any areas you don’t want painted.
Cleaning Your Aluminum: A Fresh Start
Start by giving your furniture a good wash. Use a mild soap and water solution to clean the entire piece, especially the areas you plan to touch up. This removes dirt, grime, and any invisible residues.
For stubborn grease or mildew, a dedicated outdoor furniture cleaner or a diluted vinegar solution can work wonders. Rinse thoroughly and let the furniture dry completely before moving on. A clean surface is paramount for paint adhesion.
Gentle Sanding for Better Adhesion
Once clean and dry, it’s time to lightly sand the scratched or chipped areas. Use fine-grit sandpaper (220-400 grit) to gently scuff the surface. The goal isn’t to remove all the old paint, but to create a slightly rough texture.
This texture provides the “tooth” that primer and paint need to bond securely. Feather the edges of any chips to create a smooth transition. Afterwards, wipe away all dust with a clean, damp cloth, then let it dry.
Masking Off for Precision
If you’re only touching up small spots, or if parts of your furniture shouldn’t be painted (like fabric slings or hardware), use painter’s tape to carefully mask them off. Newspaper or a drop cloth can protect larger areas.
Taking a few extra minutes here saves you the headache of accidental paint spots later. Precision in masking gives your touch-up a professional, clean line.
Applying Primer: Your Paint’s Best Friend
Primer is a key step, especially for aluminum. Research often connects primer use with significantly better paint durability on metals. It acts as a bridge, helping the topcoat stick firmly to the smooth aluminum.
Apply one or two thin, even coats of your chosen primer. Follow the manufacturer’s instructions for drying times between coats. Don’t rush this step; proper drying ensures maximum adhesion.
Painting Techniques: Smooth & Even Coverage
Whether you’re using spray paint or a brush, thin, even coats are the secret to a flawless finish. Avoid applying thick layers, which can drip, sag, and take ages to dry. Patience truly pays off here.
Many experts suggest multiple light coats rather than one heavy coat. If using spray paint, hold the can about 8-12 inches from the surface and use sweeping motions. For brush-on paint, use a quality brush and smooth strokes.
| Method | Pros | Cons | Best For |
|---|---|---|---|
| Spray Paint | Fast application, smooth finish, even coverage | Requires masking, fumes, tricky in wind | Large areas, overall color refresh |
| Brush-On Paint | Precise control, less masking, less overspray | Slower, potential for brush strokes | Small chips, detailed areas, controlled touch-ups |
The Power of a Clear Coat Finish
Adding a clear protective topcoat is like giving your furniture an invisible shield. It adds an extra layer of protection against UV rays, scratches, and weather damage. We found that a clear coat significantly extends the life of your paint job.
Apply one to two thin coats, again following the manufacturer’s drying instructions. This final step enhances the depth of your color and provides a beautiful, lasting sheen. It’s the finishing touch that seals the deal.
Drying and Curing: Patience is a Virtue
After painting and clear-coating, the hardest part is waiting. While the paint may feel dry to the touch in a few hours, it takes much longer to fully cure. Curing is when the paint hardens completely and reaches its maximum durability.
This process can take anywhere from a few days to several weeks, depending on humidity, temperature, and paint type. Avoid using or placing heavy objects on the furniture during this time. Allowing proper curing helps your touch-up stand the test of time.
Maintenance Tips to Keep It Looking Fresh
Once your aluminum patio furniture is beautifully touched up, some simple maintenance will keep it looking great. Regularly clean your furniture with mild soap and water to prevent dirt and grime buildup.
Consider using outdoor furniture covers when the furniture isn’t in use, especially during harsh weather. Storing cushions indoors also helps. These small habits will preserve your hard work and prolong the beauty of your outdoor space.
Conclusion
Touching up your aluminum patio furniture is a practical and rewarding project that brings new life to your outdoor space. By following these steps – thorough cleaning, gentle sanding, careful priming, precise painting, and a protective clear coat – you can effectively repair blemishes and shield your furniture from the elements.
Remember, patience and attention to detail are your best tools. With a little effort, your aluminum furniture will not only look fantastic but also remain a durable and enjoyable part of your patio for many seasons to come. You’ve got this, and your patio will thank you!
How do I prevent future chips and scratches on my aluminum furniture?
To prevent future damage, use outdoor furniture covers when not in use, especially during harsh weather. Avoid dragging furniture; always lift it. Also, place protective caps on table legs and keep sharp objects away from surfaces.
Can I use car paint to touch up my aluminum patio furniture?
While some car paints might work, it’s generally better to use paints specifically designed for outdoor metal or aluminum. These formulations are optimized for UV resistance and adhesion to aluminum, which is crucial for patio furniture exposed to the elements.
What if I can’t find an exact color match for my furniture?
If an exact match is impossible, consider a close complementary color for touch-ups, or embrace a two-tone design for the entire piece. For very old or faded furniture, a complete repaint in a new color might be your best option for a uniform look.
Is it better to spray paint or brush paint small touch-up areas?
For very small, precise chips or scratches, brush painting offers more control and less overspray. Spray painting is generally better for larger areas or if you’re repainting an entire furniture piece for a smoother, more even finish.
How often should I inspect my aluminum patio furniture for touch-ups?
It’s a good practice to inspect your aluminum patio furniture at least twice a year, ideally at the beginning and end of the outdoor season. This allows you to catch minor imperfections early before they become bigger issues, making repairs simpler and quicker.
