
How To Spray Paint Wrought Iron Patio Furniture?
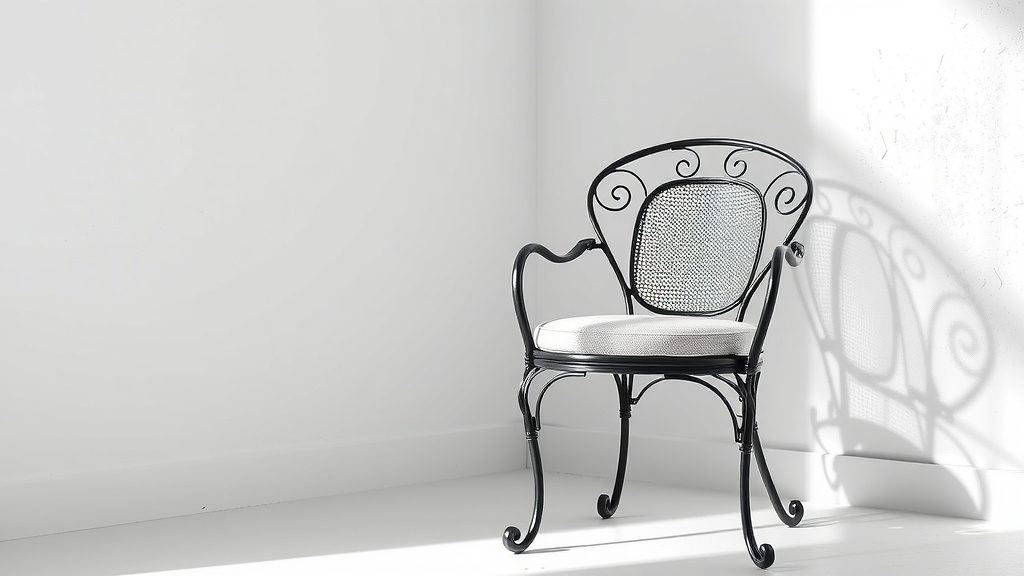
To spray paint wrought iron patio furniture, clean it thoroughly to remove rust and dirt, then apply a rust-inhibiting primer before finishing with multiple thin coats of outdoor-appropriate spray paint.
Ensure you work in a well-ventilated area, protect surrounding surfaces, and allow ample drying time between each coat for the best and most durable finish on your wrought iron furniture.
- Get your wrought iron patio furniture looking new again with a fresh coat of paint.
- The process involves cleaning, rust removal, priming, and careful spray painting.
- Always work in a well-ventilated area and use proper safety gear.
- Multiple thin coats of paint are better than one thick coat to avoid drips.
- Patience is key for drying and curing to ensure a long-lasting finish.
How To Spray Paint Wrought Iron Patio Furniture?
You can transform your old, tired wrought iron patio furniture into a stunning centerpiece with a fresh spray paint job. It’s a satisfying DIY project that truly makes a difference.
Why Refresh Your Wrought Iron?
Why let those beautiful iron pieces fade when you can bring them back to life? Wrought iron is incredibly durable, but it does need a little love to stay looking its best.
A fresh coat of paint isn’t just about aesthetics; it also offers vital protection against rust and corrosion. Think of it as sunscreen for your furniture, shielding it from the elements.
Gathering Your Spray Painting Arsenal
Before you even think about spraying, you’ll need the right tools. Having everything ready saves time and makes the entire process much smoother for you.
We found that a little preparation here prevents many headaches later. Don’t rush into painting without the necessary supplies at hand.
The Right Paint Matters
Not all spray paints are created equal, especially for outdoor use. You need paints designed to withstand the sun, rain, and temperature changes.
Look for paints specifically labeled for “outdoor metal” or “rust-inhibiting” properties. Many experts say a high-quality enamel spray paint is an excellent choice for wrought iron.
Prepping is Paramount: Don’t Skip This!
This is arguably the most critical step. A poor prep job means a poor paint job, no matter how good your paint is or how skilled you are.
You must clean your furniture thoroughly. Dirt, grime, and especially rust, will prevent paint from adhering properly, leading to peeling down the line.
Rust Removal Checklist
Rust is the enemy of wrought iron. If you see it, you must remove it before painting. Here’s how you can tackle it:
- Wire Brush: Use a stiff wire brush to manually scrub away loose, flaky rust.
- Sandpaper: Follow up with medium-grit sandpaper (around 120-grit) to smooth out any remaining rust patches and rough areas.
- Steel Wool: For intricate details, fine steel wool can reach those tight spots effectively.
- Rust Converter: For stubborn rust, a rust converter can chemically transform rust into a stable, paintable surface.
- Pressure Washer: A light pressure wash can remove loose paint and dirt, but ensure the furniture dries completely afterward.
After scrubbing and sanding, wipe down the furniture with a damp cloth to remove any dust or debris. Let it dry completely before moving on.
Protecting Your Space and Yourself
Spray painting can be messy, and those paint particles travel! You’ll want to protect your surroundings and yourself from overspray.
Lay down drop cloths or old newspapers generously. We found that extending your protective covering further than you think you need to is always a good idea.
Wear a mask or respirator, gloves, and protective eyewear. You don’t want to breathe in paint fumes or get paint in your eyes or on your skin. Your safety is always a top priority.
Priming for Perfection
Think of primer as the bridge between the metal and the paint. It helps the paint stick better and provides an extra layer of protection, especially a rust-inhibiting primer.
Apply one to two light, even coats of primer. Allow each coat to dry according to the manufacturer’s instructions, typically an hour or two. A good primer creates a smooth, uniform surface.
The Art of Spray Painting Wrought Iron
Now for the fun part! This is where you bring your furniture back to life. The key here is patience and proper technique.
Don’t try to cover everything in one heavy coat. That’s a recipe for drips and an uneven finish. Instead, aim for several light, even passes.
Spray Painting Tips
- Shake Well: Shake the can vigorously for at least one minute before and periodically during use.
- Distance: Hold the can 8-12 inches from the surface. Too close, you get drips; too far, you get a dusty finish.
- Sweeping Motions: Use smooth, overlapping sweeping motions. Start spraying before the furniture and stop after it.
- Thin Coats: Apply many thin coats rather than one thick one. This prevents drips and gives a much more durable finish.
- Drying Time: Allow adequate drying time between coats. This is crucial for adhesion and preventing smudges.
You might need two to three coats of color for full coverage. Always refer to the paint can for specific drying times and recoat windows. Rushing this step often leads to disappointment later.
Choosing the Best Time to Paint
Weather plays a huge role in successful outdoor painting. You want conditions that allow the paint to dry and cure properly.
Aim for a day with mild temperatures, typically between 60-80°F (15-27°C), and low humidity. High humidity can extend drying times and affect the paint’s finish (EPA).
Avoid windy days, as wind can blow dust onto your wet paint and carry overspray far and wide. A still, dry day is your best friend for this project.
Troubleshooting Common Spray Painting Issues
Even with the best intentions, you might encounter a hiccup or two. Don’t worry; most issues have simple solutions you can apply.
Drips and runs are common if you apply the paint too thickly or hold the can too close. Uneven coverage might mean you’re not using consistent sweeping motions.
| Problem | Possible Cause | Solution |
|---|---|---|
| Drips/Runs | Paint applied too thick or too close | Lightly sand when dry, apply thinner coats |
| Uneven Coverage | Inconsistent spray technique | Use steady, overlapping sweeping motions |
| Dusty Finish | Spraying too far or in windy conditions | Move closer (8-12 inches), avoid windy days |
| Paint Peeling | Poor surface preparation (rust/dirt) | Thoroughly clean, sand, and prime before painting |
Curing and Caring for Your New Finish
Once your final coat is applied, the painting isn’t over. The paint needs time to “cure,” meaning it hardens completely. This can take several days, sometimes even weeks.
During the curing period, handle the furniture with care. Many experts say that bringing the furniture inside or under cover during this time can help protect the fresh finish.
For long-term care, you can periodically clean your painted wrought iron with mild soap and water. This simple step helps to maintain its fresh look for years to come.
Conclusion
Giving your wrought iron patio furniture a spray paint makeover is a rewarding project that combines practical protection with aesthetic appeal. By following these steps—from meticulous cleaning and rust removal to careful priming and applying thin, even coats of paint—you can achieve a durable and beautiful finish. Remember, patience is your best tool, ensuring each stage is completed properly for results that you’ll enjoy season after season. Your rejuvenated furniture will thank you for the extra care.
Can I spray paint wrought iron without sanding?
While technically possible, it’s generally not recommended. Sanding helps rough up the surface, providing “tooth” for the primer and paint to adhere much better. Skipping this step often leads to paint peeling prematurely, especially on older, smooth, or rusty surfaces. A quick, light sanding makes a significant difference in durability.
How long does spray paint on wrought iron last?
The longevity of spray paint on wrought iron depends heavily on preparation, paint quality, and environmental factors. With proper cleaning, priming, and using outdoor-grade paint, a spray paint job can last anywhere from 3 to 7 years. Exposure to harsh weather, direct sunlight, and frequent use can shorten its lifespan.
Do I need to prime wrought iron before spray painting?
Yes, priming wrought iron is a highly recommended and almost essential step. A quality rust-inhibiting primer creates a barrier against future rust and provides an ideal surface for the topcoat to bond. This greatly enhances the paint’s adhesion, durability, and overall finish, making your effort last longer.
What kind of spray paint is best for outdoor wrought iron?
For outdoor wrought iron, you should choose a spray paint specifically designed for exterior metal surfaces. Look for formulations that offer rust inhibition, UV resistance, and durability against weather elements. Enamel-based spray paints or those labeled “direct to metal” are often excellent choices, providing a hard, protective finish.
Can I spray paint wrought iron furniture indoors?
Spray painting indoors is generally not advisable due to strong fumes and the risk of overspray covering surrounding items. If you must paint indoors, ensure you have excellent ventilation, like an open garage with fans, and thoroughly protect everything in the area with drop cloths. A well-ventilated outdoor space is always the safest and most practical option.
