
How To Restore Wrought Iron Patio Furniture?
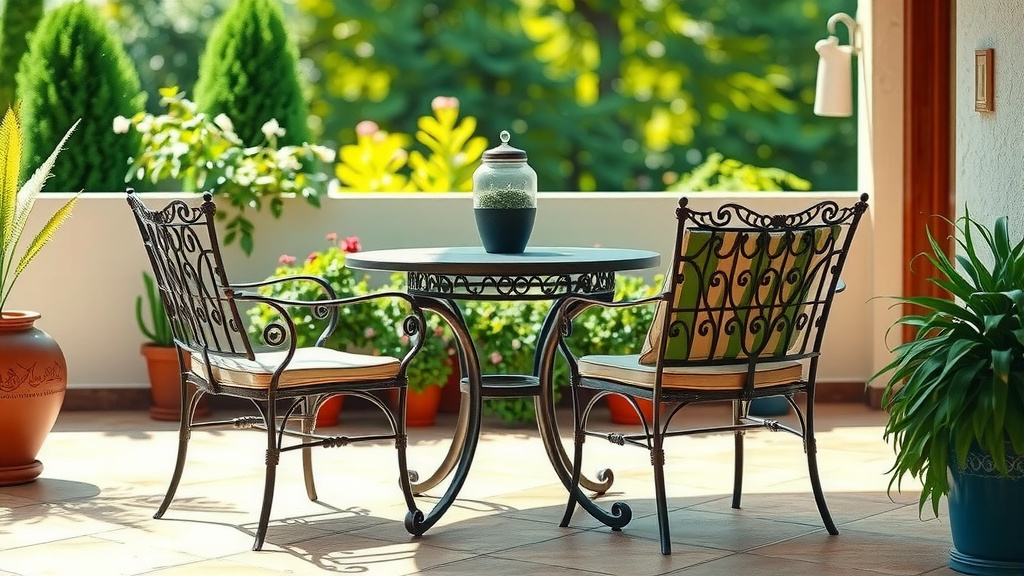
To restore wrought iron patio furniture, start by thoroughly cleaning it, then remove any rust with a wire brush or rust remover, sand smooth, apply a rust-inhibiting primer, and finally paint it with durable outdoor metal paint for lasting beauty.
You can bring your old, rusted wrought iron patio furniture back to life by following these key steps: cleaning, surface preparation, rust treatment, priming, and painting.
Here’s a quick summary of what you will learn:
- You will discover how to properly clean your wrought iron furniture.
- You will learn effective methods for removing stubborn rust.
- We will guide you through preparing the surface for painting.
- You will understand how to apply the right primer and paint.
- You will get tips on maintaining your restored pieces.
Isn’t it wonderful how wrought iron furniture stands the test of time? It brings a certain classic charm to any outdoor space. But even the strongest materials can show wear from sun, rain, and changing seasons. When you see rust spots or dull finishes, it might feel like the end. But what if I told you it’s often a fresh start?
Many homeowners think worn wrought iron is ready for the curb. We found that with a little effort and the right steps, you can give your beloved patio pieces a brand-new life. Imagine relaxing on beautifully restored chairs, feeling proud of your work!
How To Restore Wrought Iron Patio Furniture?
Restoring wrought iron patio furniture means bringing back its original beauty and strength through careful cleaning, rust removal, priming, and painting.
Safety First, Always
Before you even touch that first piece, let’s talk safety. Working with rust, chemicals, and power tools needs care. We recommend wearing safety glasses, gloves, and a dust mask. Trust us; your eyes, hands, and lungs will thank you!
Assessing the Damage
Take a good look at your furniture. Is it just a few rust spots, or are there larger flaky patches? Are any joints wobbly? This initial check helps you pick the right tools and supplies. Think of it like a doctor doing a check-up before prescribing treatment.
Cleaning Your Wrought Iron
This step is like washing your hands before a meal; it’s basic but so important. You need to remove all dirt, grime, and loose paint. A simple solution of warm water and mild dish soap usually works wonders. Use a scrub brush for stubborn areas.
Many experts say to rinse thoroughly with a hose. Let the furniture air dry completely in the sun. Any remaining moisture can trap rust later, and we certainly don’t want that!
Stubborn Grime? Try This
For extra-tough spots, we found that a pressure washer on a low setting can speed things up. Just be gentle. You don’t want to accidentally damage the metal or blast away healthy paint prematurely. A little patience here saves effort later.
Tackling the Rust Monster
Ah, rust – the archenemy of wrought iron! Removing it is a key part of the restoration. You have a few options, depending on how widespread and deep the rust runs. Remember, a clean surface is a happy surface for new paint.
Manual Rust Removal
For smaller rust spots, a wire brush or steel wool can be quite effective. Just scrub away! You’re aiming to get down to the bare, shiny metal. Many people find this process almost meditative, watching the old rust disappear (Bob Vila).
Don’t be shy about putting some muscle into it. You might be surprised how much rust comes off with a bit of elbow grease. This method is great for isolated areas.
Power Tools for Bigger Jobs
Got a lot of rust? A drill with a wire wheel attachment or an orbital sander with a coarse grit pad can be a lifesaver. These tools make quick work of larger rusted areas. Just move slowly and evenly, letting the tool do the work.
Remember those safety glasses we talked about? They are especially important here! Sparks and metal flakes can fly. Think of it as giving your furniture a much-needed exfoliation.
Chemical Rust Removers
For rust in hard-to-reach crevices or very deep pitting, chemical rust removers are a strong option. These products convert rust into a stable surface, or dissolve it entirely. Always read the product instructions carefully. They often involve specific application and drying times. Chemical removers do the heavy lifting, but you must be careful with them. Here’s a quick comparison of methods:
| Method | Best For | Effort Level | Pros | Cons |
|---|---|---|---|---|
| Wire Brush/Steel Wool | Small, isolated spots | Medium | Cost-effective, good control | Time-consuming for large areas |
| Power Tools (Wire Wheel/Sander) | Large, widespread rust | Low-Medium | Fast, efficient | Requires caution, tools |
| Chemical Rust Removers | Deep rust, tight spots | Low (application) | Penetrates deep, less scraping | Requires proper ventilation, can be messy |
Repairing Any Structural Issues
Before painting, check for loose bolts or broken welds. Tighten any fasteners you can. If a weld is broken, you might need a professional welder or consider a strong metal adhesive. We found that fixing these issues now saves headaches later. A stable frame is key to lasting restoration.
Prepping for Paint: The Primer Power
Once the surface is clean, dry, and rust-free, it’s time for primer. Primer is like a foundation for your paint; it helps the paint stick better and provides an extra layer of rust protection. Always choose a rust-inhibiting metal primer. This is not a step to skip!
Apply one or two thin, even coats of primer. Allow plenty of drying time between coats, following the product’s directions. This creates a uniform surface, making your final paint job look professional.
The Joy of Painting
Now comes the fun part – adding color! For wrought iron, choose a high-quality, oil-based exterior metal paint. Many experts recommend paints specifically formulated for metal furniture. You can use a brush, roller, or spray paint. Spray paint often gives the smoothest finish, especially for intricate designs.
Apply several thin coats, rather than one thick one. Thin coats dry faster and reduce drips. Think of layering: multiple thin blankets are warmer than one thick one. Let each coat dry completely before applying the next.
Brush or Spray? Your Call
Brushes offer more control and less overspray, good for smaller pieces. Spray paint, however, is faster and provides a very smooth finish, especially for larger or highly detailed items. We found that choosing the right tool makes the job much easier.
Curing and Sealing the Deal
After your final coat of paint, let your furniture cure. This means letting it fully harden, which can take several days or even weeks depending on the paint (NPR). Don’t rush to use it. Many guidelines point to allowing ample curing time for paint to fully harden and bond (Sherwin-Williams).
For an extra layer of protection, especially in harsh climates, consider applying a clear coat sealant. This adds shine and defends against UV rays and moisture, extending the life of your beautiful work.
Maintaining Your Masterpiece
Your hard work doesn’t stop once the paint dries. Regular, simple maintenance will keep your restored furniture looking fantastic. Wipe it down periodically with a damp cloth. Check for new rust spots and touch them up quickly.
During the off-season, consider covering your furniture or storing it indoors. This protects it from extreme weather. A little prevention goes a long way, doesn’t it?
Restoration Checklist for You
Here’s a quick guide to make sure you’ve covered all your bases:
- Wear safety gear (glasses, gloves, mask).
- Clean furniture thoroughly with soap and water.
- Remove all rust using preferred method.
- Make any necessary repairs to the frame.
- Apply at least one coat of rust-inhibiting primer.
- Paint with durable outdoor metal paint, multiple thin coats.
- Allow adequate curing time for the paint.
Conclusion
Restoring wrought iron patio furniture is a truly rewarding project. It saves money, reduces waste, and gives you the satisfaction of breathing new life into cherished pieces. By following these steps – from careful cleaning and rust removal to priming and painting – you can transform old, worn items into stunning outdoor decor. Your patio will thank you for it, and so will your guests. Now go make those pieces shine!
What kind of paint is best for wrought iron patio furniture?
The best paint for wrought iron patio furniture is an oil-based, exterior-grade metal paint, or a paint specifically formulated for outdoor metal use. Many people also find that spray paints designed for metal provide a smooth, even finish.
How do I remove heavy rust from wrought iron?
For heavy rust, consider using power tools like a drill with a wire wheel attachment or an orbital sander. Chemical rust removers are also effective for deep rust or hard-to-reach areas. Always wear appropriate safety gear when dealing with heavy rust.
Is priming essential when restoring wrought iron?
Yes, priming is absolutely essential. A good rust-inhibiting metal primer creates a strong bond for the topcoat paint and provides an extra layer of protection against future rust. Skipping this step can lead to premature paint peeling and new rust forming.
Can I restore wrought iron if it has intricate designs?
Certainly! Intricate designs just mean you’ll need a bit more patience. For cleaning and rust removal, smaller wire brushes, steel wool, or chemical rust removers are ideal. For painting, spray paint often works best to get into all the nooks and crannies, ensuring a smooth, even coat.
How often should I maintain my restored wrought iron furniture?
After restoration, inspect your furniture annually for any signs of new rust or chipped paint. Regular cleaning with mild soap and water is good. Touch-up small spots as they appear to prevent bigger problems. Storing indoors or covering during harsh weather also extends its life.
