
How To Repair Resin Wicker Patio Furniture?
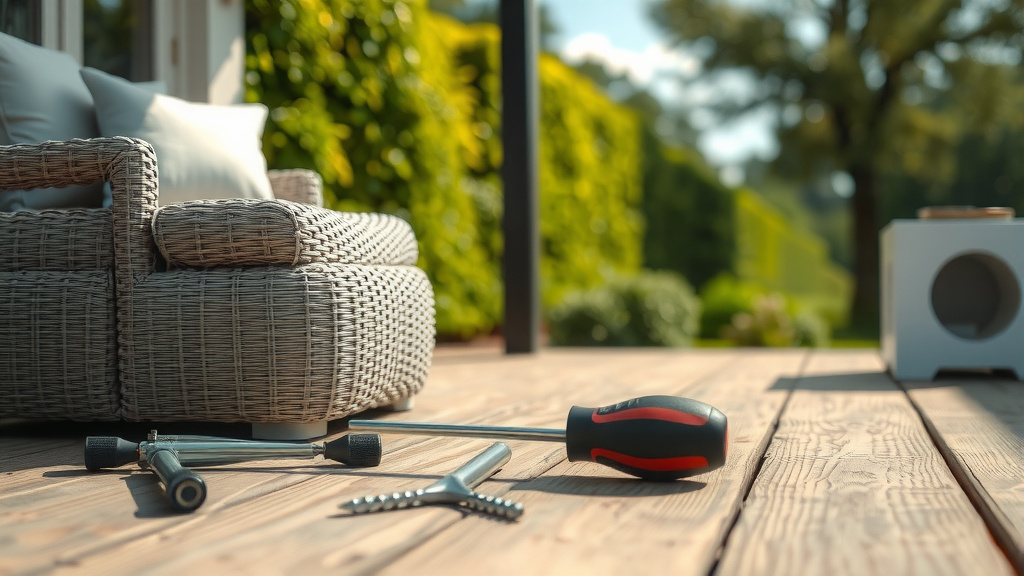
To repair resin wicker patio furniture, assess the damage first; for minor scuffs, use touch-up paint, while broken strands often require re-weaving new resin strips with strong adhesive.
You can also replace severely damaged sections by carefully cutting out the old piece and attaching a new, matching segment with outdoor-grade glue, ensuring a secure and lasting fix.
- Inspect your resin wicker furniture closely for sun fading, fraying, or breaks.
- Clean the damaged areas thoroughly before attempting any repairs.
- For small scuffs, a matching touch-up paint or resin dye can refresh the look.
- If strands are unraveled, re-weave them or use new resin repair strips with a strong, flexible adhesive.
- Consider professional help for extensive structural damage or larger weaving projects.
How To Repair Resin Wicker Patio Furniture?
Repairing resin wicker patio furniture involves identifying the specific damage, cleaning the area, and then applying appropriate techniques like touch-up paint for fading or re-weaving new strands for breaks.
With a little patience and the right materials, you can restore your outdoor pieces to their original charm and extend their lifespan.
Why Does Resin Wicker Need Repair?
Even though resin wicker is tough, it faces challenges from nature. Your furniture sits outside, exposed to various elements.
Over time, these elements take a toll, leading to wear and tear that needs your attention to keep things looking good.
Sun Damage and Fading
The sun’s strong UV rays are a primary culprit for outdoor furniture wear. They can make your resin wicker look dull.
This exposure breaks down the material, causing colors to fade and the resin to become brittle (Research by the Outdoor Furniture Association).
Weave Unraveling and Cracks
Daily use and changes in temperature can cause stress on the wicker weave. Sometimes, a strand might pop loose.
Other times, the resin can develop small cracks, especially if it becomes brittle from sun exposure or impacts.
Essential Tools and Materials You’ll Need
Before you begin any repair work, gather all your supplies. Having everything ready makes the job smoother and more efficient.
You wouldn’t start baking without all your ingredients, would you? The same idea applies here for your furniture.
- Mild soap and water
- Soft brush or cloth
- Fine-grit sandpaper (optional)
- Matching resin wicker repair strips or rolls
- Strong, flexible outdoor adhesive/glue
- Resin wicker touch-up paint or dye
- Utility knife or scissors
- Clamps or tape (to hold new strips)
- Protective gloves
Prepping Your Furniture for Repair
Think of this as preparing a canvas before painting. A clean, smooth surface helps any repair material bond better.
Skipping this step might lead to a repair that doesn’t last, which nobody wants after putting in the effort.
Cleaning the Damaged Area
Start by washing the entire piece, or at least the damaged section. Use mild soap and water with a soft brush.
Rinse it thoroughly and let it dry completely. A clean surface helps new materials stick well (Many experts suggest this first step).
Assessing the Damage
Once clean and dry, take a close look. Is it just a faded spot? Is a strand broken or only loose?
Understanding the problem guides your repair strategy. A small crack needs a different fix than a long unraveling section.
Repairing Minor Scratches and Fading
These are often the easiest fixes and can make a big visual difference. It’s like giving your furniture a fresh coat of nail polish.
You can quickly bring back that “new” look without extensive work.
Using Touch-Up Paint or Stain
For faded spots or light scratches, a touch-up paint made for resin or plastic works wonders. Find a color that matches your furniture.
Apply a thin layer with a small brush, letting it dry between coats until the color blends seamlessly.
Fixing Broken or Unraveled Strands
This is where you become a bit of a craftsperson. Don’t worry, it’s not as hard as it sounds, but it does require some precision.
It’s like mending a tiny tear in fabric – careful work yields the best results.
Re-weaving Small Sections
If a strand has simply come loose, you might be able to re-weave it back into place. Use a thin tool or even a blunt needle.
Follow the existing pattern, tucking the strand back in. A small dab of outdoor adhesive at the end can secure it (we found this helps).
Replacing Damaged Weave Segments
For broken or severely damaged strands, you’ll need to cut out the old piece. Use a utility knife to trim neatly.
Then, take a new resin repair strip, matching the width and color. Weave it into the pattern, securing the ends with strong outdoor glue.
What About Structural Issues?
Sometimes the problem isn’t just the wicker itself. The underlying frame might be damaged, too. This requires a different approach.
It’s like needing to fix the foundation of a house, not just the paint on the walls.
Most resin wicker furniture has an aluminum or steel frame. If it’s bent or broken, you might need a metal repair kit.
For serious frame damage, we found that professional welding or replacement might be a better option than a DIY fix.
Post-Repair Care for Lasting Beauty
You’ve done the hard work of repairing. Now, let’s keep it looking fantastic. Good maintenance is key to protecting your investment.
A little ongoing care prevents major repairs later, saving you time and effort.
Protecting from UV Rays
After repair, consider using furniture covers during harsh weather or prolonged sun exposure. This shield protects your resin wicker.
Many experts suggest applying UV protectant sprays annually to keep the material supple and colorful (Good Housekeeping recommends this).
Regular Cleaning Habits
A simple routine cleaning prevents dirt buildup and wear. Wipe down your furniture regularly with mild soap and water.
This easy step keeps your patio pieces fresh and reduces the need for frequent, extensive repairs.
| Damage Type | Recommended Repair Method | Approximate Time |
|---|---|---|
| Fading/Scratches | Touch-up paint/dye | 15-30 minutes |
| Loose Strand | Re-weave & glue | 30-60 minutes |
| Broken Strand | Replace segment & glue | 1-2 hours |
| Small Crack | Resin filler/glue | 30-90 minutes |
Your Resin Wicker Repair Checklist
Ready to tackle that repair project? Here’s a quick run-through to keep you on track. Make sure you hit each point.
This ensures you don’t miss any vital steps in restoring your furniture.
- Gather all necessary tools and materials.
- Clean the furniture thoroughly and let it dry.
- Carefully assess the extent of the damage.
- Apply the chosen repair method with precision.
- Allow all glues and paints to cure completely.
- Apply UV protectant for future protection.
Conclusion
Repairing your resin wicker patio furniture is a rewarding project that truly extends the life of your outdoor pieces. You don’t need to toss out furniture just because of a few minor flaws.
By following these practical steps, you can keep your patio looking inviting and comfortable for many seasons to come. Give your furniture the care it deserves!
What kind of glue works best for resin wicker repairs?
For resin wicker repairs, we found that a strong, flexible outdoor-grade adhesive is best. Look for glues designed for plastics or outdoor furniture, often labeled as waterproof or weatherproof. Epoxy glues or super glues formulated for plastics work well for securing new strips or loose ends.
Can you paint faded resin wicker furniture?
Yes, you can paint faded resin wicker furniture. Use spray paint specifically designed for plastics or outdoor furniture. Proper preparation, including thorough cleaning and light sanding, helps the paint adhere better. Apply several light coats for an even, durable finish that resists chipping.
How do I prevent my resin wicker from fading?
To prevent resin wicker from fading, try to keep it out of direct, intense sunlight when not in use. Using furniture covers during harsh weather or prolonged sun exposure is very helpful. Additionally, applying a UV protectant spray annually can significantly extend the color vibrancy and material integrity.
Is it worth repairing old resin wicker furniture?
Whether it’s worth repairing old resin wicker furniture depends on the extent of the damage and the quality of the original piece. For minor fading, loose strands, or small breaks, DIY repair is often cost-effective and easy. For widespread structural damage or very cheap furniture, replacement might make more sense.
Where can I find matching resin wicker repair strips?
You can often find matching resin wicker repair strips online through patio furniture retailers or craft supply stores. Look for different widths and colors to get the best match for your existing furniture. Some companies also offer sample kits to help you find the perfect shade and texture.
