
How To Repair Rattan Patio Furniture?
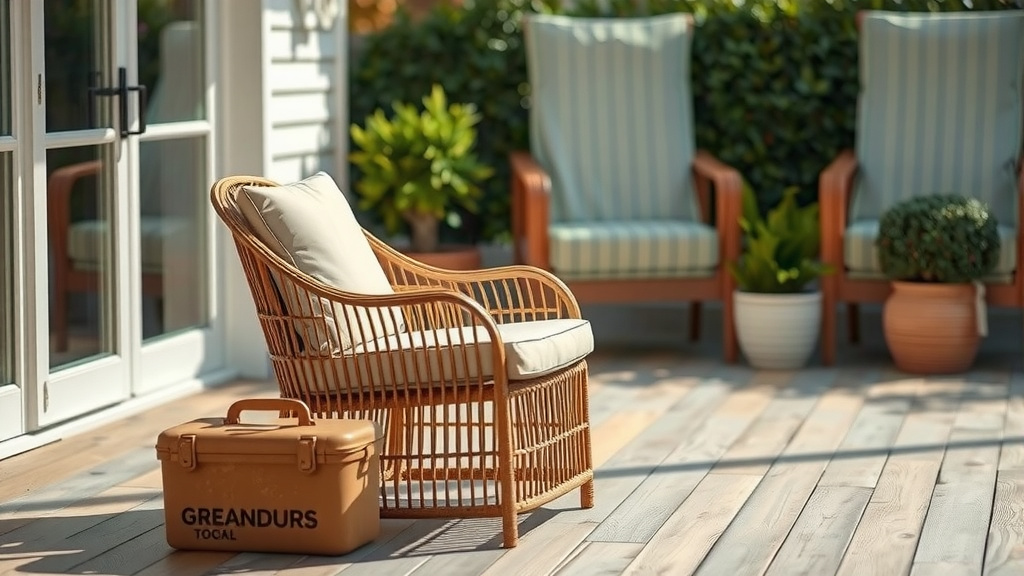
You can repair rattan patio furniture by addressing common issues like unraveling, breaks, or fading with specific tools and techniques. Small repairs often involve reweaving strands, patching holes, or applying a fresh coat of sealant to restore its look.
Often, repairing minor damage to your beloved rattan pieces is a rewarding and cost-effective way to extend their lifespan, preventing the need for expensive replacements.
- Save money and extend your furniture’s life.
- Identify the specific damage type first.
- Gather simple tools like glue, extra rattan, and clamps.
- Follow steps for reweaving, patching, or sanding.
- Finish with protective sealants for lasting durability.
How To Repair Rattan Patio Furniture?
Repairing rattan patio furniture means restoring its structural integrity and aesthetic appeal, typically involving reweaving loose strands, patching minor breaks, or reinforcing weakened areas to extend its life.
Do you love the classic charm of your rattan patio furniture? It’s not just you; rattan brings a warm, inviting feel to any outdoor space. But let’s be honest, even the sturdiest pieces can show wear and tear over time. Don’t worry, a few common issues shouldn’t spell the end for your favorite chair or table. We’re here to guide you through saving your cherished pieces, making them look great again!
Why Repair Your Rattan?
Think about it: why spend a fortune on new furniture when you can give your current pieces a new lease on life? Repairing your rattan is not just about saving money; it’s also a step towards sustainability. Giving new life to old items reduces waste and keeps quality furniture out of landfills. Plus, there’s a real satisfaction in fixing something with your own hands, isn’t there?
Common Rattan Woes You Can Fix
Before grabbing any tools, let’s identify what’s actually wrong. Rattan, whether natural or synthetic, faces a few typical challenges outdoors. Are you seeing loose weaves, minor breaks, or perhaps some fading? Knowing the specific problem makes finding the right solution much easier. Many experts say that proper identification is the first crucial step in any successful repair (Professional Restoration Guides).
- Unraveling or Loose Weaves: This is perhaps the most common issue. Strands can come loose from everyday use or exposure.
- Minor Breaks or Cracks: Sometimes a single cane might snap, especially on high-stress areas like chair arms.
- Fading or Discoloration: The sun’s strong UV rays can slowly strip away color, leaving your furniture looking dull.
- Weakened Joints: Joints might become wobbly, reducing the stability of your furniture.
Tools and Materials You’ll Need
Gathering your supplies beforehand makes the repair process smoother. You wouldn’t start baking a cake without all your ingredients, right? The same applies here. A little preparation goes a long way. We found that having everything ready minimizes frustration and interruptions.
| Damage Type | Suggested Repair Materials | Common Tools |
|---|---|---|
| Unraveling/Loose Weave | Matching rattan/wicker strands, strong adhesive (wood glue or epoxy) | Scissors, small awl, clamps, sandpaper |
| Minor Breaks/Cracks | Matching rattan/wicker strands, wood filler, strong adhesive | Utility knife, sandpaper, clamps, small brush |
| Fading/Discoloration | Outdoor-grade paint or stain, sealant/lacquer | Sanding block, paintbrushes, clean rags |
| Weakened Joints | Wood glue, small screws/nails (if applicable) | Drill, screwdriver, clamps |
Essential Checklist Before You Start
Always perform a quick assessment. This ensures you address all issues and prevent new ones from popping up during the repair. Here’s a quick checklist to get you ready:
- Inspect the entire piece for hidden damage.
- Clean the furniture thoroughly with mild soap and water.
- Let it dry completely before any repairs.
- Ensure you have good ventilation if using glues or paints.
- Wear gloves to protect your hands from adhesives or splinters.
Step-by-Step Rattan Repair Guide
Okay, let’s dive into the hands-on part! Remember, patience is your best tool. Taking your time will always yield a better result than rushing through the steps.
Fixing Loose or Unraveling Rattan
This is where you act like a master weaver, albeit a simple one. Loose strands are common, but very fixable. Many experts suggest this is the easiest repair for beginners.
First, carefully remove any detached or frayed pieces of rattan that are beyond saving. Then, gently clean the area. Apply a thin layer of strong, clear adhesive to the original rattan framework where the strand was attached. Guide the loose strand back into its original position, mimicking the weave pattern. Use clamps or heavy objects to hold it securely while the glue dries completely. Sometimes, you might need a new piece of rattan. If so, weave the new piece into the existing pattern, securing both ends with glue. We found that soaking new rattan in warm water for about 30 minutes makes it more flexible and easier to work with.
Repairing Minor Breaks and Cracks
Did a piece snap? Don’t despair. A small crack or break can often be patched. This often requires a bit more precision, but it’s totally doable.
For small cracks in solid rattan poles, apply wood filler or a strong wood adhesive into the crack. Smooth it out and let it dry. For broken woven strands, you’ll need to splice in a new piece. Cut the damaged section back to a stable point. Measure and cut a new piece of rattan, ensuring it matches the old one. Weave the new piece into the existing pattern, securing the ends with glue. Hold it tight with painter’s tape or clamps until fully cured. You might lightly sand the area once dry to make it seamless. Remember to choose rattan of similar thickness and color.
Restoring Faded Rattan
The sun can be harsh, but its damage doesn’t have to be permanent. Bringing back the color is like giving your furniture a fresh coat of confidence.
Start by cleaning the entire piece thoroughly. Lightly sand any rough spots to prepare the surface. You can choose to stain or paint your rattan. If staining, choose an outdoor-grade wood stain in a color similar to or darker than the original. Apply thin, even coats. For painting, select an exterior spray paint specifically designed for plastics or wood, if it’s natural rattan. Apply several light coats for the best finish. Once the color is dry, apply a clear outdoor-grade sealant or lacquer. This adds a protective layer, guarding against future UV damage (Industry Standards).
Tightening Wobbly Joints
A wobbly chair is more annoying than truly broken. Luckily, this fix is usually straightforward. It’s like tightening a loose belt; a quick adjustment makes all the difference.
First, carefully inspect the joint to see if the original adhesive has simply failed or if the rattan wrapping has loosened. If the wrapping is loose, try to tighten it and secure it with a dab of strong glue. For wooden joints beneath the rattan, you may need to apply new wood glue. Gently pry the joint apart if possible, apply wood glue, and then clamp it tightly until it dries. Sometimes, adding a small, discreet screw can reinforce a stubborn joint, but be careful not to split the rattan.
Preventing Future Rattan Damage
An ounce of prevention is worth a pound of cure, as they say. Protecting your rattan from the elements means less repair work for you down the line.
Regular cleaning is a must. Dirt and grime can break down the fibers over time. We found that simply wiping down your furniture once a month can make a big difference. Use mild soap and water, then rinse and dry thoroughly. Consider using furniture covers during harsh weather or prolonged periods of non-use. UV protectant sprays can also help guard against sun fading. Storing your rattan indoors during winter months is also a great idea (Consumer Reports).
When to Call a Professional
Sometimes, the damage is just too extensive for a DIY fix. There’s no shame in knowing when to bring in the pros. They have specialized tools and expertise for complex issues.
If you’re facing large sections of completely missing rattan, structural damage to the frame, or intricate weave patterns that seem impossible to replicate, a professional might be your best bet. They can often source specialized materials and perform repairs that ensure your furniture lasts for many more years. Don’t be afraid to get a few quotes to see if it’s worth the investment.
Conclusion
Repairing your rattan patio furniture is a truly rewarding experience. It saves you money, helps the environment, and gives you a sense of accomplishment. Whether you’re reweaving a loose strand, patching a small break, or restoring faded color, you now have the knowledge to tackle common rattan issues. With a little care and attention, your beloved rattan pieces can continue to bring comfort and style to your outdoor space for seasons to come. So, go ahead, give your rattan the TLC it deserves!
FAQs
How long does rattan furniture repair usually take?
The time it takes to repair rattan furniture greatly depends on the extent of the damage. A small unraveling might take an hour, while patching multiple breaks or refinishing a faded piece could take several hours spread over a few days, accounting for drying times.
Can I use any type of glue for rattan repairs?
No, not just any glue. For best results, use a strong, waterproof adhesive like wood glue or outdoor-grade epoxy. Regular craft glue won’t withstand outdoor conditions or provide sufficient bond for structural repairs.
Is natural rattan or synthetic rattan easier to repair?
Generally, synthetic rattan (often polyethylene or PVC) can be a bit more forgiving to repair for minor issues like reweaving, as it’s more flexible and doesn’t require pre-soaking. Natural rattan might need specific techniques for moisture conditioning, but both are repairable with the right approach.
How do I find matching rattan material for repairs?
You can often find replacement rattan strands online through furniture supply stores or specialty craft shops. Try to match the existing material’s color, width, and shape (round, flat, half-round) for the most seamless repair.
What is the best way to clean rattan furniture before repair?
The best way to clean rattan before repair is to gently wipe it down with a soft cloth or brush dipped in a solution of mild soap and warm water. Avoid saturating the rattan. Rinse with a damp cloth and allow it to air dry completely, preferably in a shaded area, before starting any repairs.
