
How To Refurbish Teak Patio Furniture?
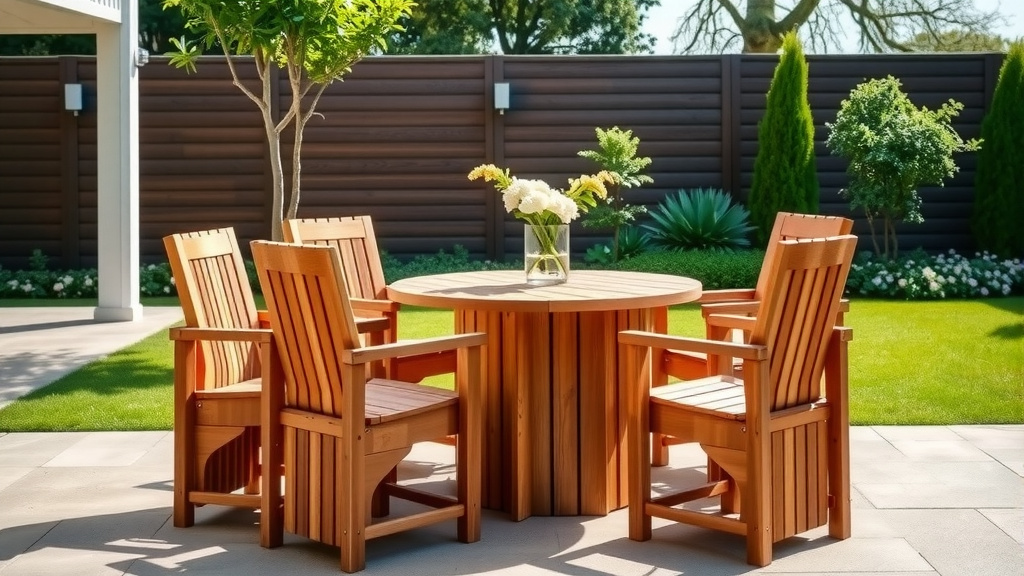
To refurbish teak patio furniture, you generally need to clean it thoroughly, sand away the weathered surface, and then apply a protective finish like teak oil or a sealer to restore its golden hue and prevent further damage.
This process rejuvenates the wood, bringing back its original beauty and extending its lifespan, making your outdoor space inviting again.
- You will need to clean the teak thoroughly to remove dirt and mildew.
- Sanding is important to eliminate the gray, weathered layer and smooth the surface.
- Applying teak oil nourishes the wood and enhances its natural color.
- Using a teak sealer creates a protective barrier against the elements.
- Regular cleaning and proper storage will help maintain your refurbished furniture.
How To Refurbish Teak Patio Furniture?
Refurbishing teak patio furniture involves bringing its natural beauty back to life.
It’s a rewarding project that transforms dull, weathered pieces into stunning outdoor furnishings.
Why Does Teak Need Refurbishing?
Teak is famous for its durability, but even this amazing wood changes over time.
Exposure to sun, rain, and humidity causes its rich golden-brown color to fade, turning it a silvery-gray.
This gray patina is natural and doesn’t hurt the wood’s strength, but it might not be the look you want.
Many homeowners prefer the warm, inviting glow of newly oiled or sealed teak.
Before You Begin: Safety First!
Working with wood and chemicals always means thinking about your safety.
Always wear safety glasses to protect your eyes from dust or splashes.
Gloves are a good idea to keep your hands safe from cleaners and oils.
If you’re using strong cleaners, make sure you are in a well-ventilated area, perhaps even outdoors (Mayo Clinic).
Gather Your Supplies
Having everything ready before you start makes the job much smoother.
Imagine setting up a picnic; you wouldn’t forget the plates, right?
- Bucket and water hose
- Mild soap or specialized teak cleaner
- Soft scrub brush or sponge
- Sandpaper (various grits: 80, 120, 220)
- Orbital sander (optional, but a time-saver)
- Clean cloths or rags
- Teak oil or teak sealer
- Paintbrush or foam applicator
- Safety glasses and gloves
Step-by-Step Refurbishment Process
Let’s walk through each part of bringing your teak back to life.
It’s like giving your furniture a spa day!
Step 1: Cleaning Your Teak
The first step is always to clean away the grime.
You need to remove all the dirt, mildew, and loose gray fibers.
Mix a mild soap, like dish soap, with water in a bucket.
Many experts suggest using a soft-bristled brush to gently scrub the furniture (Teak.com).
Rinse thoroughly with a hose, making sure no soap residue remains.
Let the furniture dry completely before moving on to the next step.
Step 2: Sanding for Smoothness
Sanding is where the magic really starts to happen, revealing the fresh wood underneath.
Begin with 80-grit sandpaper if your furniture is very weathered or rough.
Move to 120-grit paper to smooth out the initial sanding marks.
Finish with 220-grit sandpaper for a super smooth feel.
Always sand in the direction of the wood grain to avoid scratches.
After sanding, wipe down the furniture with a clean cloth to remove all dust.
Step 3: Addressing Deeper Stains or Mildew
Sometimes, basic cleaning isn’t enough for tough stains or stubborn mildew.
We found that specialized teak cleaners can work wonders here.
These products often contain oxalic acid, which brightens the wood.
Follow the product instructions carefully, as they can be strong.
Always test in a small, hidden area first to see how the wood reacts.
Step 4: Applying a Protective Finish
This final step is about protecting your hard work and enhancing the teak’s beauty.
You have two main choices: teak oil or a teak sealer.
Teak Oil Application
Teak oil isn’t truly “teak” oil but a blend designed to nourish the wood.
It penetrates the wood, bringing out its natural golden color.
Apply with a clean cloth or foam applicator, rubbing it into the grain.
Wipe off any excess after 15-20 minutes to prevent a sticky finish.
You might need two or three coats for the best results.
Reapply teak oil every 6-12 months, depending on exposure.
Teak Sealer Application
A teak sealer creates a protective barrier on the wood’s surface.
It offers longer-lasting protection from UV rays and moisture.
Many experts say sealers can make cleaning easier in the long run.
Apply with a paintbrush or foam applicator in thin, even coats.
Always follow the manufacturer’s directions for curing times between coats.
Sealers typically need reapplication every 1-2 years.
| Feature | Teak Oil | Teak Sealer |
|---|---|---|
| Protection Type | Nourishes wood, enhances natural oils | Forms a surface barrier against elements |
| Appearance | Deepens natural golden color | Maintains natural color or slightly darkens |
| Maintenance | Needs reapplication every 6-12 months | Needs reapplication every 1-2 years |
| Application | Easy to apply with cloth, wipe excess | Brush or foam applicator, careful for drips |
| Durability | Good against drying, less UV protection | Excellent against UV, moisture, and mildew |
Maintenance Tips to Keep Teak Looking Great
Refurbishing is fantastic, but ongoing care keeps your furniture looking new.
Think of it like tending a garden; a little work often keeps it blooming.
Regular Cleaning Habits
Wipe down your teak regularly with a damp cloth to remove dust and pollen.
For more stubborn dirt, a quick wash with mild soap and water works wonders.
This prevents buildup and reduces the need for frequent deep refurbishing.
Winter Storage Options
If you live in a region with harsh winters, consider storing your teak indoors.
A garage or shed protects it from extreme temperatures and moisture.
If indoor storage isn’t possible, use breathable furniture covers.
Avoid plastic tarps, which can trap moisture and cause mildew.
Common Mistakes to Avoid
Even seasoned DIYers can make small errors, so let’s dodge them together.
One common mistake is using a pressure washer on teak.
The high pressure can damage the soft wood fibers, leaving marks.
Another error is not wiping off excess teak oil, which leads to a sticky finish.
Also, never use steel wool, as tiny metal fragments can rust and stain the teak.
When Is Professional Help Needed?
Sometimes, a piece of furniture might be beyond a simple DIY refurbish.
If your teak has deep cracks, significant wood rot, or complex structural damage, a pro might be best.
They have specialized tools and expertise to handle intricate repairs.
It’s like knowing when to call a mechanic versus fixing a flat tire yourself.
Conclusion
Refurbishing your teak patio furniture is more than just a chore; it’s an investment in your outdoor living space.
By following these steps, you can bring back its natural charm and protect it for many more seasons.
You’ll not only enjoy beautiful furniture but also the satisfaction of a job well done.
How often should I refurbish my teak furniture?
The frequency depends on your climate and preferred finish. For teak oil, yearly or bi-yearly application is common. For sealers, every 1-2 years is typical. If you prefer the gray patina, only clean it periodically.
Can I paint or stain my teak patio furniture?
While technically possible, most experts advise against painting or staining teak. Teak’s natural oils can make paint adhesion difficult, and its beauty lies in its natural grain and color, which paint would hide. If you want color, consider painted aluminum or wrought iron instead.
What is the difference between teak oil and raw linseed oil?
Teak oil is usually a blend of oils (often linseed or tung oil) with added UV inhibitors and solvents, designed specifically for teak. Raw linseed oil is a pure plant-based oil that offers less UV protection and takes much longer to dry, making it less practical for outdoor furniture.
How do I prevent mold or mildew on my teak furniture?
Regular cleaning, ensuring good air circulation around the furniture, and protecting it from prolonged dampness are key. If you apply a sealer, it will also offer some resistance to mold and mildew. Store furniture in a dry, ventilated area during wet seasons.
Is it possible to lighten teak furniture if it has become too dark from oiling?
Yes, if teak has become too dark from repeated oiling, you can gently sand it back with fine-grit sandpaper (like 220-grit) to remove the darkened surface layer. Always sand with the grain. After sanding, you can choose to re-oil or switch to a teak sealer if you prefer a lighter look.
